
You hear it all the time – after all, it’s essentially the first pillar of financial literacy: Your $5 daily latte habit adds up to $1,825 annually – imagine what you could do with all of that extra money!
Would you believe that in the not-so-distant past, I used to go to Starbucks every day? Me? The gal who tries to keep her weekly workday lunch budget under $10, who hasn’t paid to see a movie in a theater since 2015, and who sometimes refuses to call an Uber even when it’s raining and there are still two miles to walk?
Though my coffee price was in the $2 range at the time, I estimate that I was spending anywhere from $750-1,000 per year, occasionally adding in a treat as well. For the longest time, I justified it because I scored a free lunch a few times a month via their Rewards program, and the coffee I made in my cheap drip brewer at home was awful.
With rising prices, a change in their Rewards program, and a desire to be more self-sufficient, I finally put a stop to my daily Mermaid visits and bought a Chemex.
note: this post is not sponsored but contains affiliate links
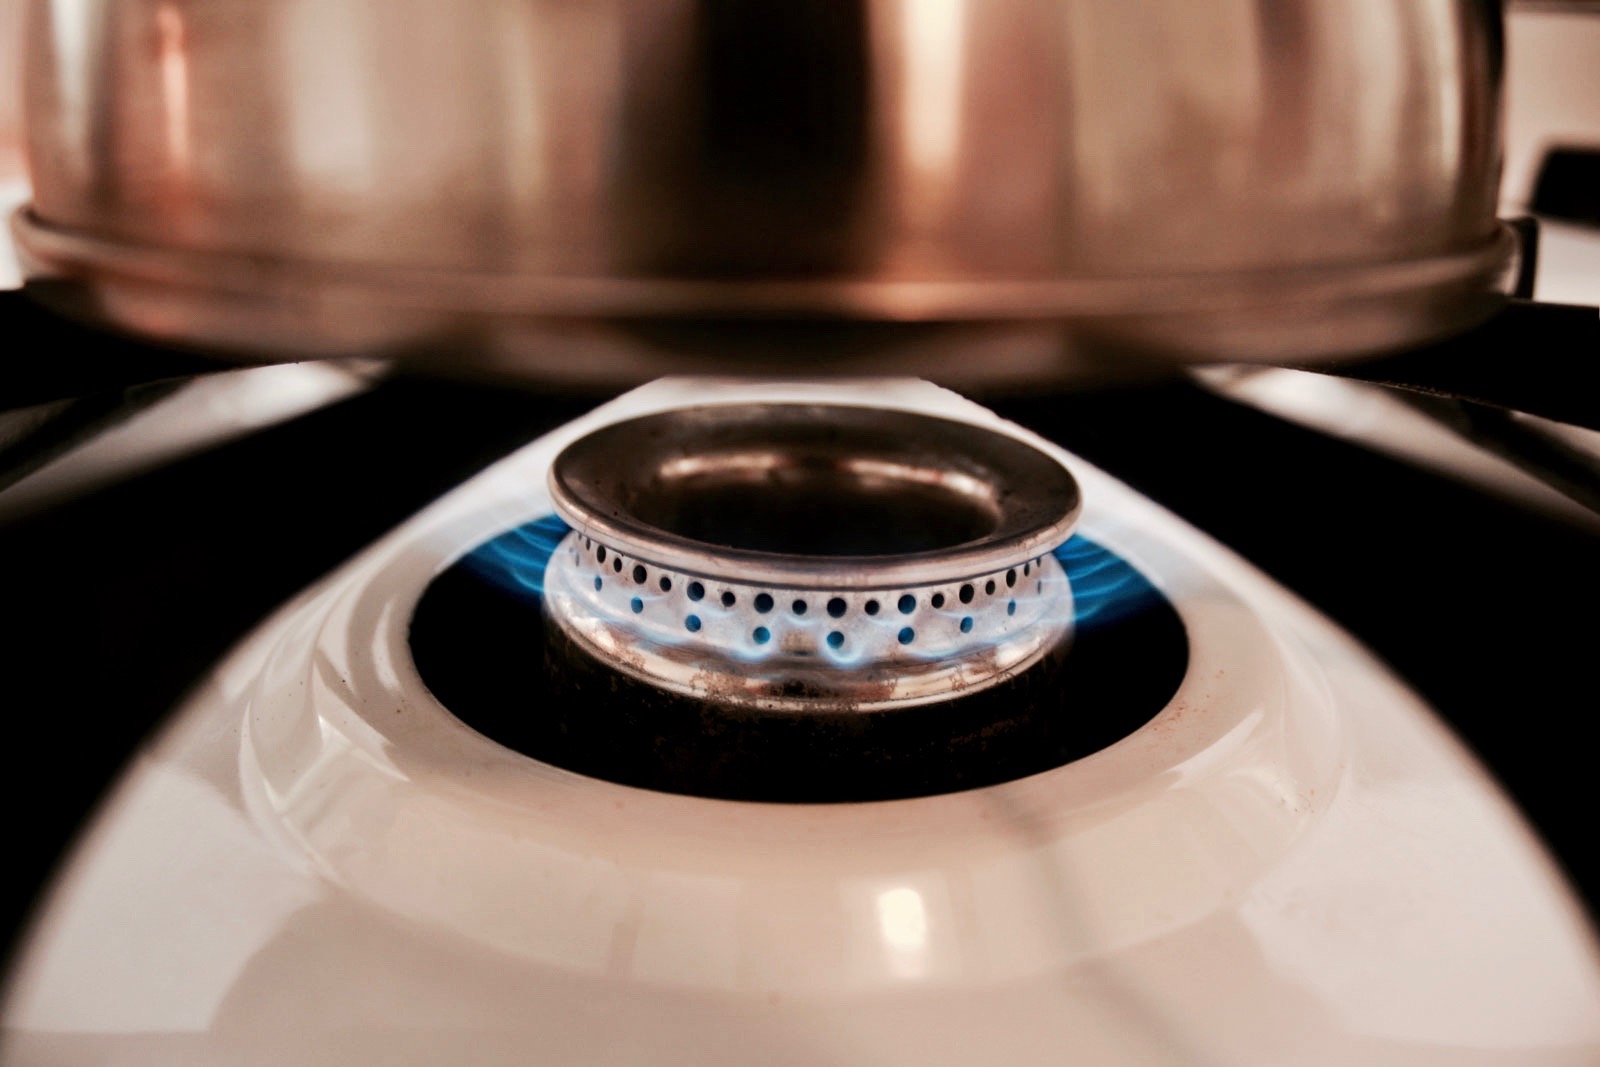
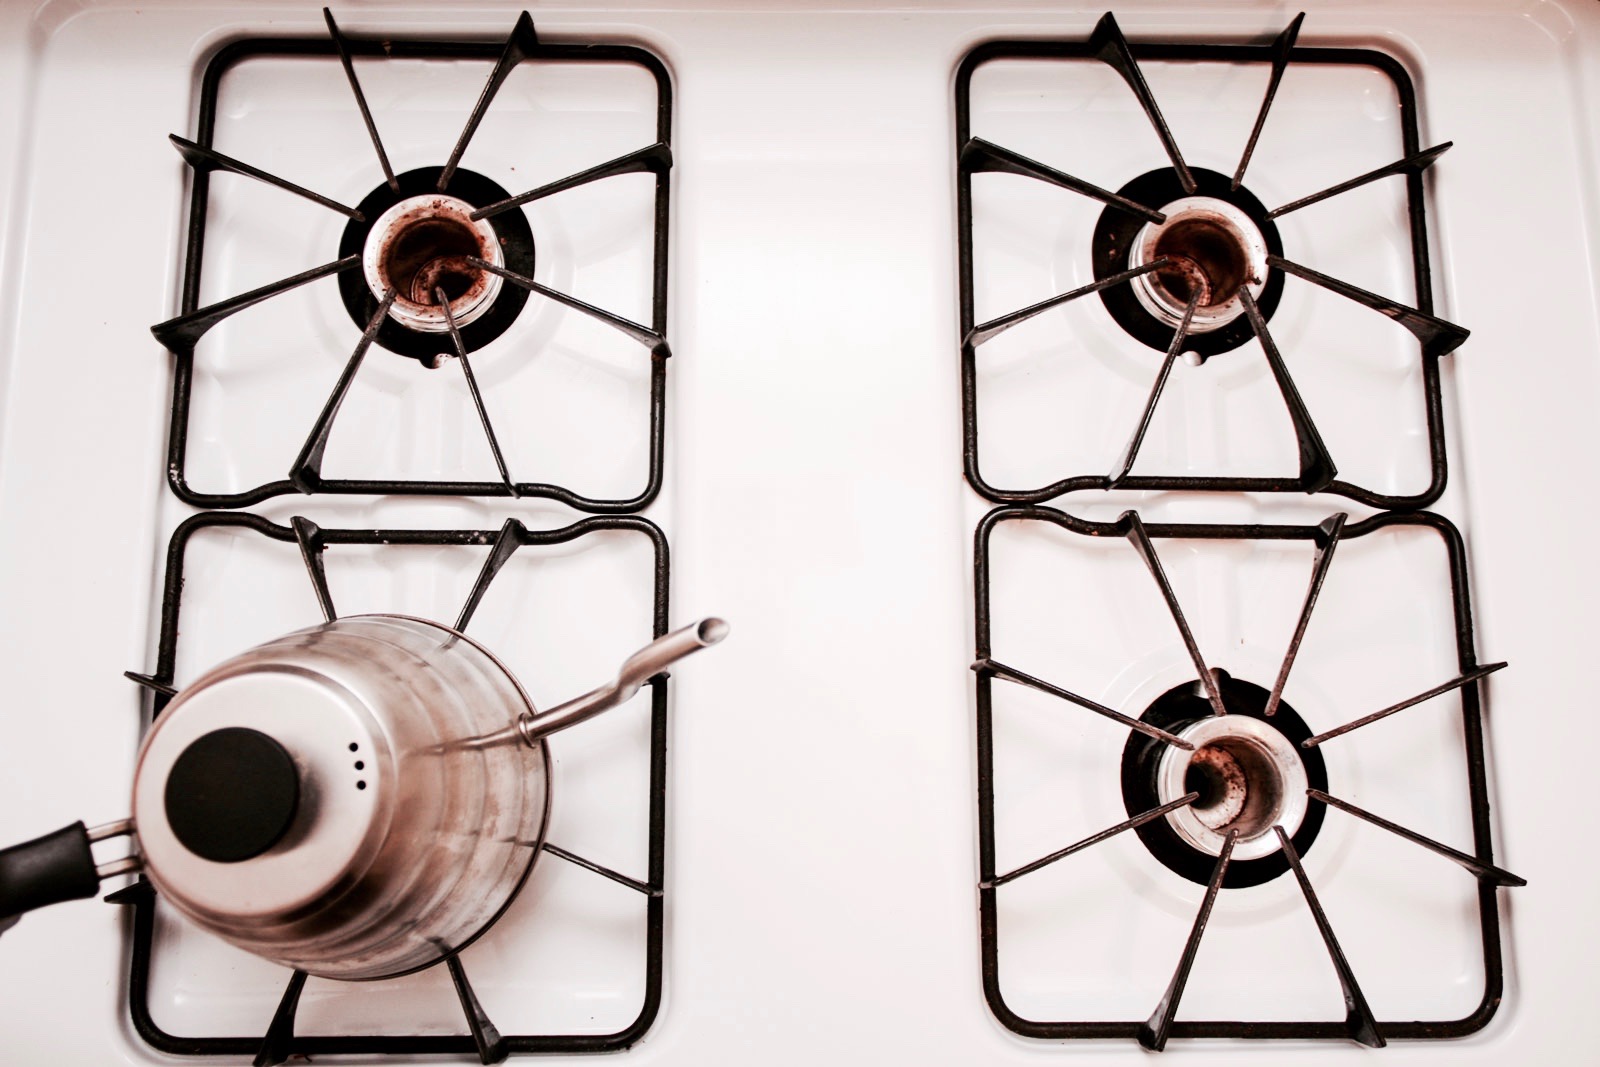
Why Chemex? I did a ton of research before selecting my brewing equipment. I had no idea how many coffee nerds there are in this world, and read countless arguments from bro “scientists” over which method is best. Ultimately, I settled on the Chemex for its electricity-free brewing capabilities (I can still brew when the power is out, using our gas stove to heat the water), single unit dripper-and-receptacle (this revelation came after attempting to use an Aeropress, which I could never get to make a good cup and ultimately was too fussy to even deal with), potential for purchasing a reusable filter, brand history and U.S. production, easy clean-up, and because, well, it looks so good.
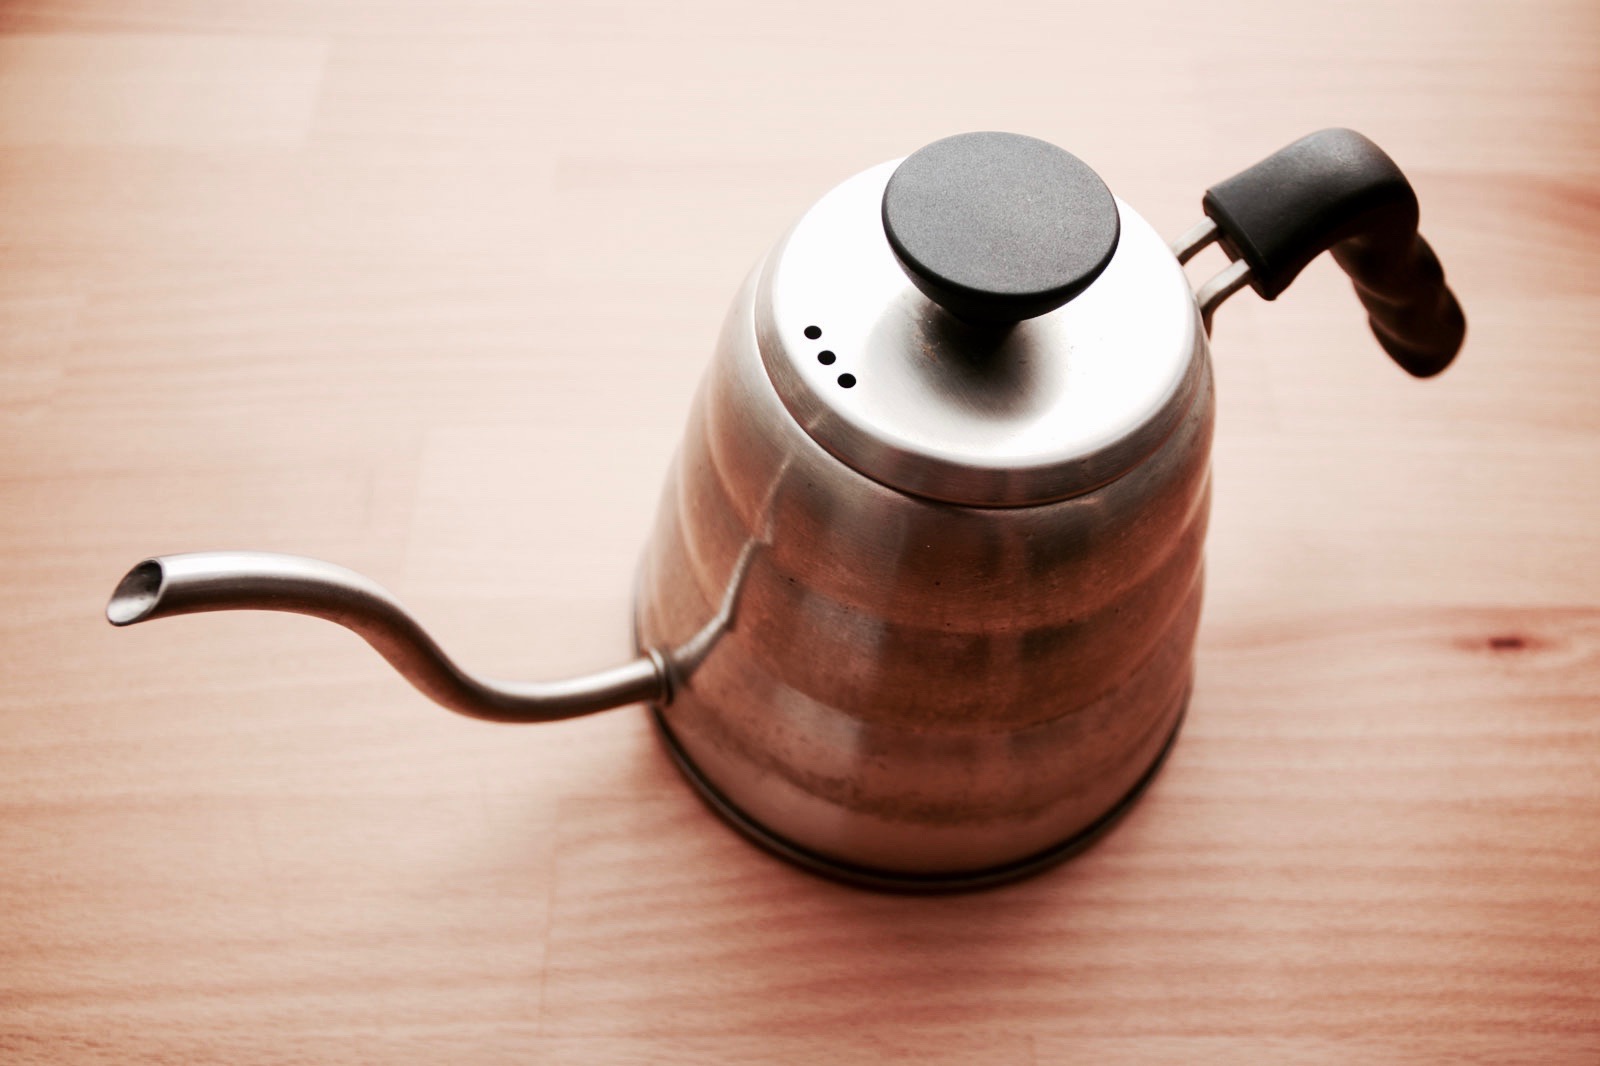
To get started, I ordered an 8-cup Chemex, paper filters, and a hand-grinder; I already had a standard kettle and made use of that for some time before ordering a gooseneck kettle several months later. After a year and several breakfasts with friends and family, I traded up to an electric grinder to help save time in the mornings.
Yes, getting a good electric grinder (i.e. a true burr grinder, rather than a blade grinder) is costly, but I plan to keep it for its entire life and have made a commitment to buying the best quality we can afford.
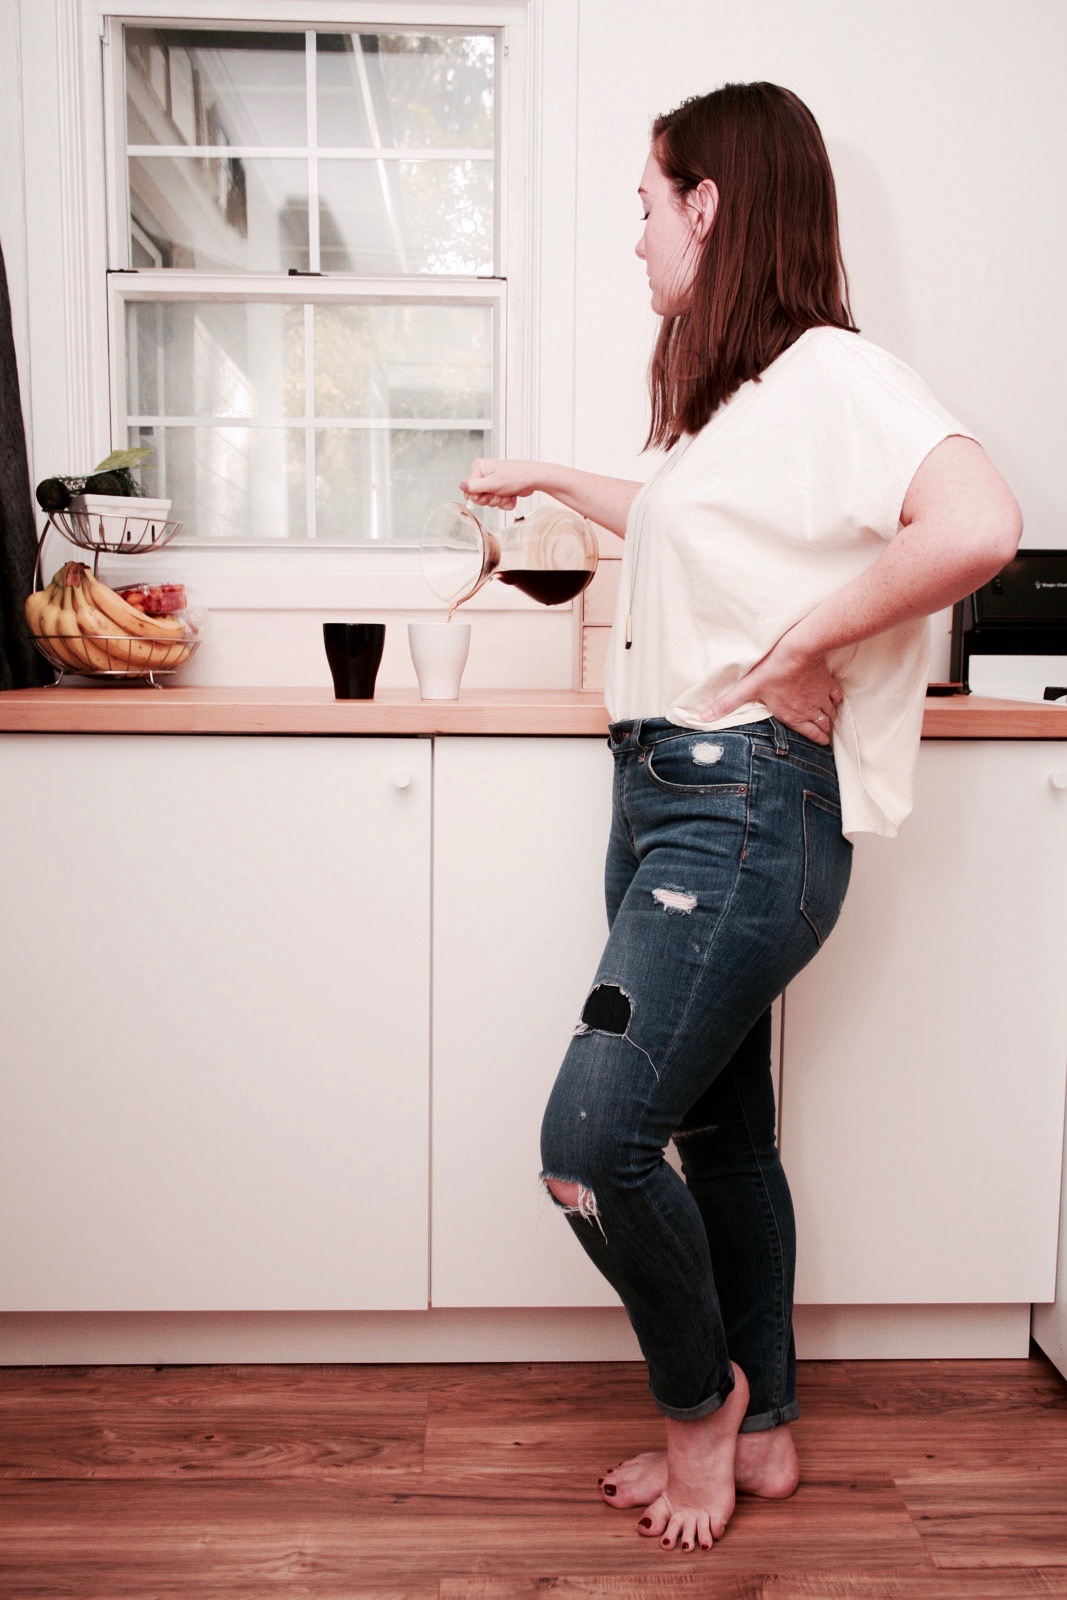
Once everything arrived I tinkered with the brewing process until it was perfected. With some trial and error, I ended up with the ideal ratio and brewing time for one or two large cups of coffee. The best part? Once the water boils, the brewing process should take less than five minutes. It’s an ideal morning exercise in mindfulness: long enough to slow down for a moment, short enough to not eat into the rest of your morning routine. And it’s productive to boot! A step-by-step photo guide is below, or you can scroll down to the condensed version and printable version.
Ready to start brewing an actually good cup of coffee yourself? The kind you pay $5 a cup for at a third-wave coffee shop? High-five, my soon-to-be caffeinated friend. Let’s get started with using a Chemex: my brewing method of choice.
Brewing with Chemex: Step-by-Step
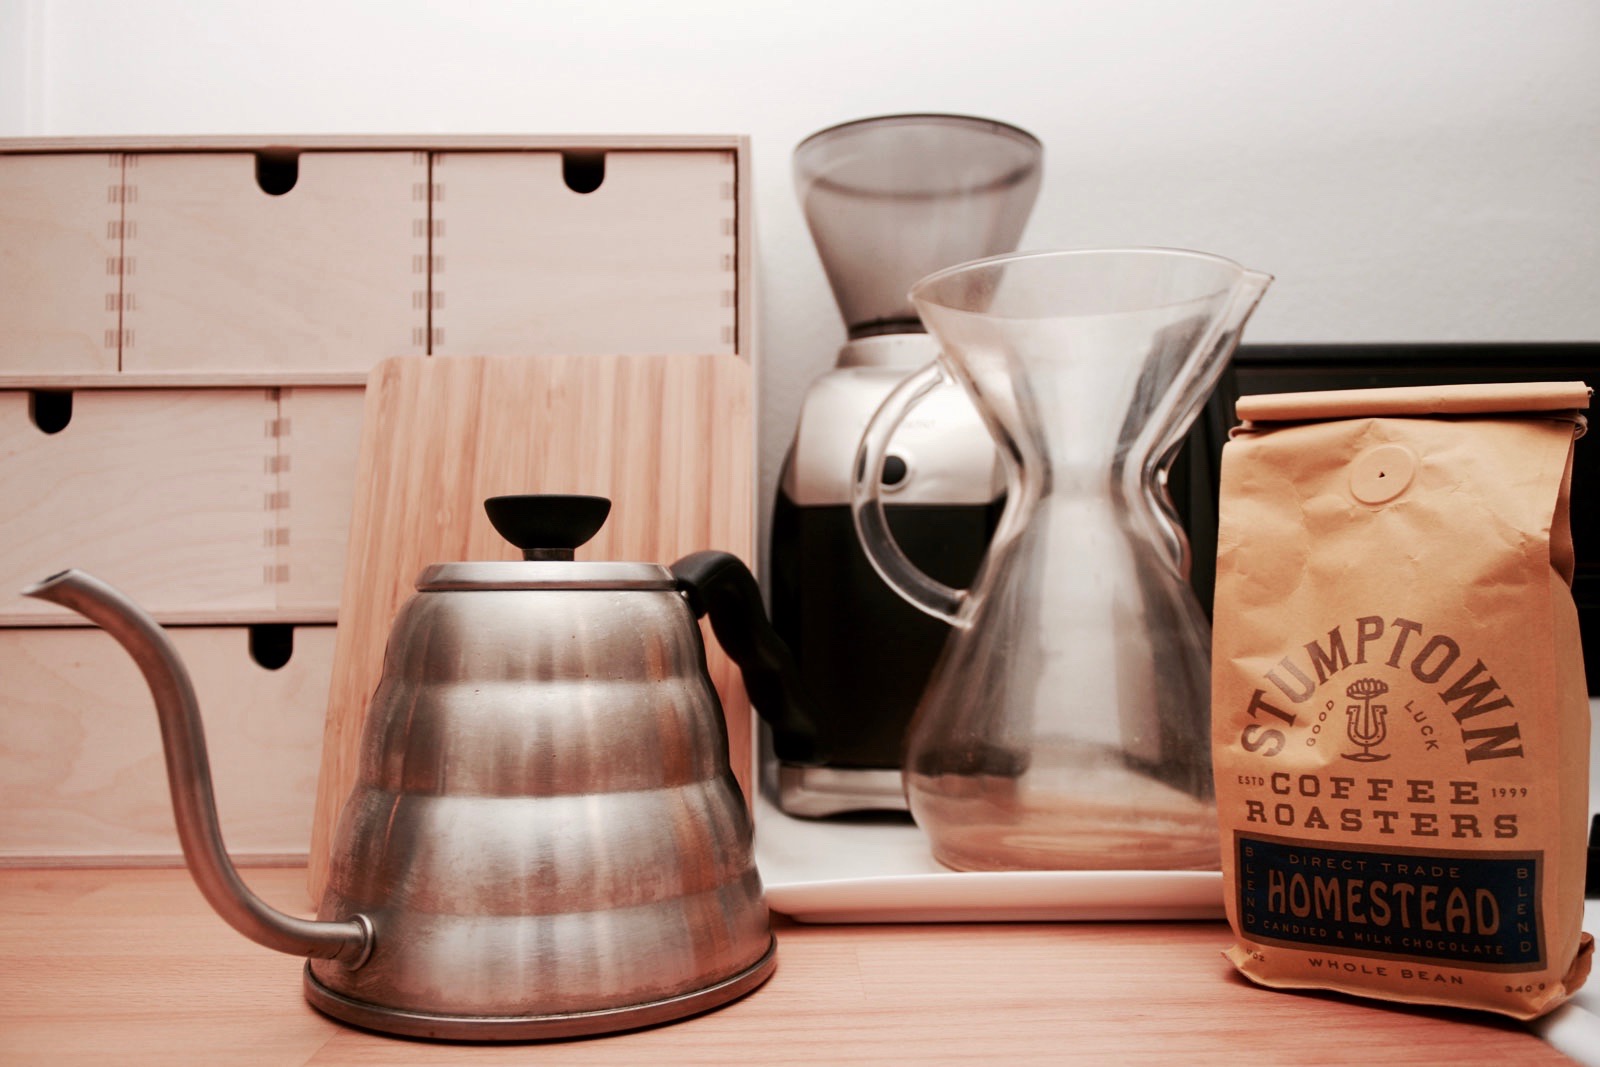
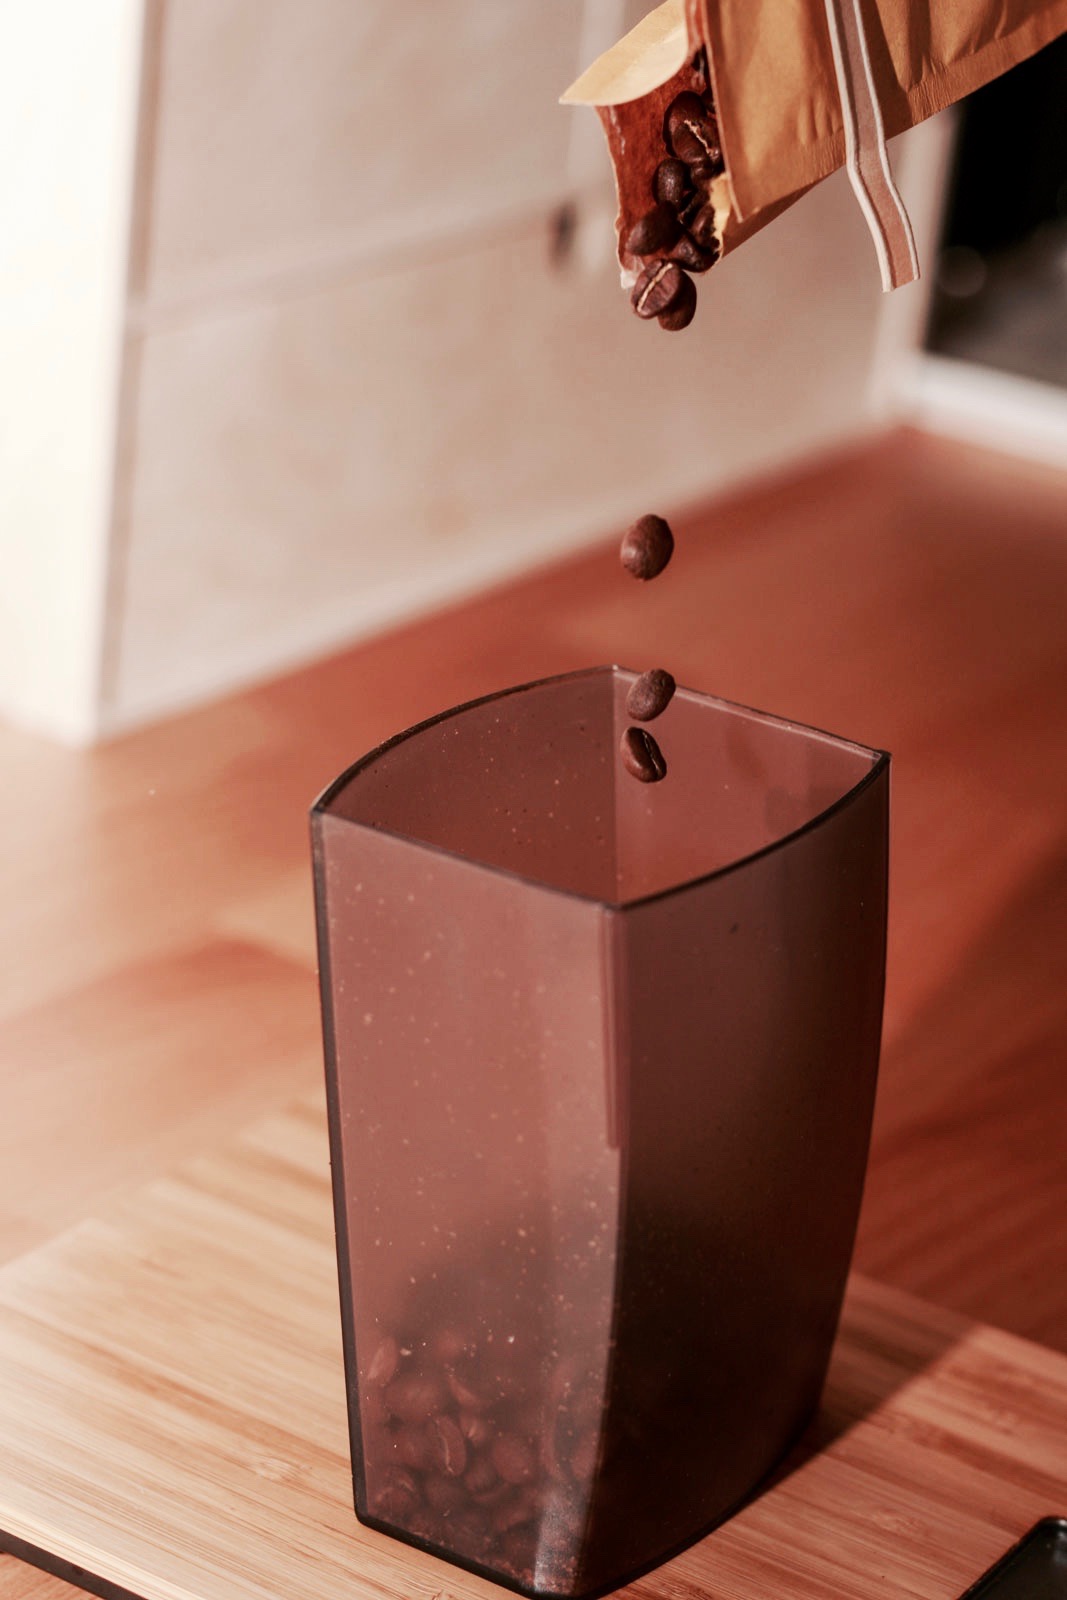
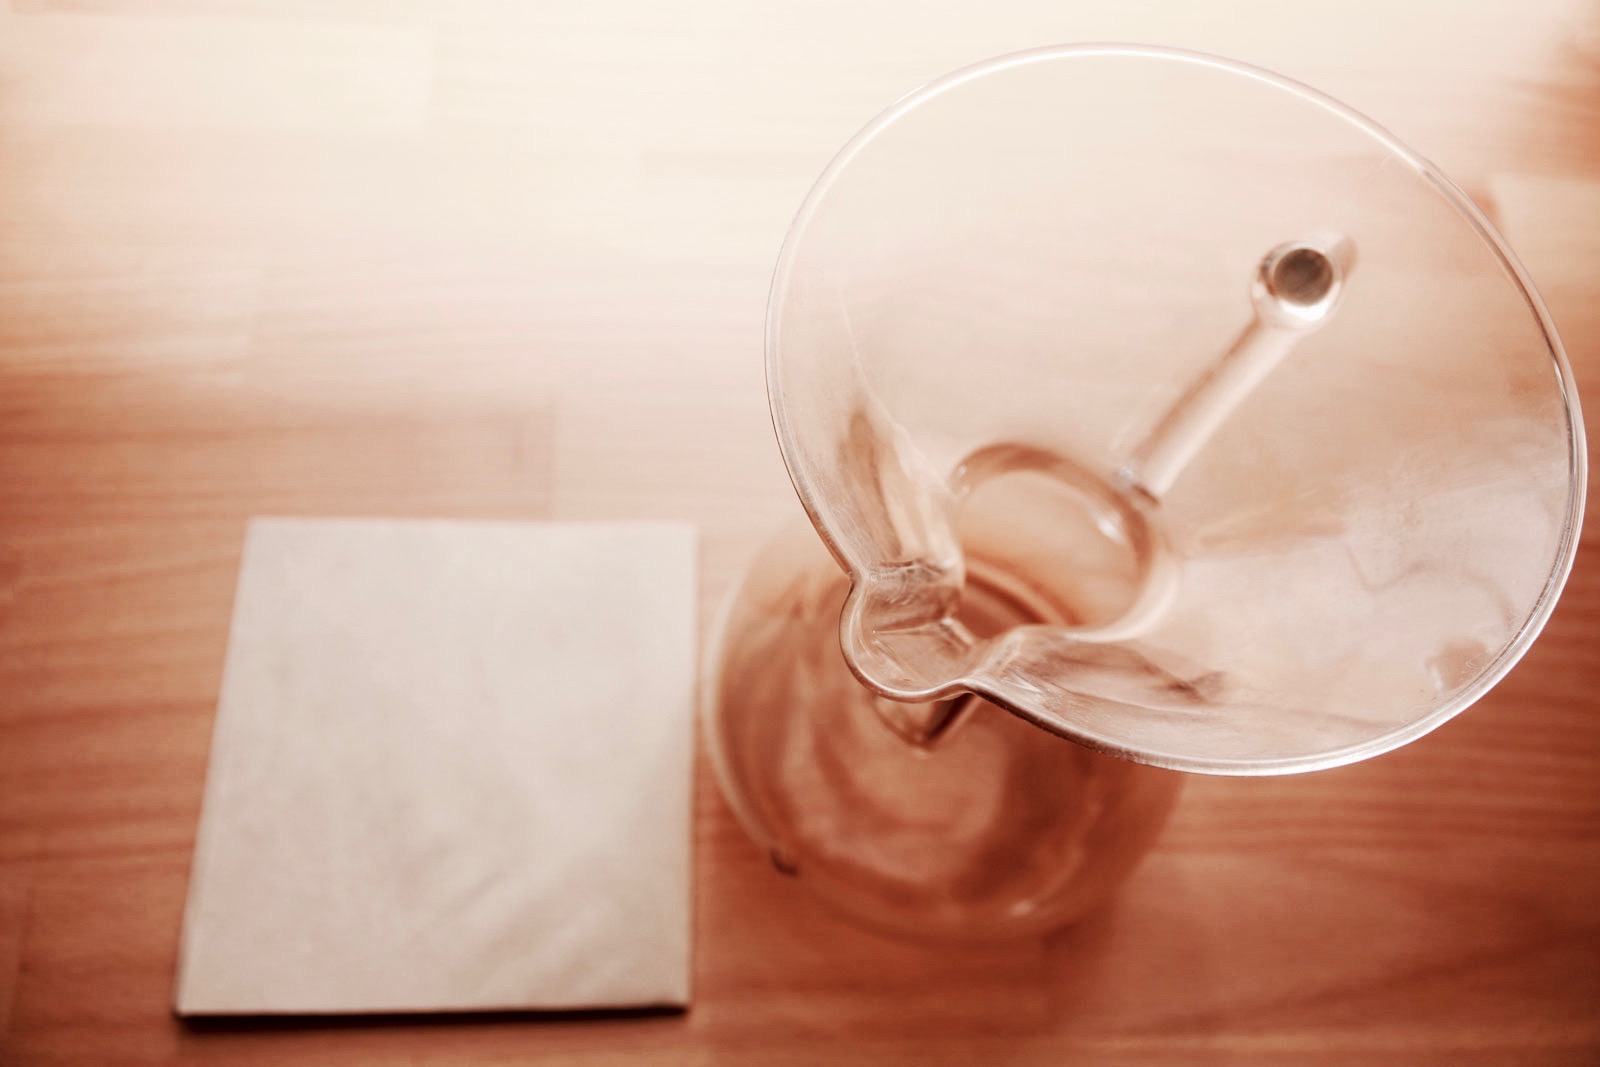
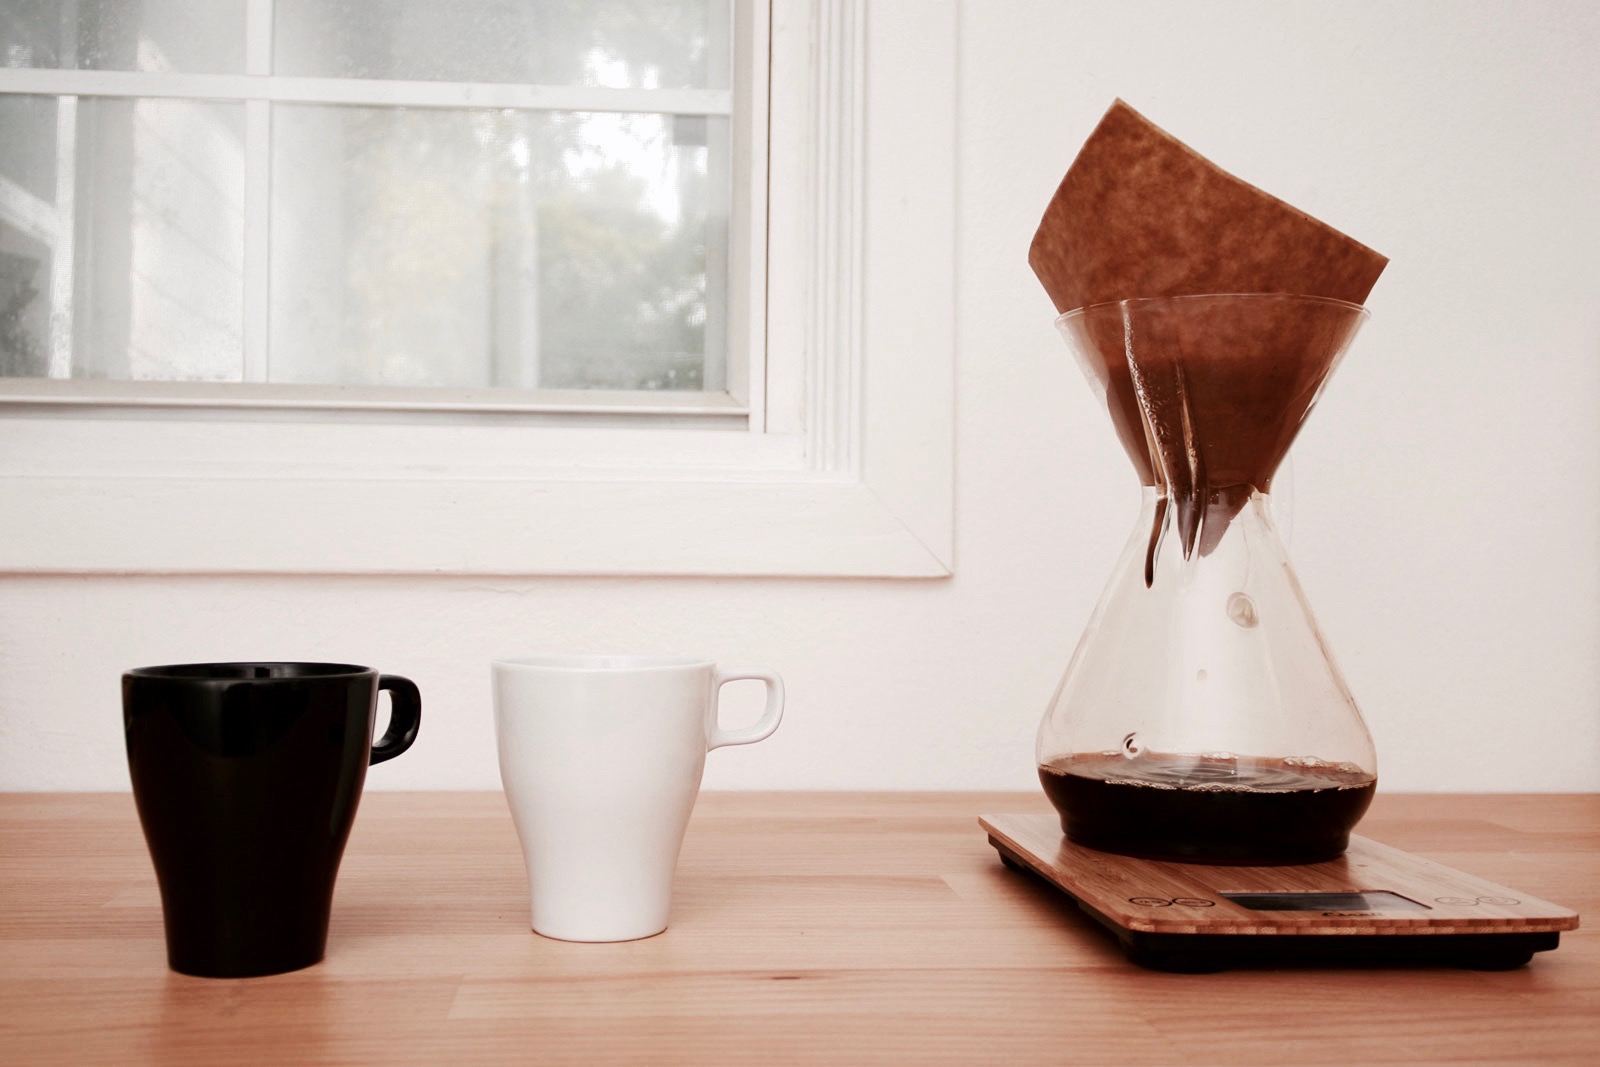
Assemble all of your coffee-making supplies: coffee, grinder (if using), kettle, scale, Chemex, filters (or metal cone filter).
Fill the kettle and set it to boil.
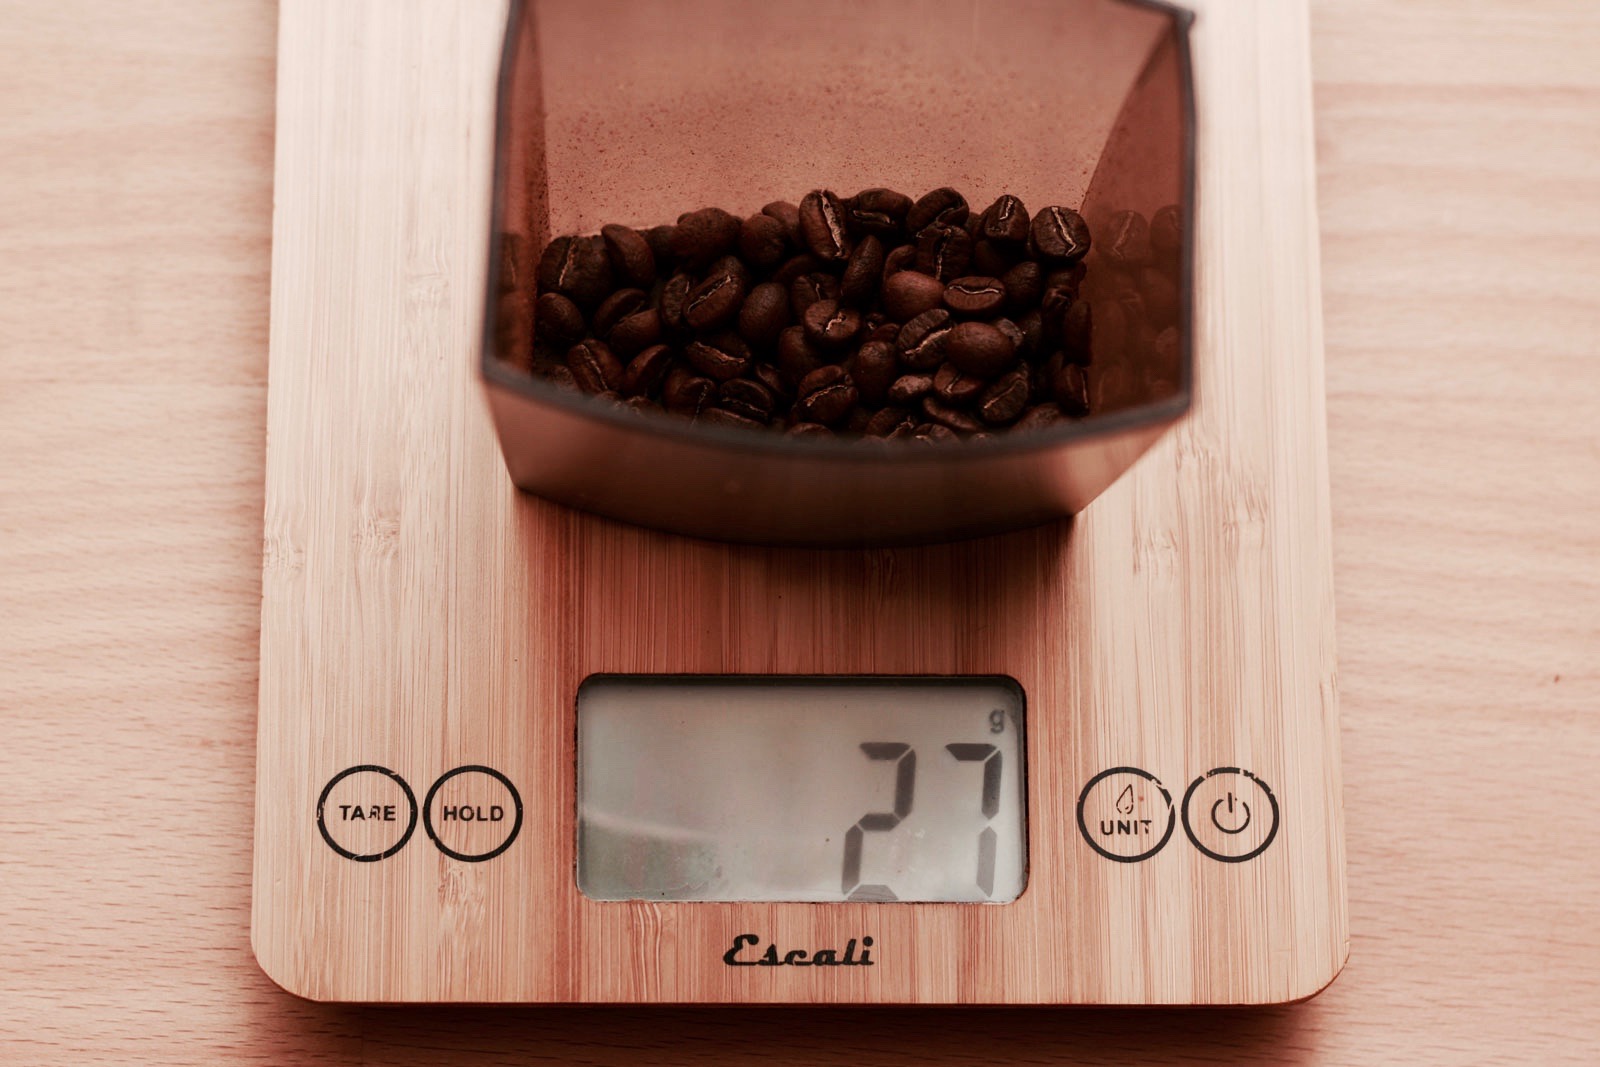
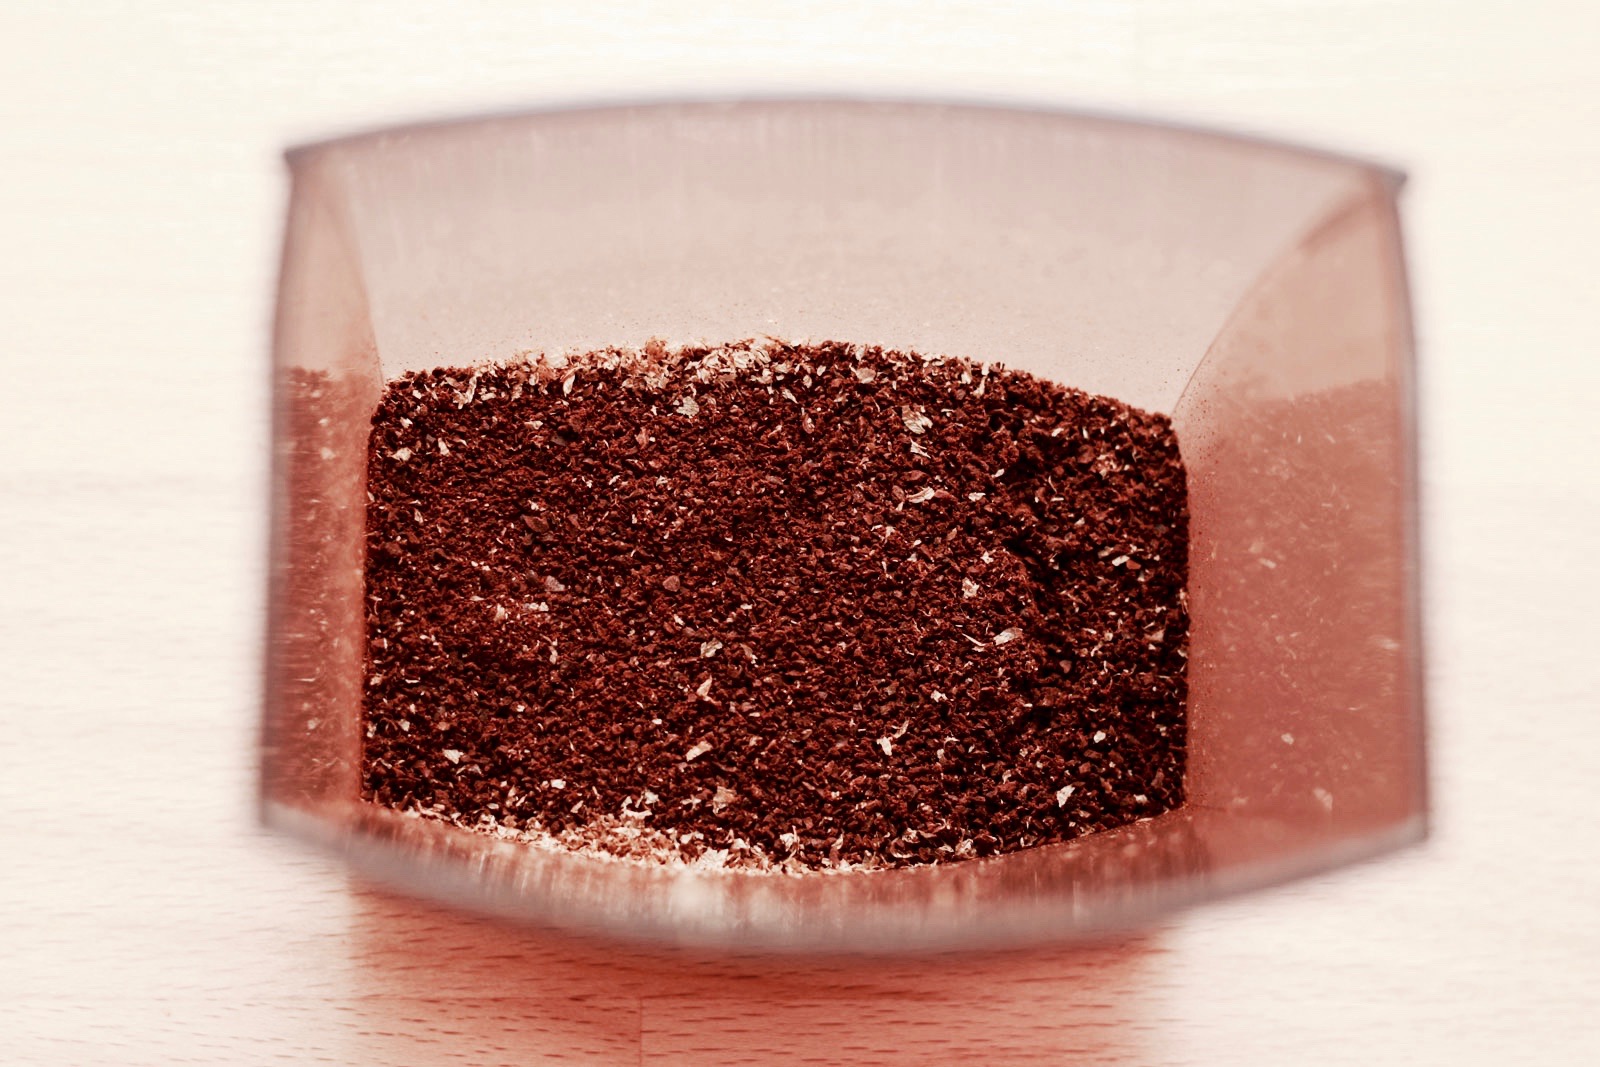
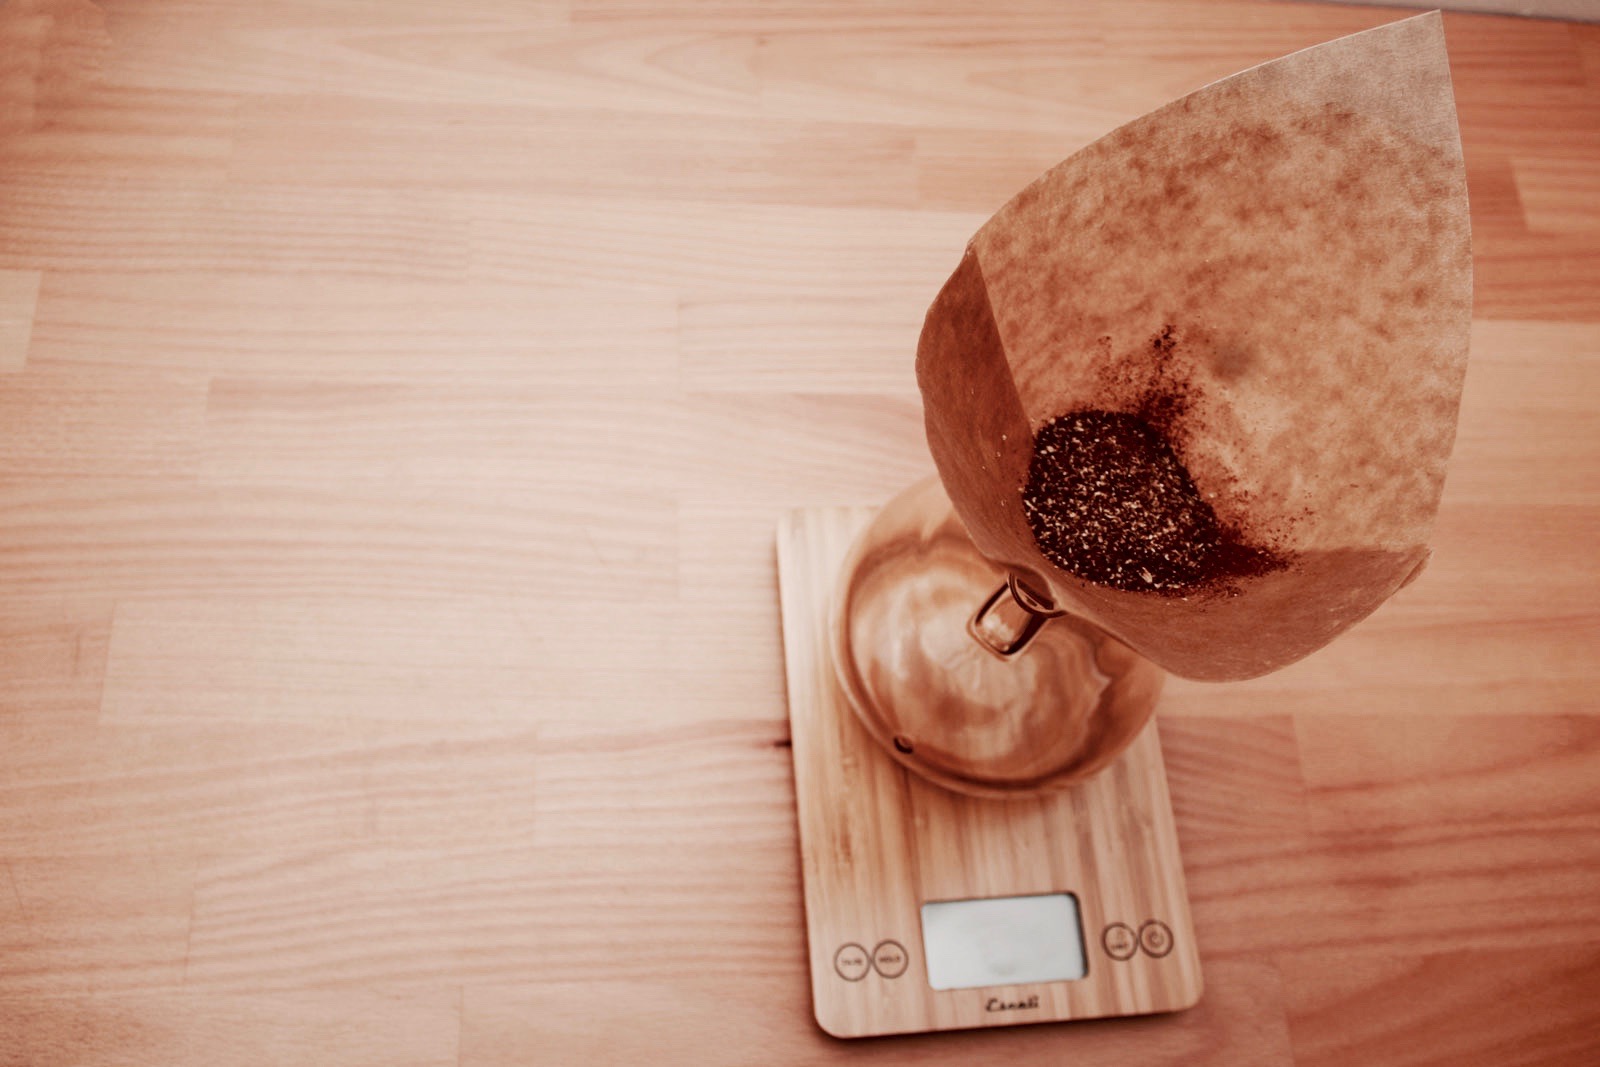
Weigh your coffee (whole bean or ground). If whole bean, grind to a texture of coarse sand.
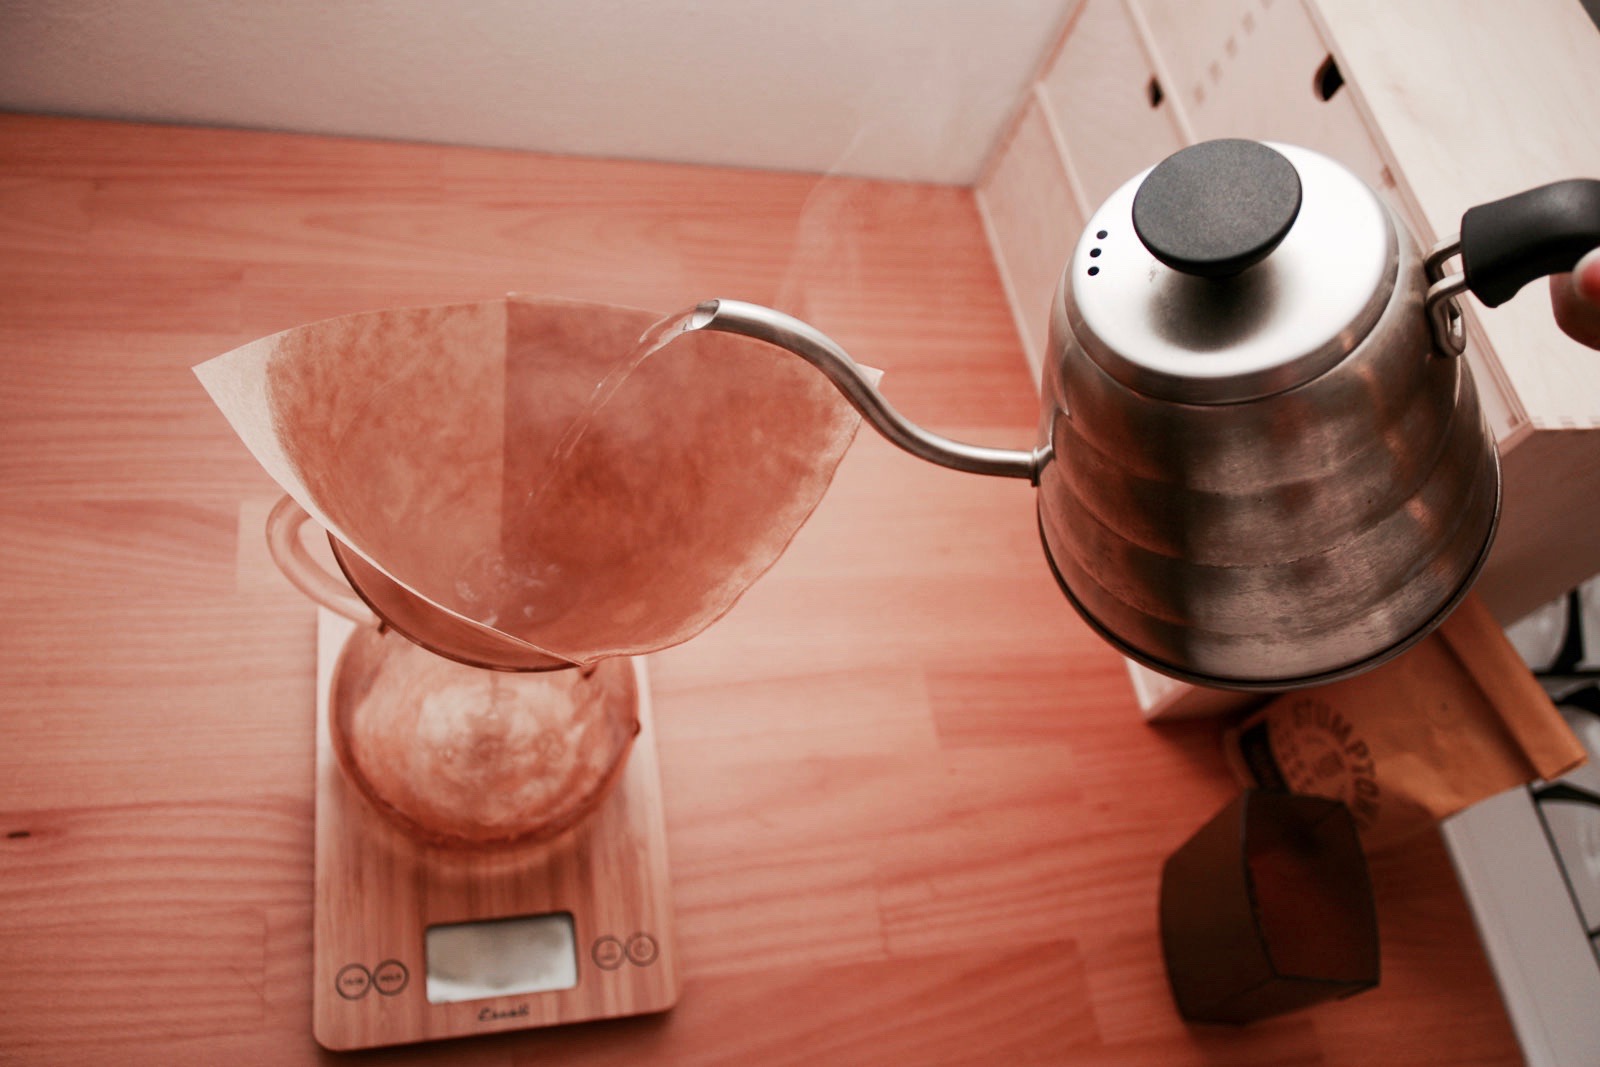
Place a filter into the Chemex, ensuring the side with three layers is on the same side as the spout. Once the kettle boils, rinse the filter thoroughly and discard the water (this removes the “paper” taste).
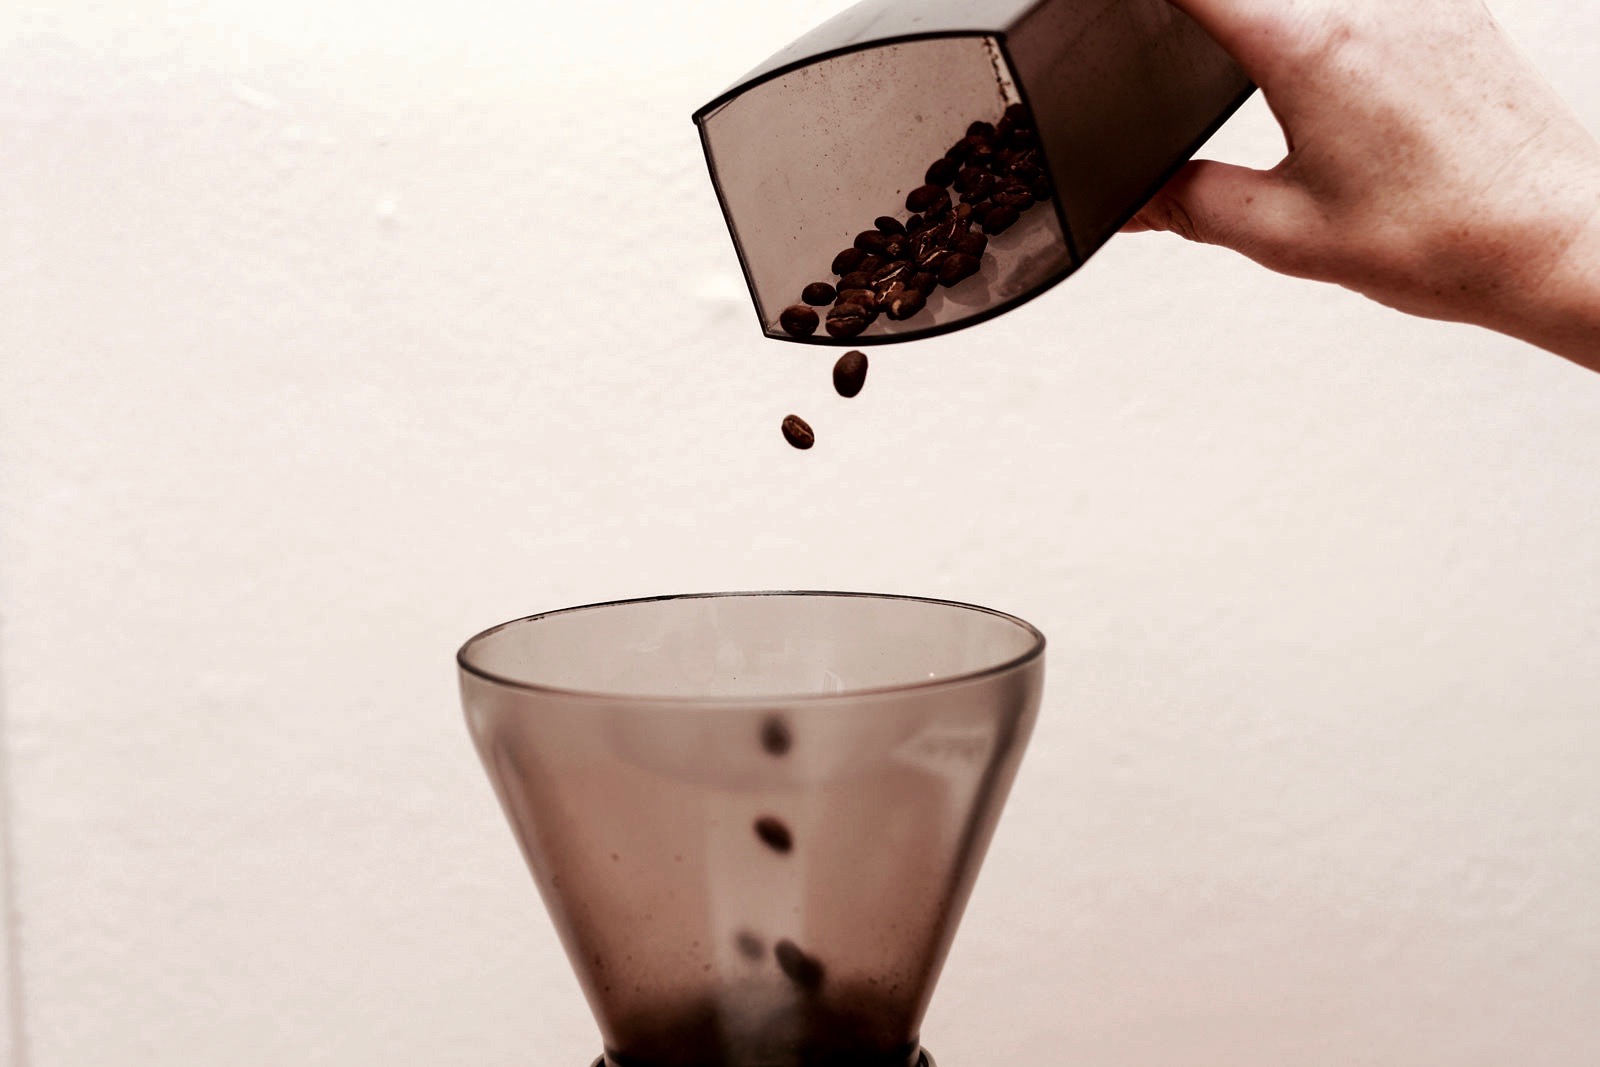
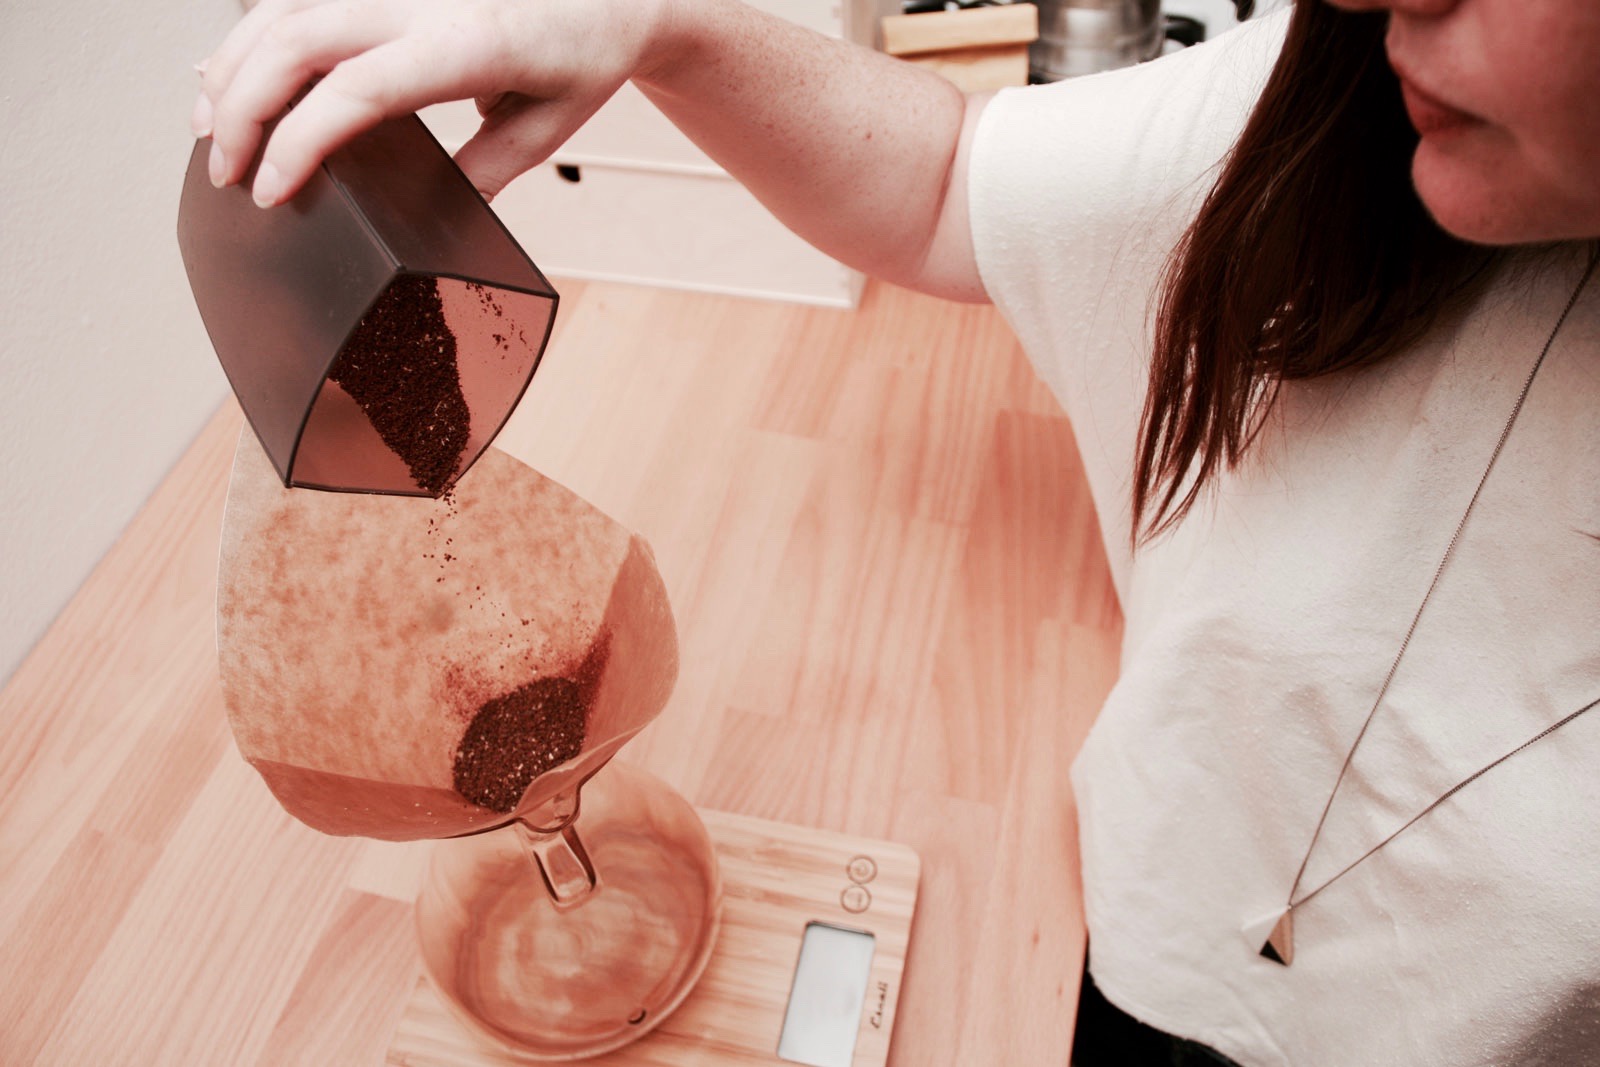
Add grounds to filter, and tare (i.e. zero-out) the scale.
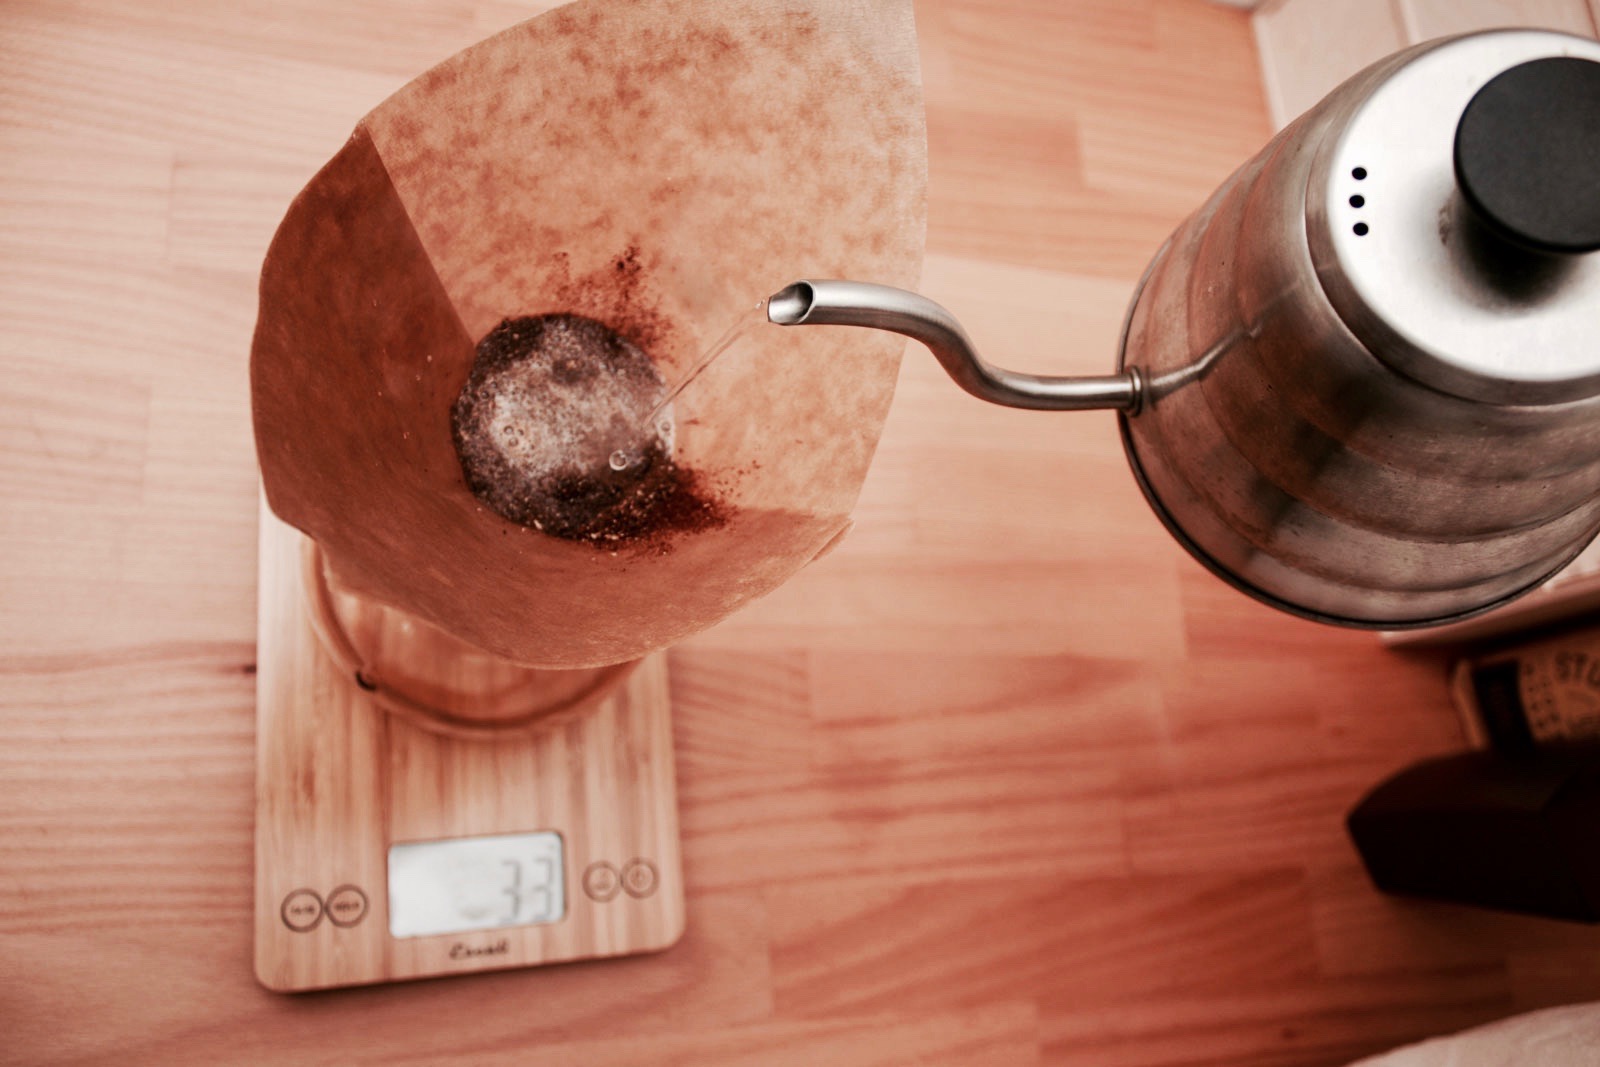
“Bloom” the grounds by pouring a small amount of water in slowly until the grounds are soaked. This helps the coffee grinds release some of their oils before the brewing process begins (resulting in a richer, more flavorful cup!). You will see very little coffee at the base at this point.
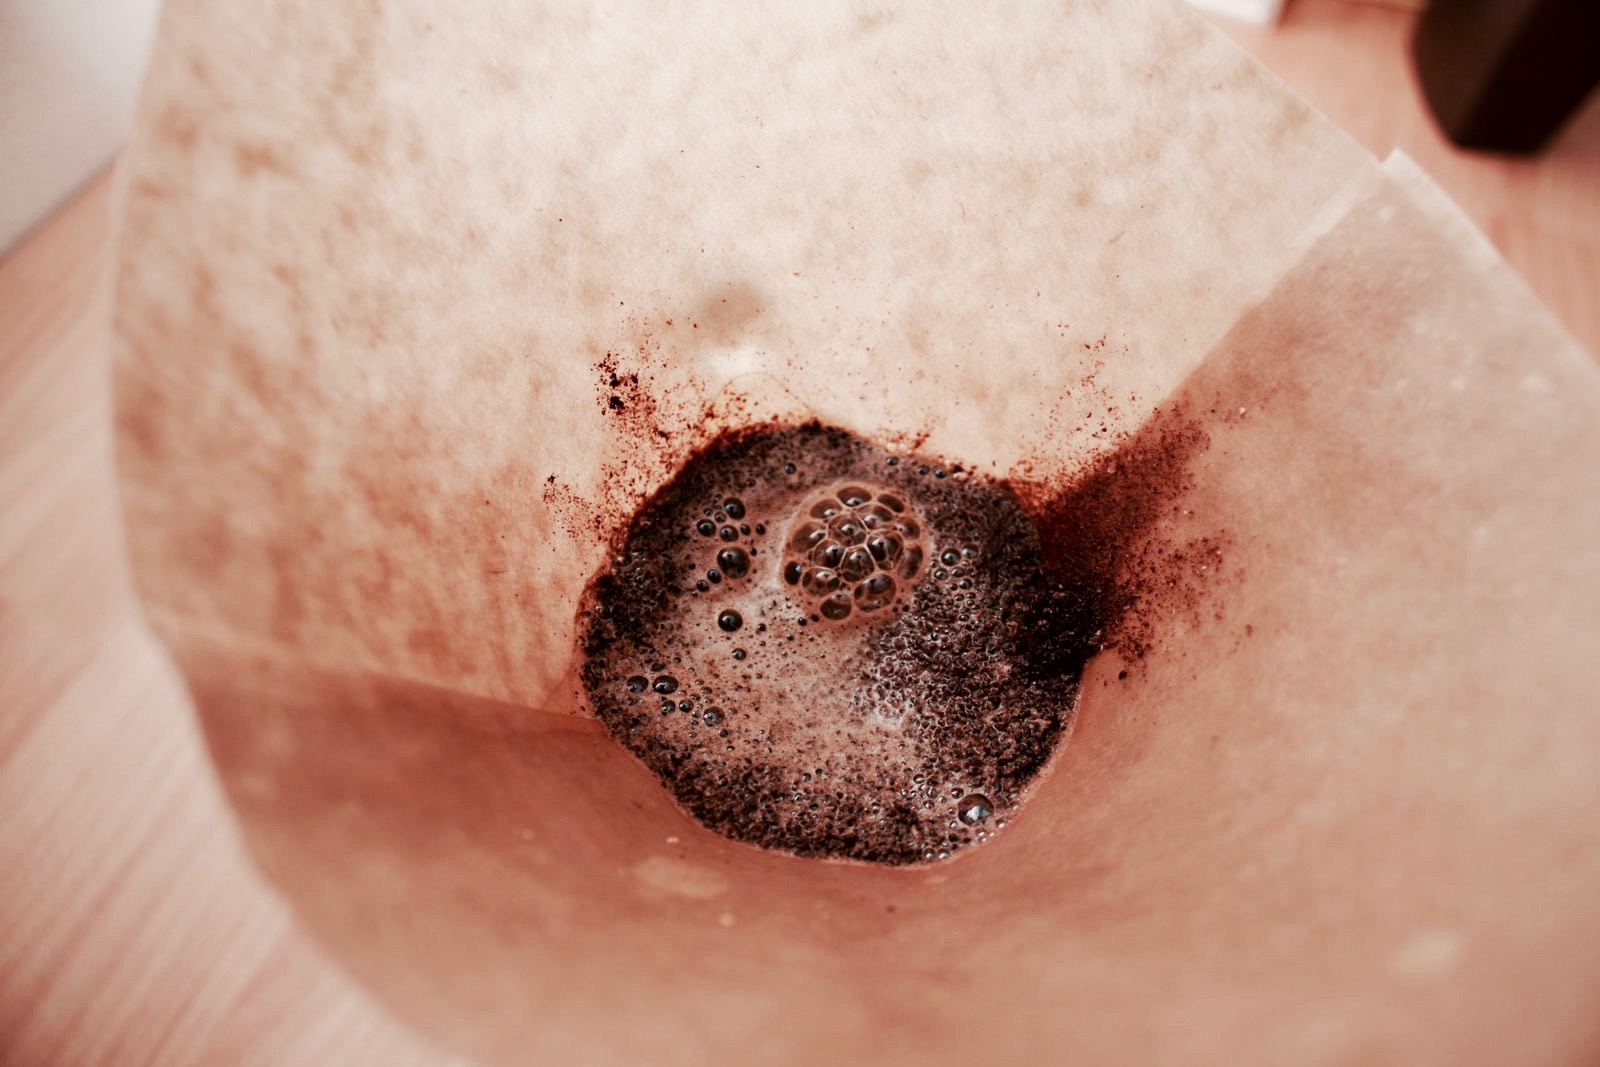
After blooming for about forty-five seconds, begin your first true pour. Circling slowly, add water to the grounds until you reach your target weight. Try to avoid pouring on the paper as much as possible.
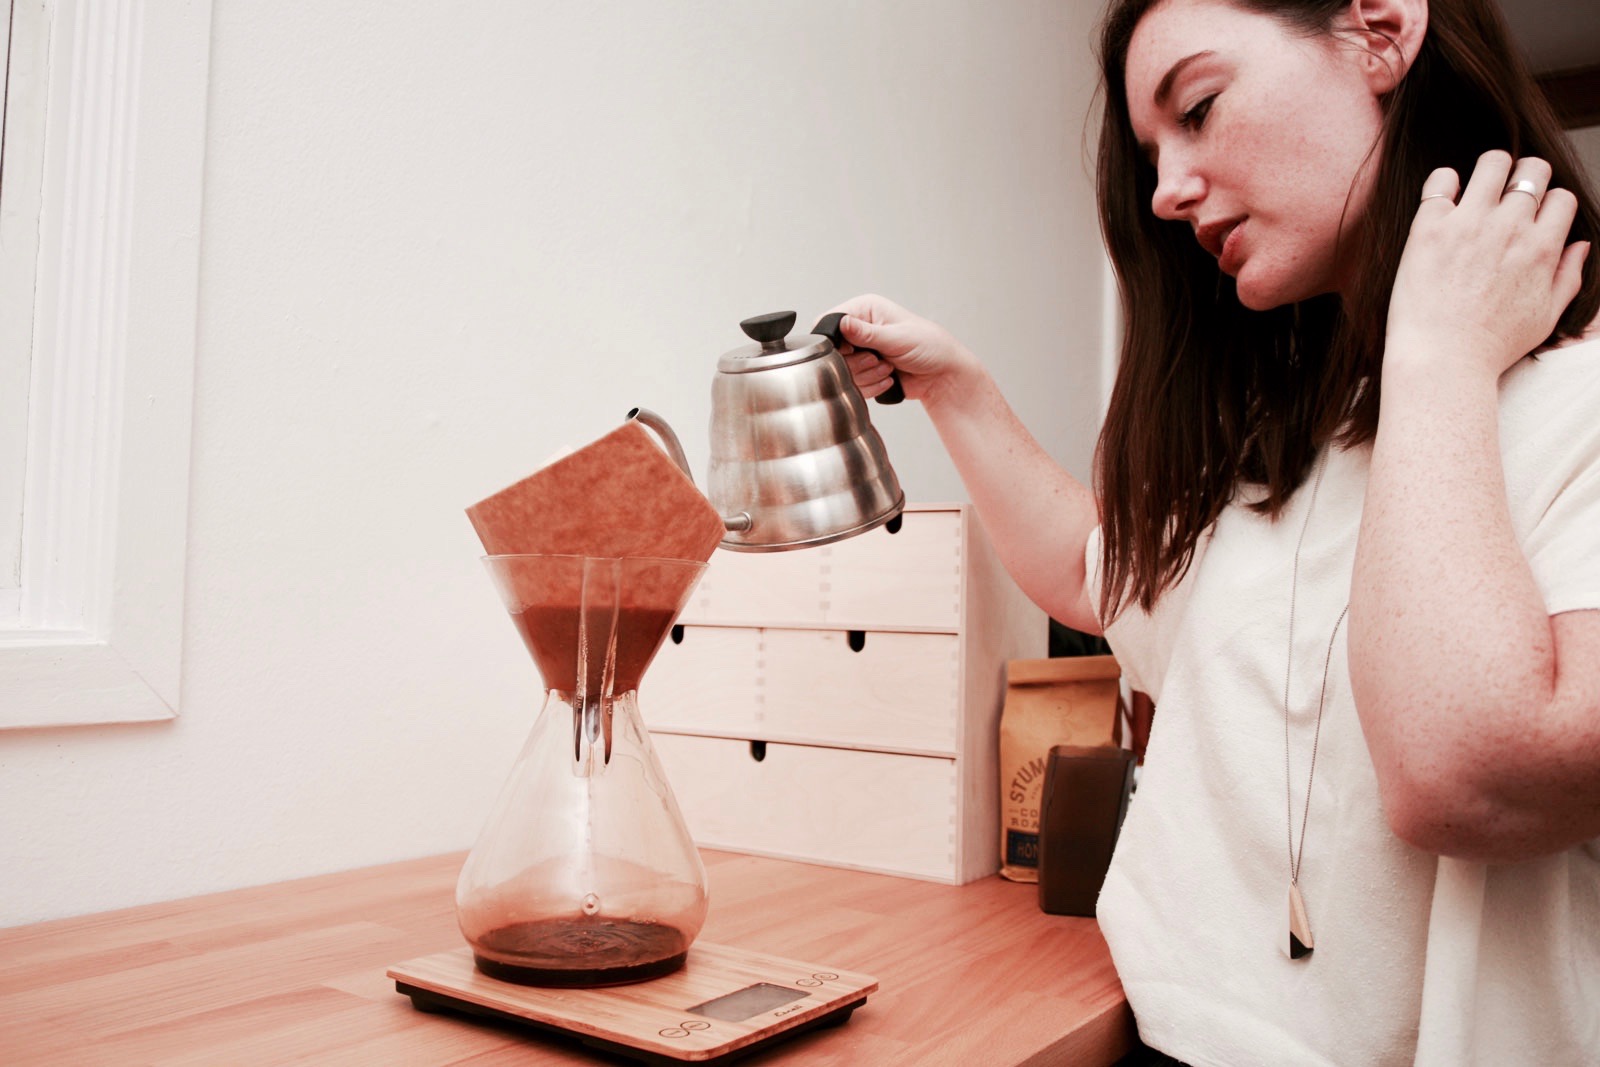
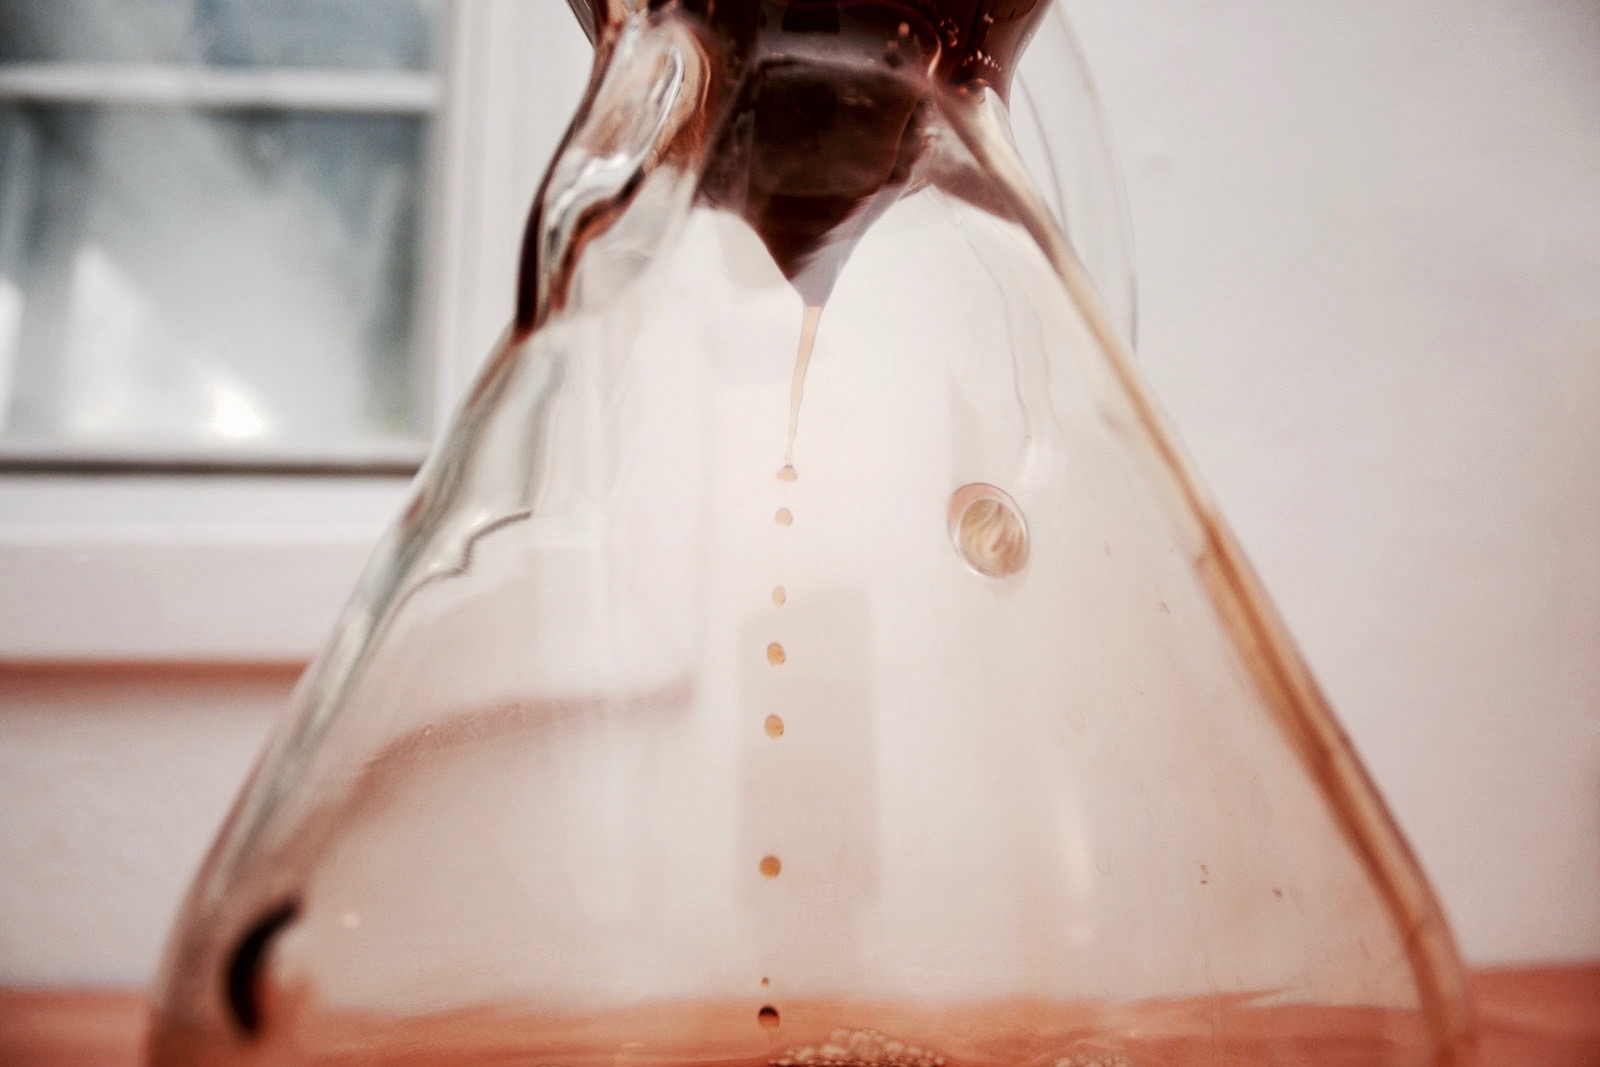
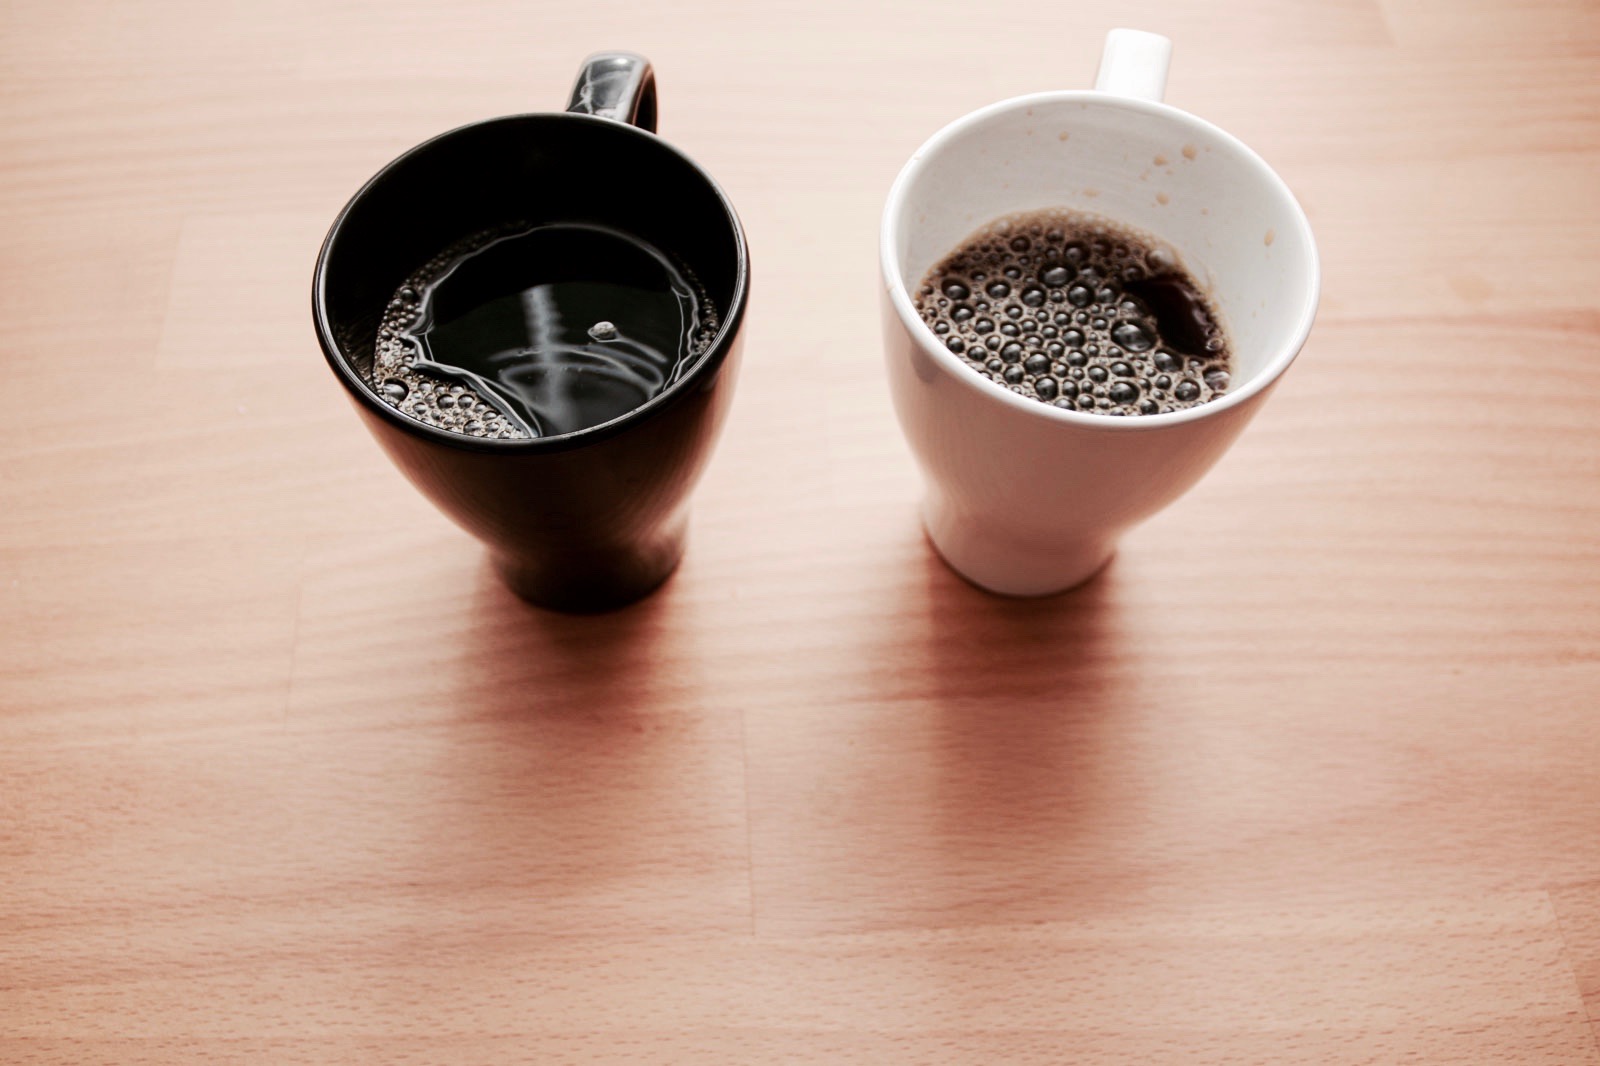
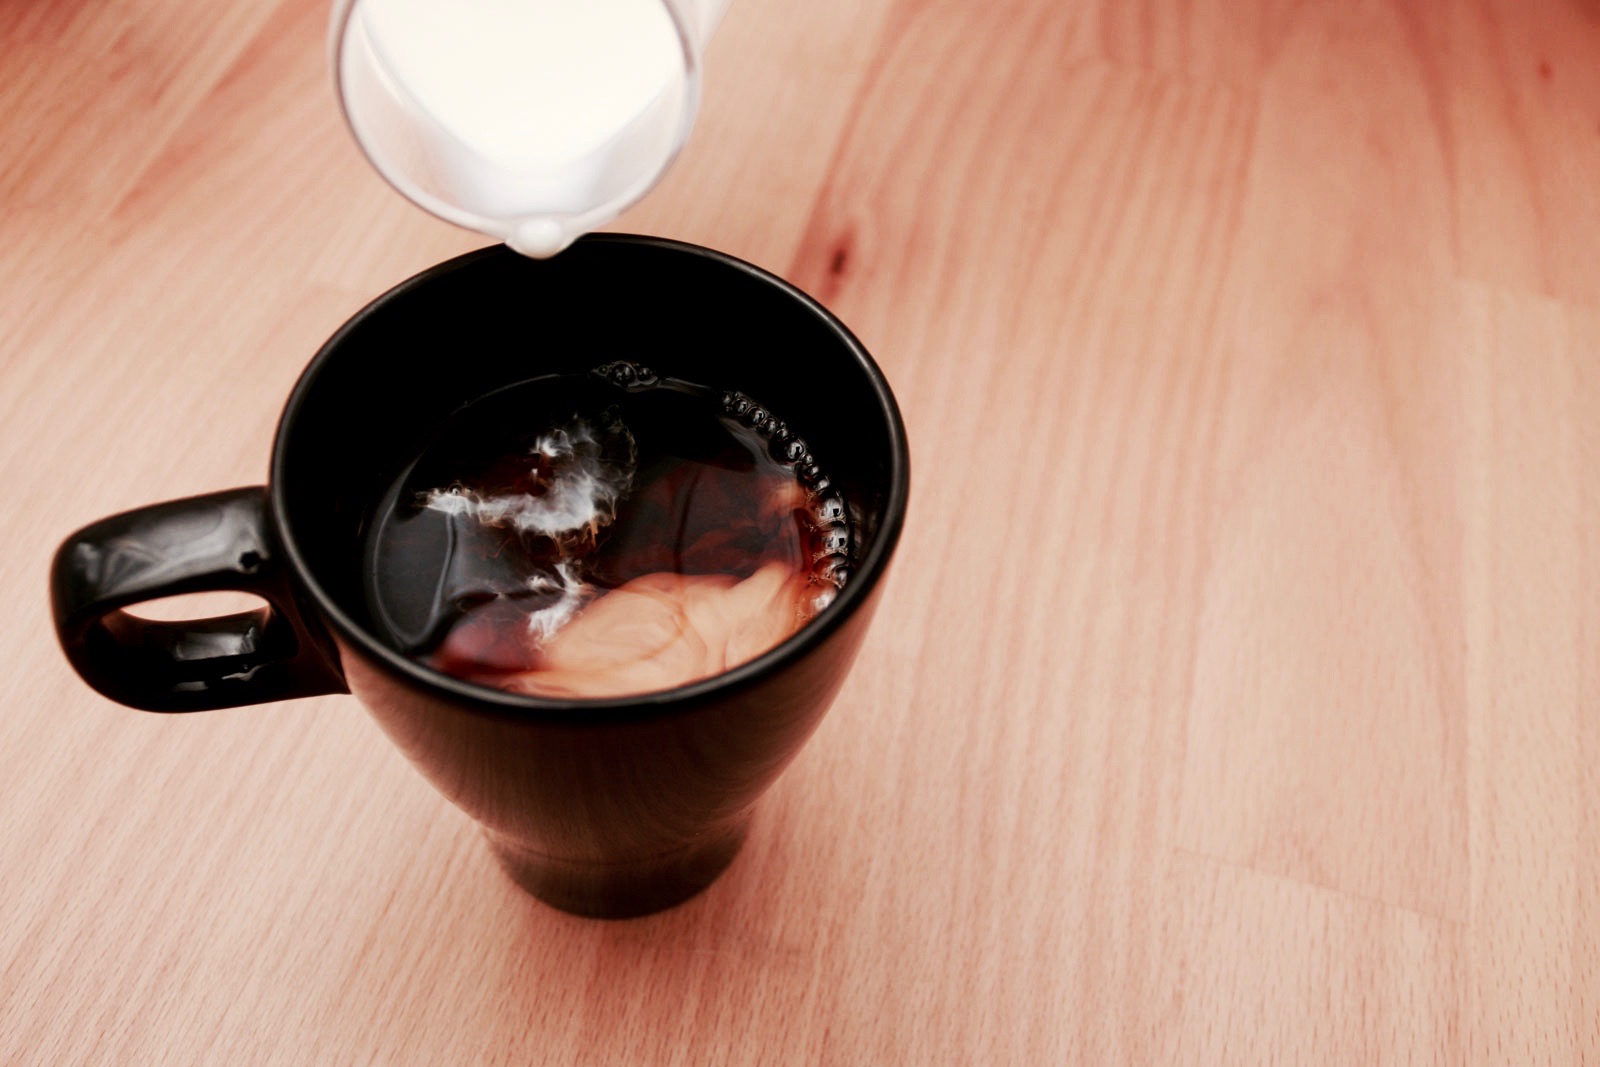
After a minute, go ahead and make your second full pour, bringing the weight on the scale to the total amount. During this time, grab your mugs and cream or sugar if you so desire.
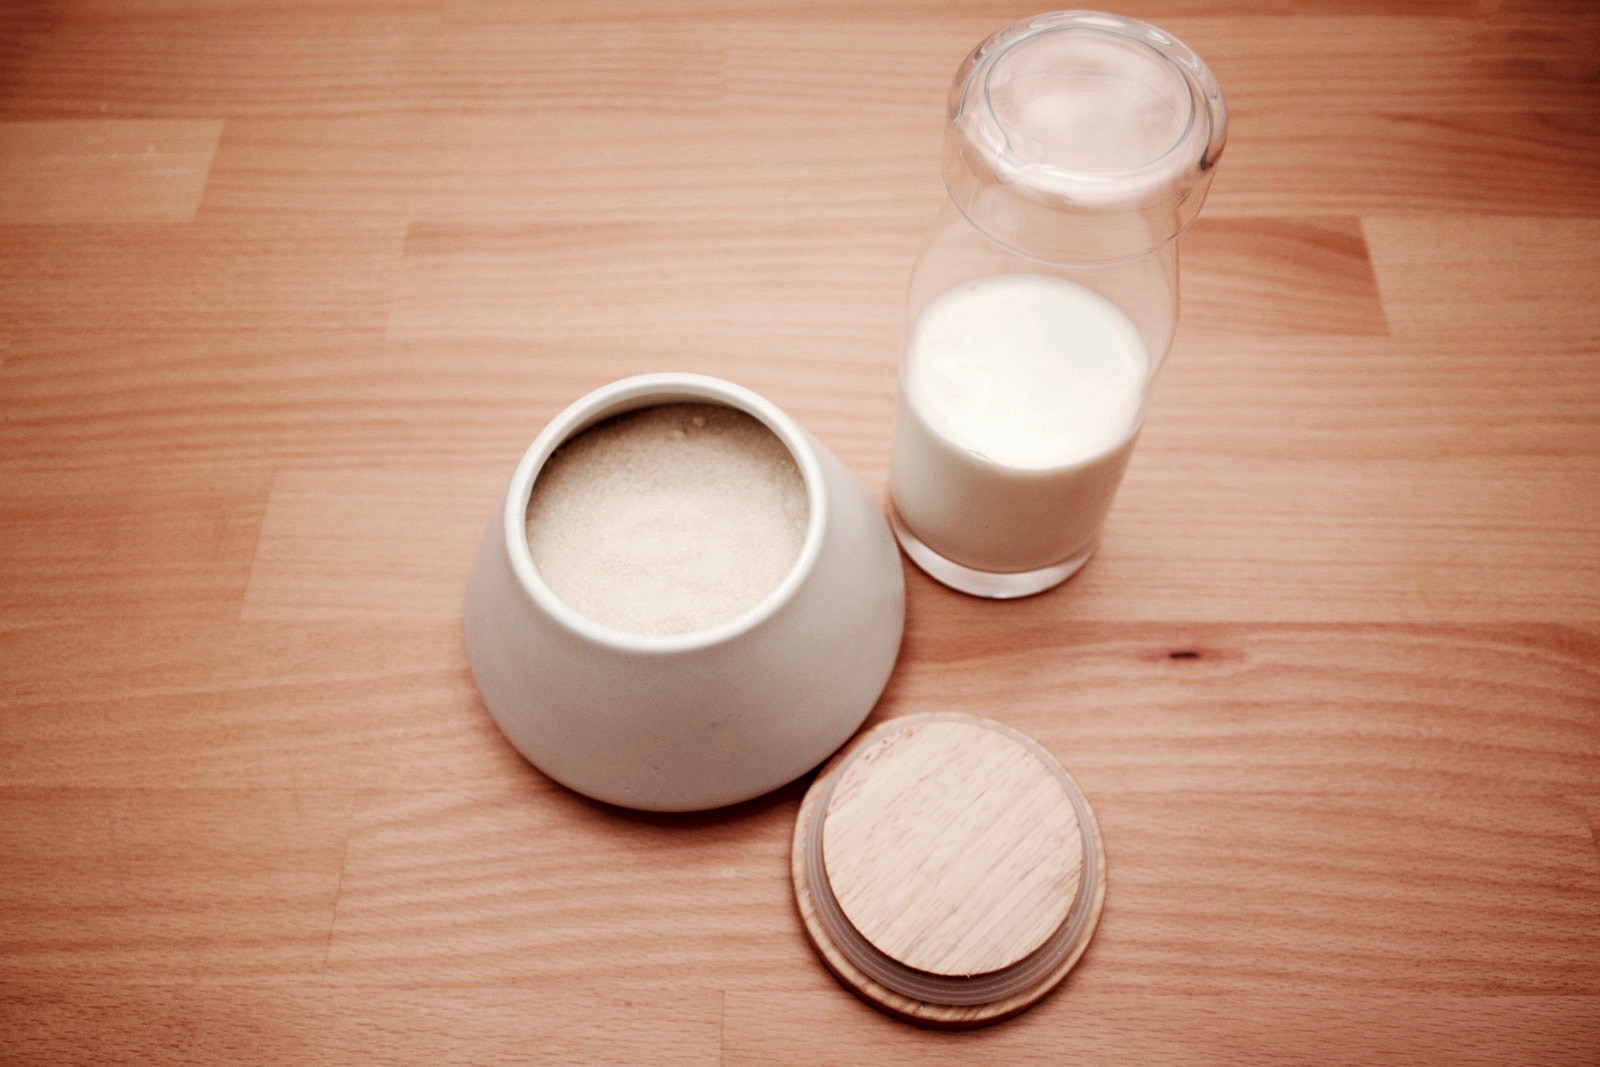
Once the coffee stops flowing and reduces to a slow drip (around the four-minute mark), go ahead and toss the filter and grounds. Resist the temptation to squeeze the filter and grounds into the Chemex; this is said to be bad for flavor. Divide into mugs (or take it all for yourself!) and add in cream and/or sugar to your liking. Relax and enjoy!

Recipe: Coffee Brewed with Chemex
Yield: 1-4 cups, depending on size and quantities used
You will need:
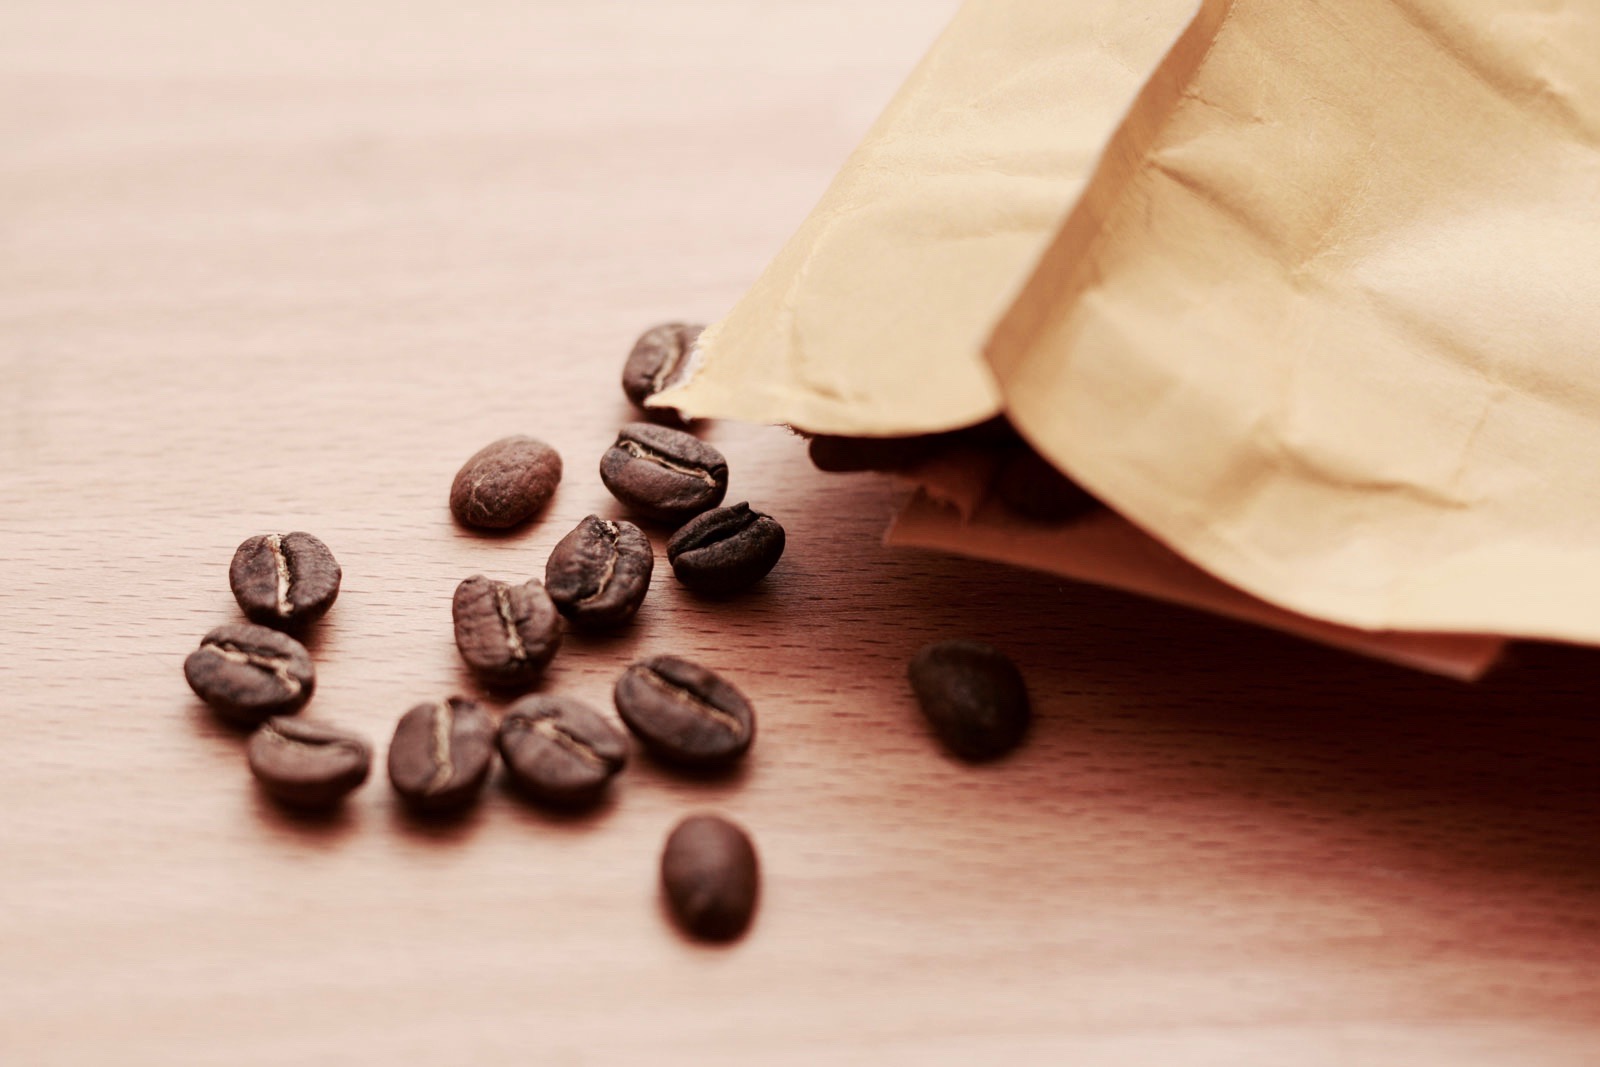
- 27g or 52g coffee, see note (preferably whole bean – here I am using Stumptown’s Homestead Blend – or as freshly ground as possible)
- a Chemex carafe
- Chemex filters or a reusable cone
- a kettle (electric or stovetop, preferably a gooseneck kettle. I use this one, but when it’s time to replace I will likely purchase this one)
- a grinder, if using whole bean coffee (preferably a burr grinder; this is my favorite budget electric grinder and this is a more affordable hand-grinder)
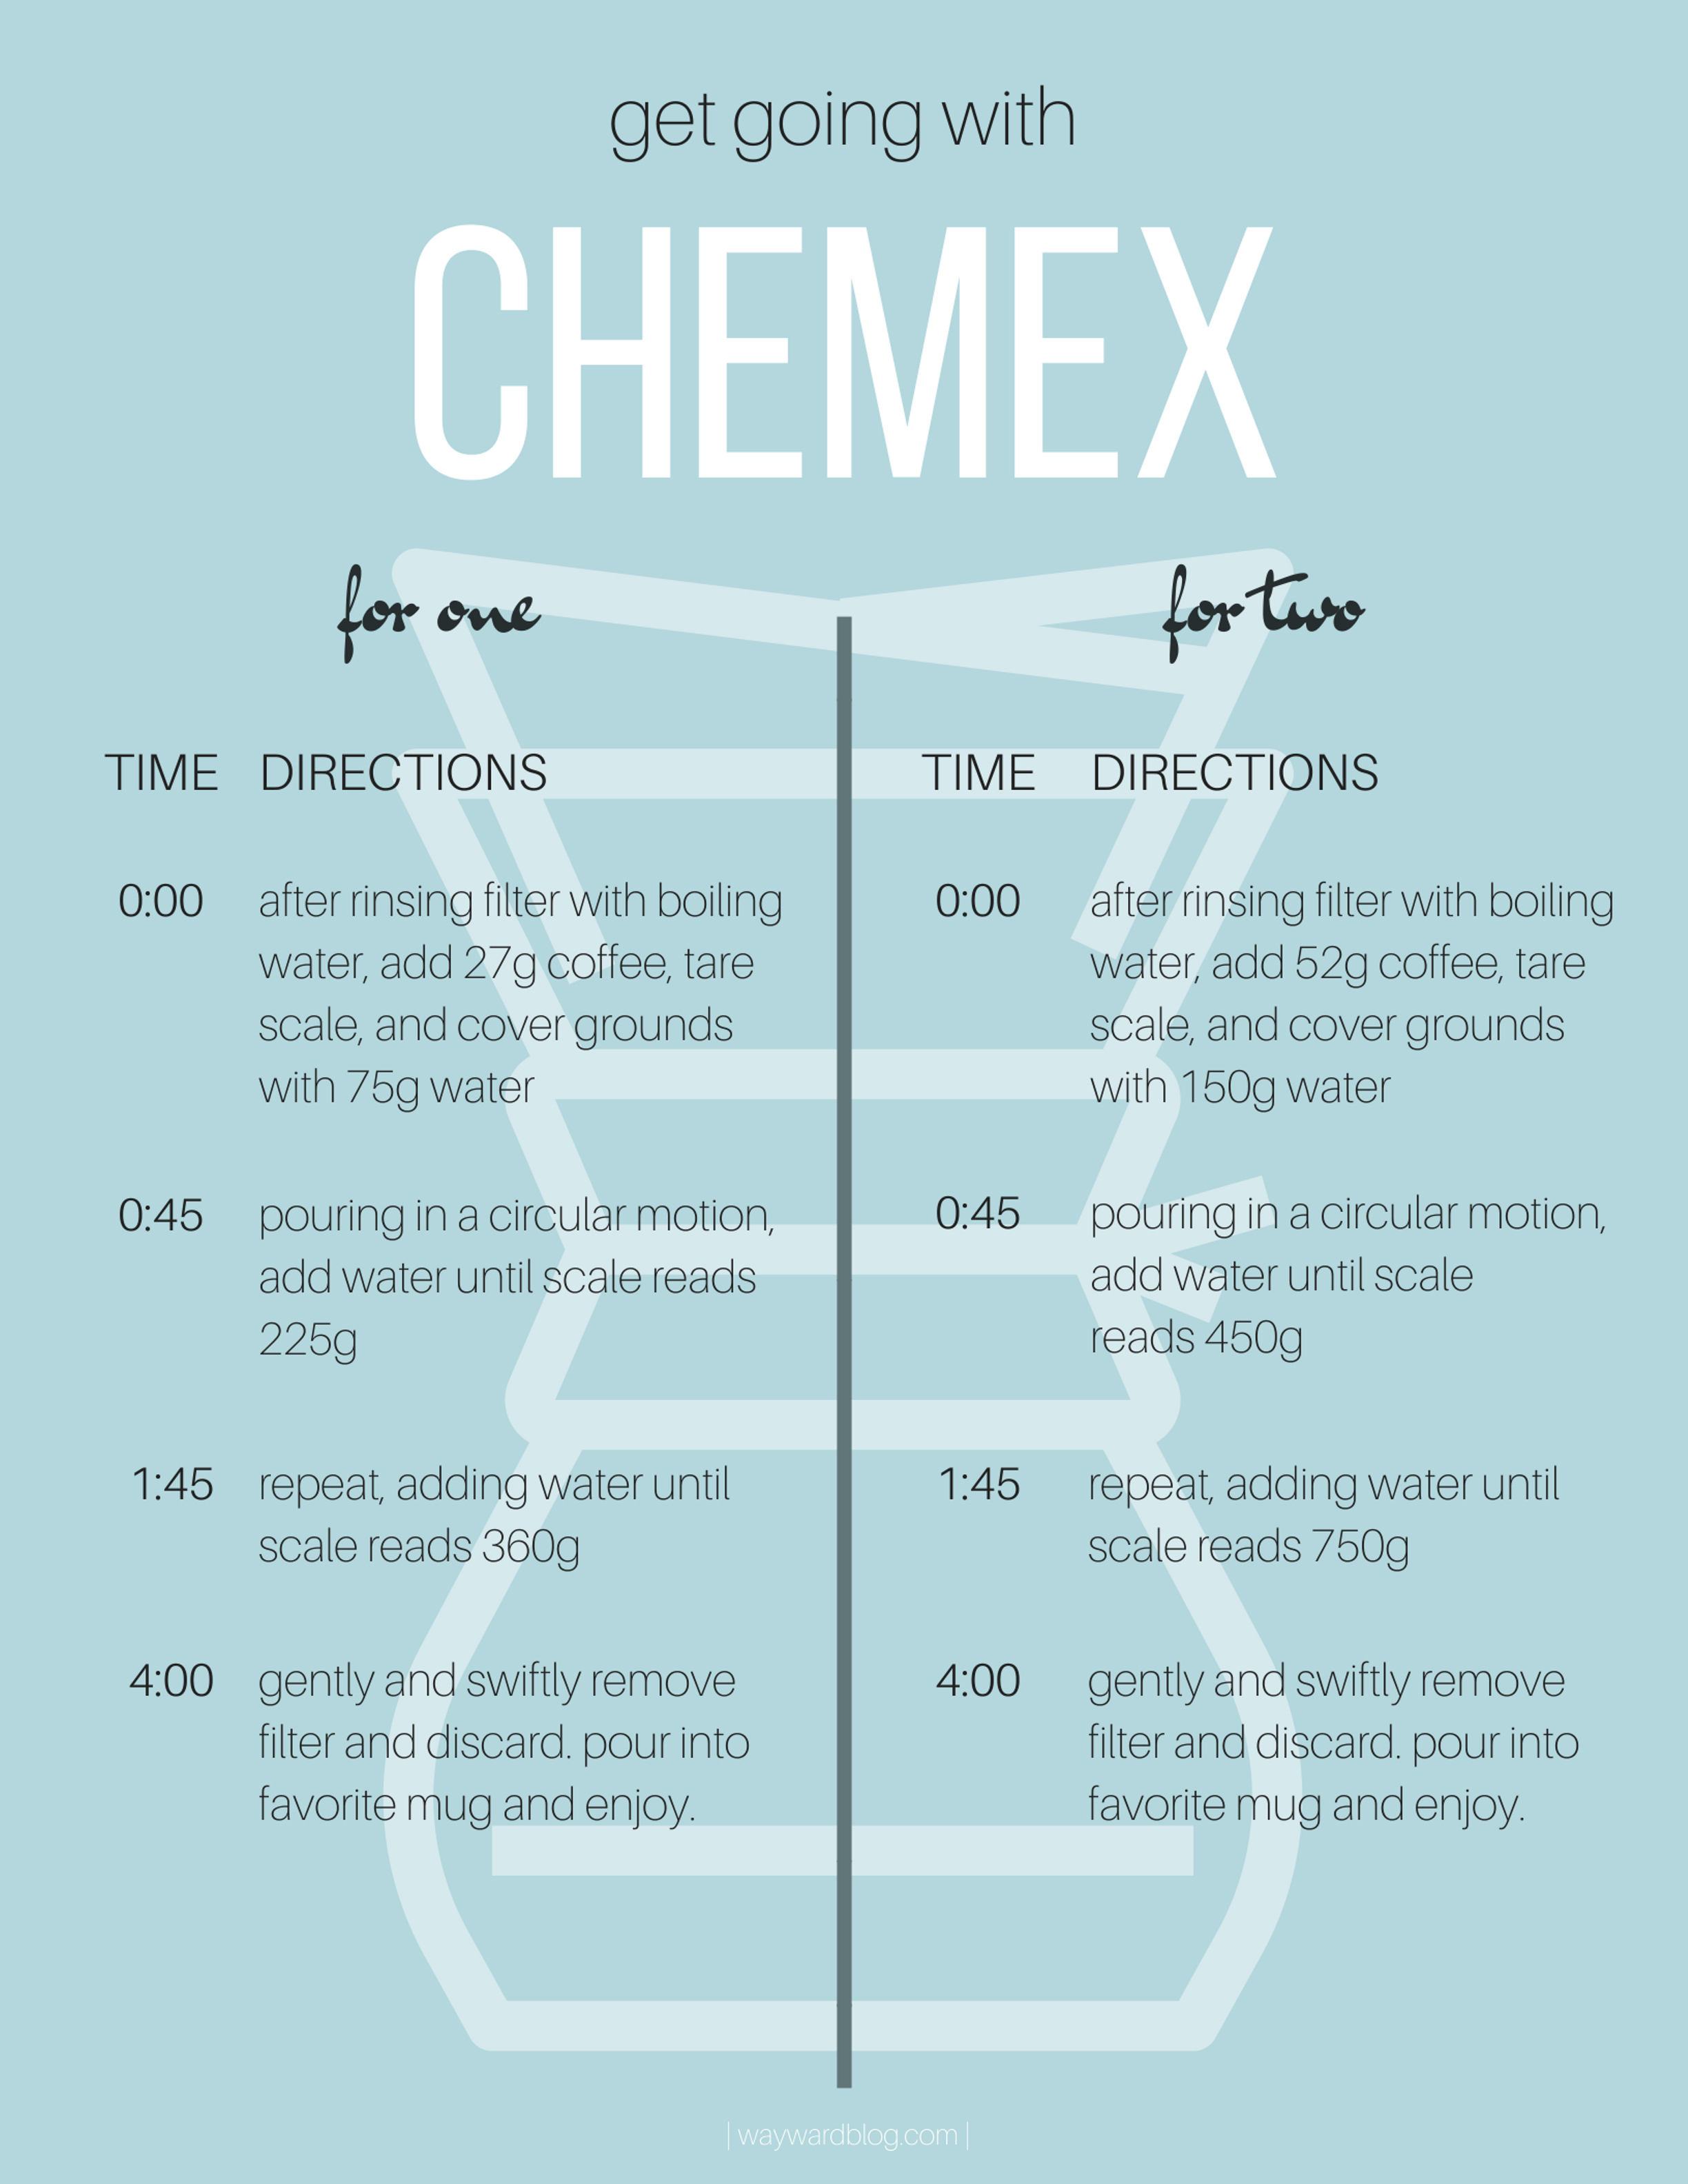
Brewing Guide:
Recipe note: weights shown are for one large cup (left) or two large cups (right). Use the smaller or larger numbers accordingly.
Fill your kettle and set it to boil. Measure (27g | 52g) coffee and run through grinder, if using whole bean coffee.
Place the filter in the top portion of the Chemex, ensuring the side with more paper layers is aligned with the spout. Once the water reaches a boil, remove it from the heat and pour enough water on and through the filter to thoroughly wet it. Discard water from Chemex, but leave the filter in place.
Add coffee grounds to the filter and place it on the scale. Tare the scale and begin a stopwatch.
Slowly pour water over the grounds to coat (scale should read 75g | 150g).
At the 0:45 second mark, pour additional water over the grounds in a circular motion (until the scale reaches 225g | 250g).
Once the stopwatch reaches 1:45, make the final pour (the scale should read 360g | 750g).
When the flow of coffee slows around the 4:00 mark, quickly and gently remove the filter and discard it. Pour coffee into a mug and enjoy!
To clean, add the remaining water to Chemex and swirl, rinsing several times and allowing to air-dry.
How To Deep-Clean Your Chemex
After several weeks (or months) of daily use, you may find that a rinse with boiling water is no longer enough to remove oils from the interior surface of your Chemex. Instead of reaching for questionably food-safe cleaners, reach for your kettle and a box of baking soda.
Sprinkle the baking soda into the Chemex, ensuring full coverage across the base of about 1/8″. Add boiling water to just past the collar (no need to fill it all the way!), and let sit for at least an hour. You’ll notice the coffee oils start to lift from the surface in a reaction that’s actually pretty fun to watch.
When time is up, empty the Chemex in the sink, and use an ultra-soft handled brush to reach in and wipe away any stubborn bits (I recommend one intended for cleaning delicate wine glasses; I use this one). Good as new – and your next cup of coffee will taste even better!
Free Printable: Chemex Brewing Guide
Enjoyed this post? You may also like:
- Vegan Irish Cream Recipe
- Enjoying a Vacation Tradition at Home and Serving up Three Effortless Apéritifs with Le Moné
- Recipe: Pre-Trip Pizza
- Everything Cookies Recipe
- Five Easy Meals
- International Holiday Recipe: Æbleskiver
- Recipe: Liege Waffles
- Recipe: Swedish Sticky Chocolate Cake (Kladdkaka)
- Travel-Inspired Recipe: New York-Style Bagels
- Fresh Pasta Carbonara Recipe
- Pistachio Ice Cream Recipe
What is your favorite coffee-brewing method of choice? And more importantly, what are you going to do with that extra $1,825?


Have always wondered about this coffee brewing method! Thanks for the informative guide!