
While in Belgium recently, I can’t even begin to tell you how much time Michael and I spent hunched over our phones, searching for “Best Liege waffles in *current Belgian city,*” which is probably good because it would really be an embarrassing number calculated in hours, not minutes.
All in search of an ultimately elusive Liege waffle – that beautiful combination of butter and sugar that makes eating one nothing short of a transcendent experience (note, this is different than a Brussels waffle; here’s a good comparison).
This post contains affiliate links and I may receive a small commission if you make a purchase after clicking one of these links (at no additional cost to you!). Thank you for your support!
Unfortunately, that moment never came. We consumed waffles all over the country, even seeking them out during a frantic hourlong stopover at the Liege train station, and found ourselves more and more disappointed with each sad, soggy checkered piece of pastry we received.
By the end of the trip, we were exhausted of consuming un-delicious calories, and resorted to ingesting the store-bought variety, which was actually the best we had during the whole trip (it looks like a similar version is sold on Amazon, if you’re interested). We cracked jokes that indeed, I was the best waffle-maker in Belgium and laughed through our tears.
The first thing we did after returning home (after sleeping for fourteen hours and corralling everyone’s souvenirs), was make a batch of Liege waffles. To be fair to the waffle makers in Belgium, I get why you would cut corners – Liege waffles are time-consuming to make and the ingredients to make them can get costly (well, relative to the Brussels-style waffles, at least). But I implore you – if you’re going to make the waffles, please do them right. Don’t make substitutions, don’t skimp out on rise time. If you follow the instructions to a T, you too can be the best waffle-maker in your city. Anxious about working with yeast? It can seem daunting at first, but gather your ingredients first and just take it one step at a time and you’ll be okay.
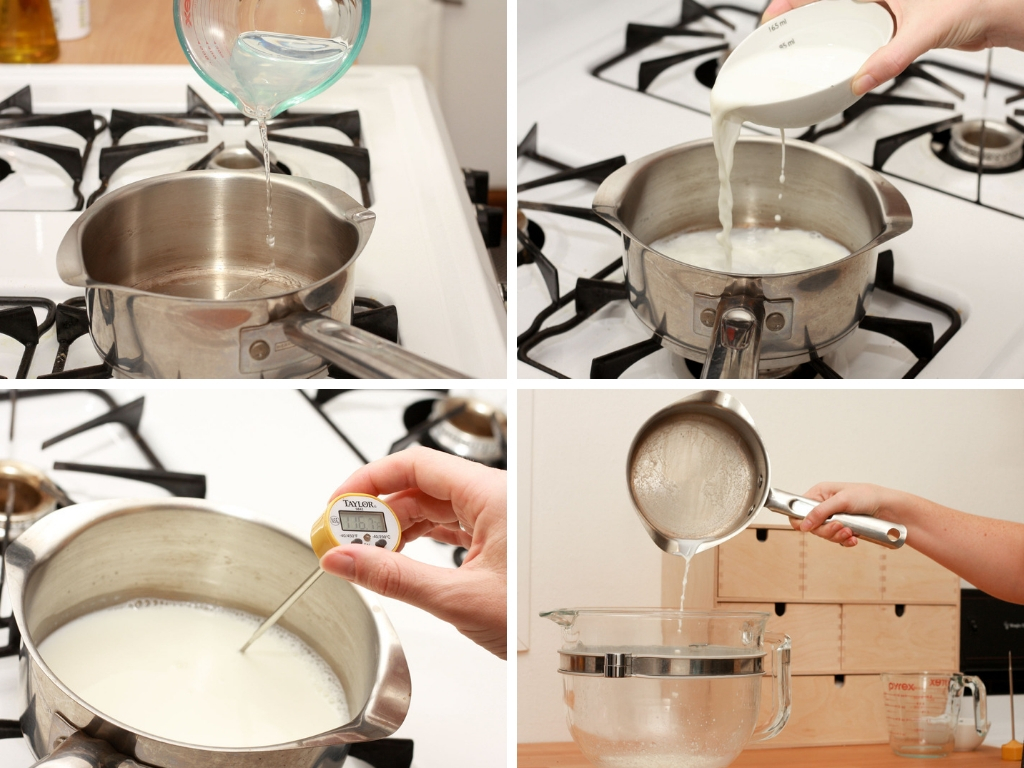
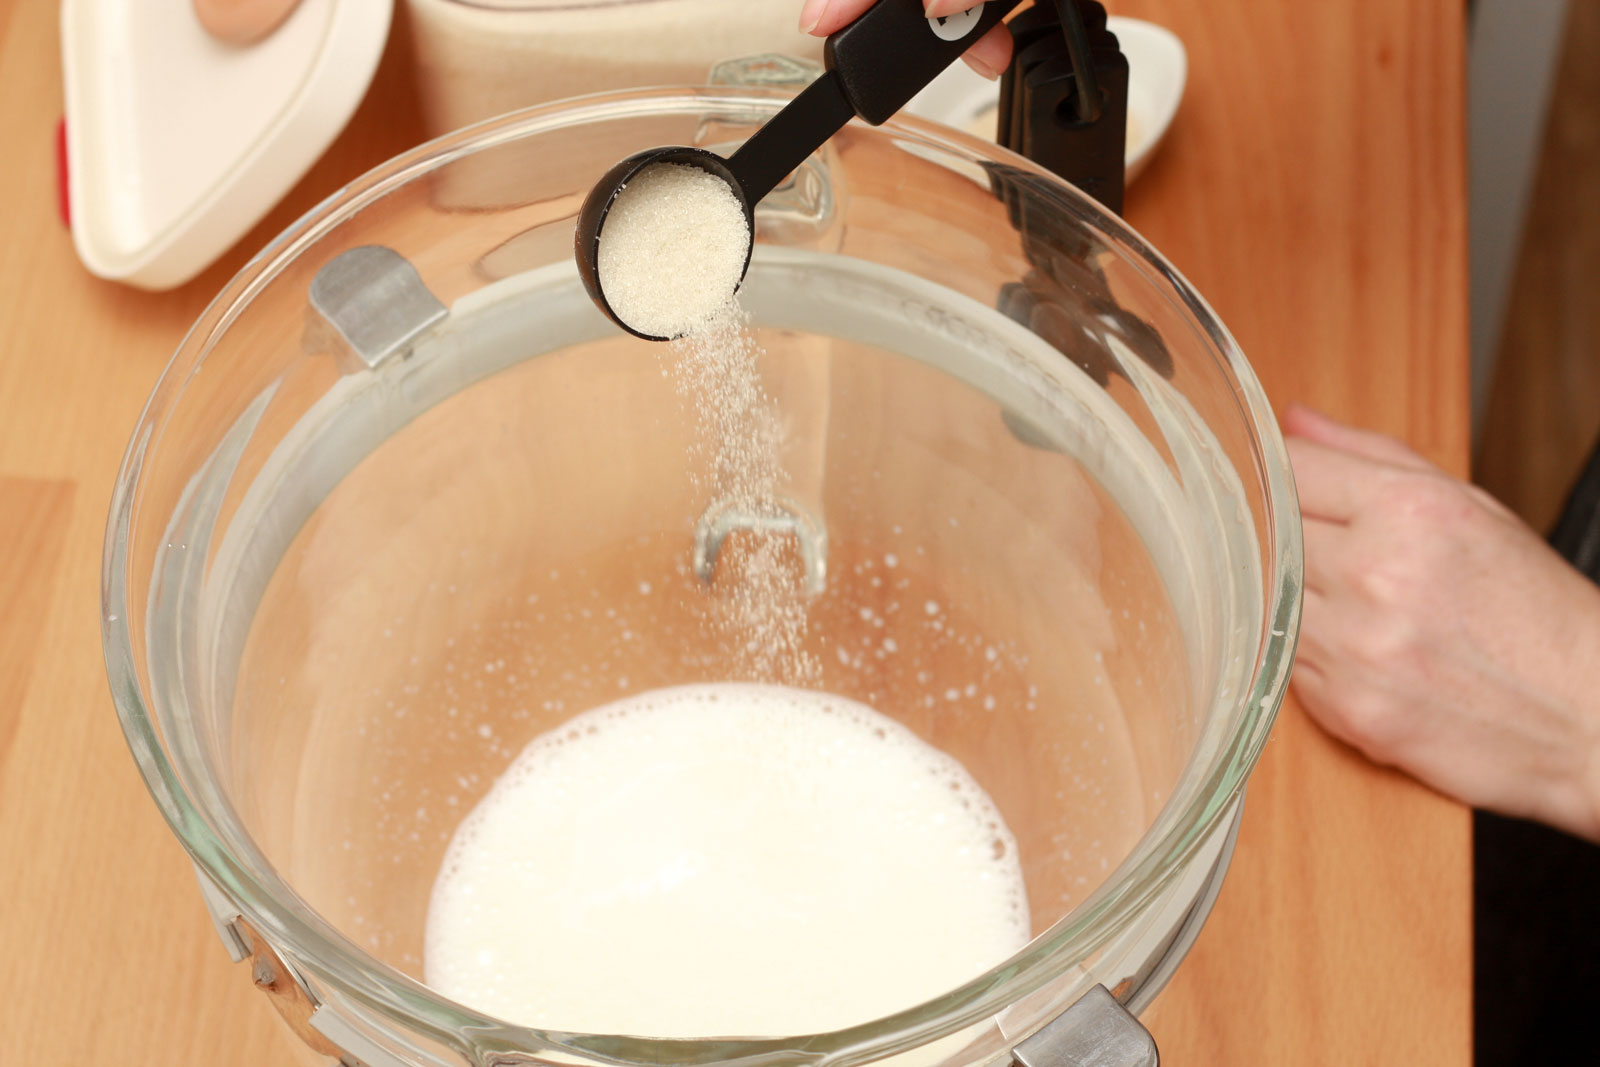
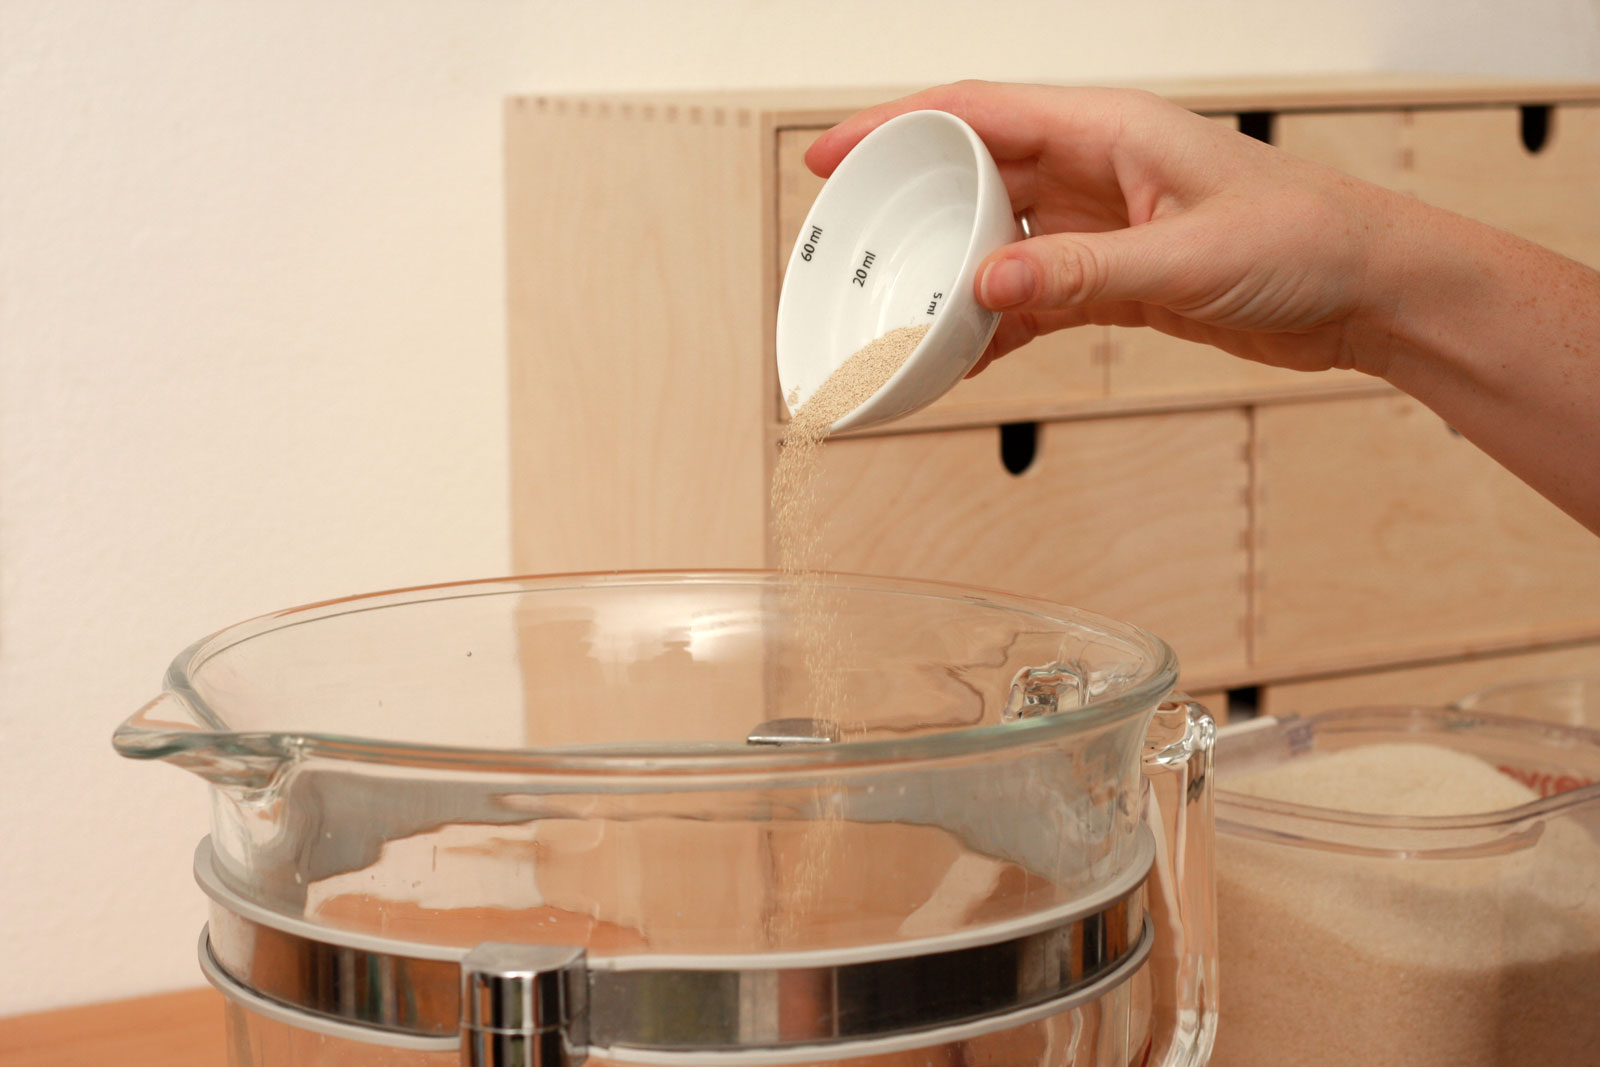
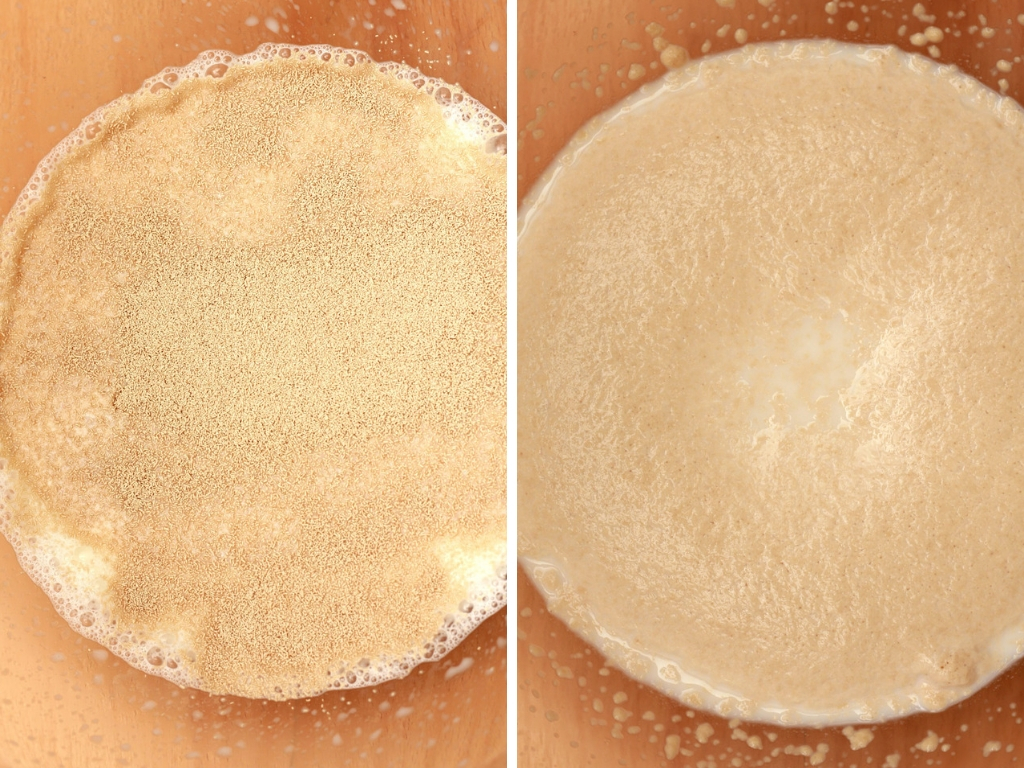
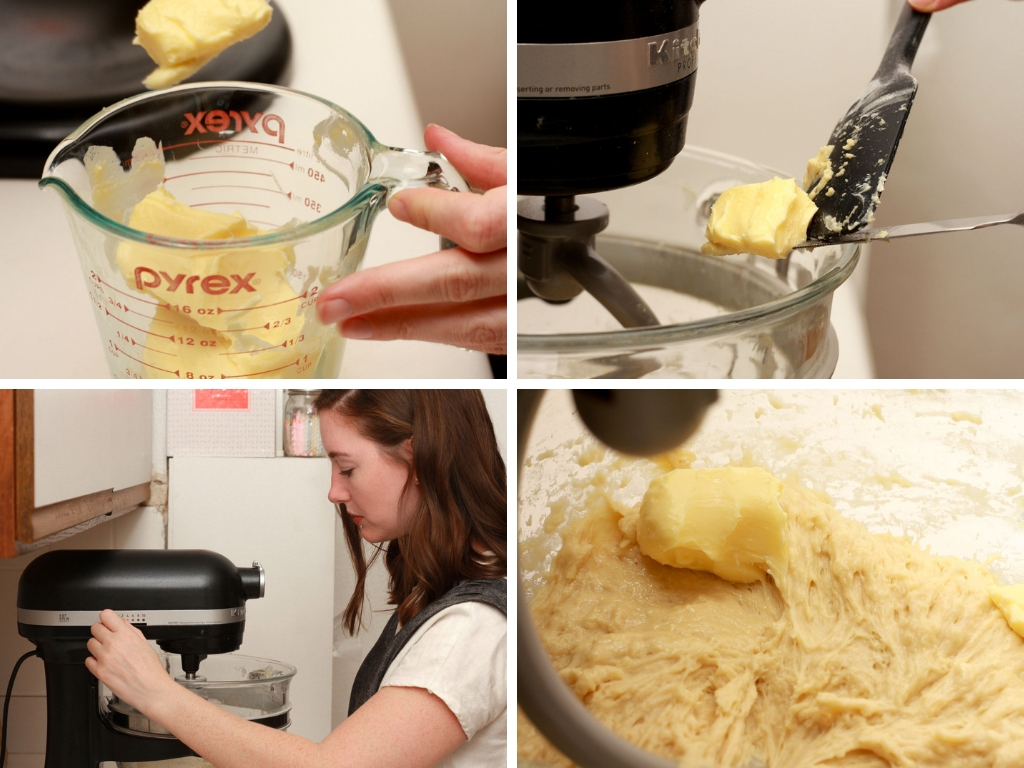
The night before you want to enjoy your waffles (ugh, yes, sorry), suit up in your apron, and warm the milk and water and pour them into the bowl of your stand mixer (my recommendation: this Kitchenaid with a glass bowl to ensure all ingredients have been incorporated – I purchased these separately, but they are also available here as a full set in a smaller size. However, any mixer with a large enough bowl and sturdy dough hook should work). Stir in your sugar and yeast, and let it sit for a moment to activate.

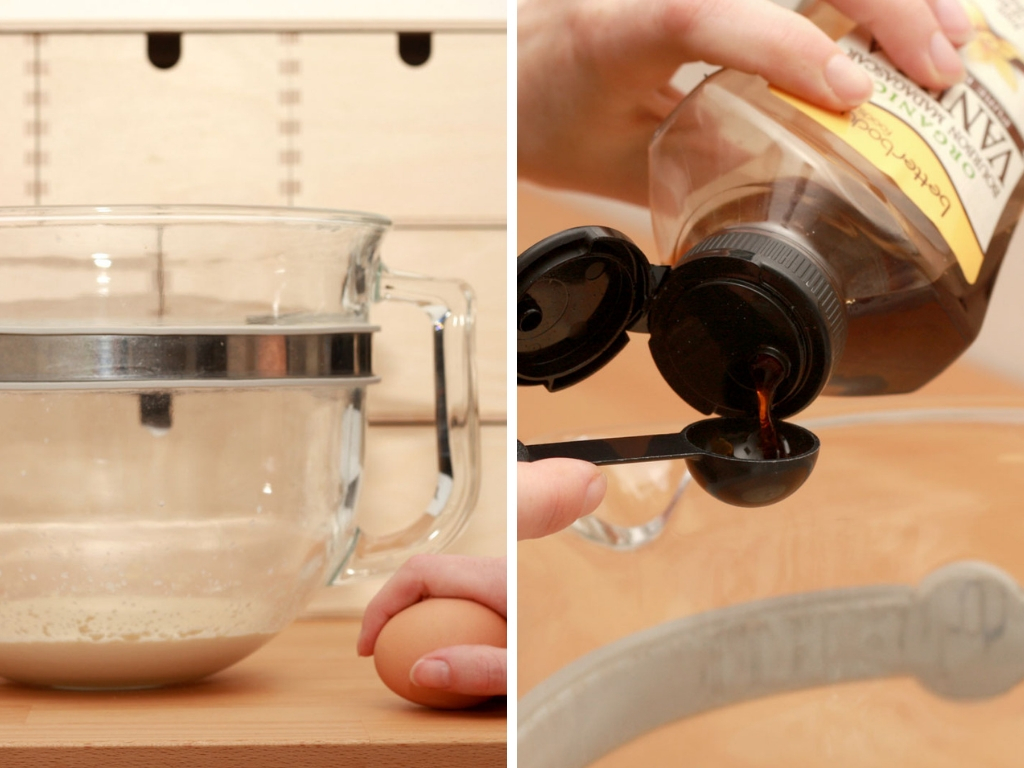
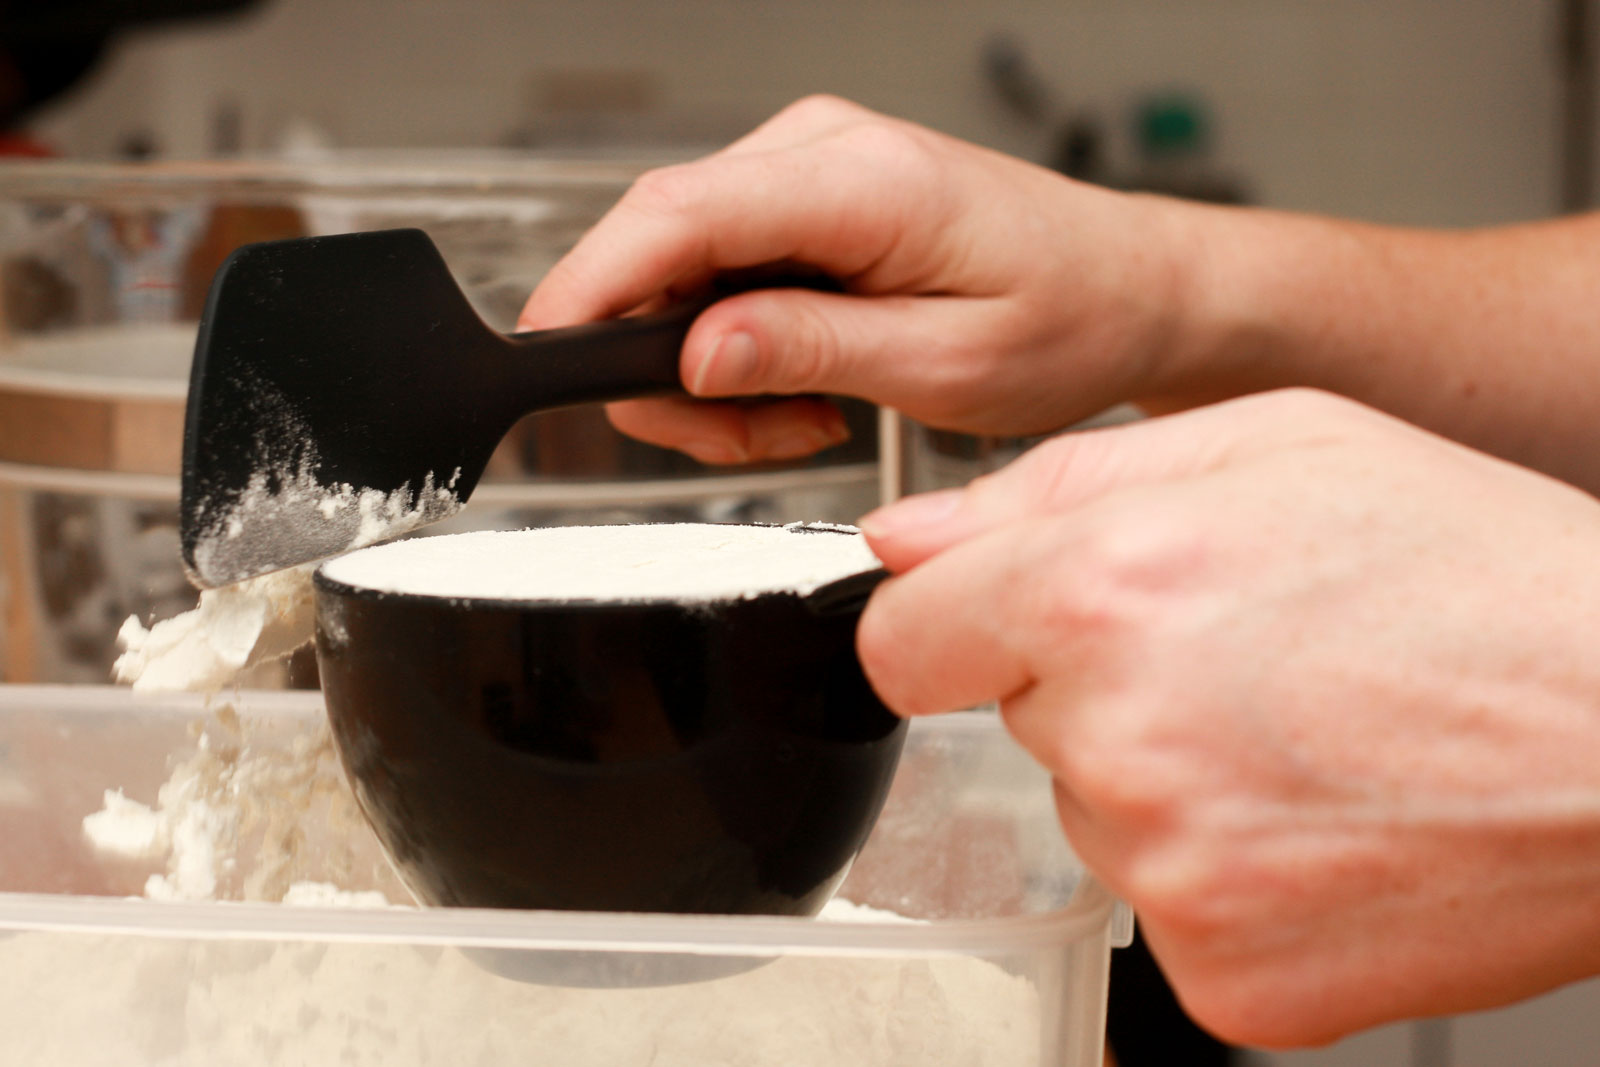
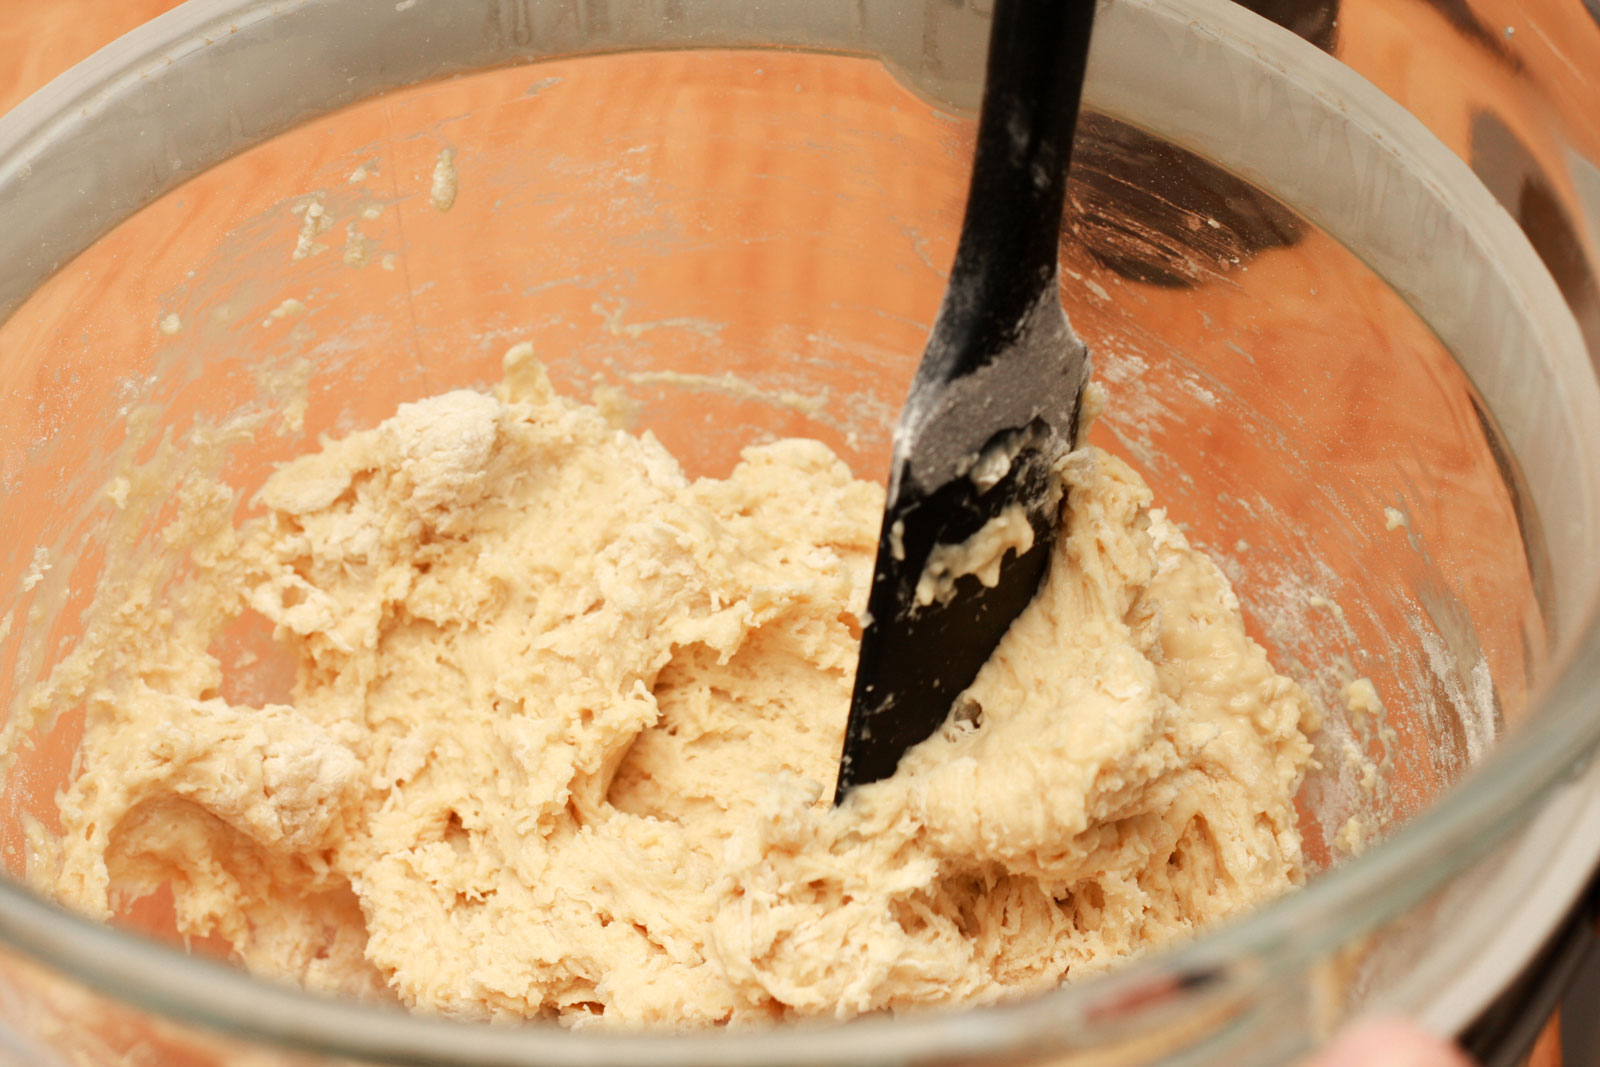
Once the yeast is foamy, add in your eggs, vanilla, and most of your flour. I like to give the mixer a head-start by stirring with a spatula; once the mixture has somewhat come together, I then begin kneading using the dough hook. Add the salt.
Begin adding a bit of butter at a time, fully kneading it in before adding in more. This is probably the most tedious part of the recipe, and a great time for mindfulness exercises and/or scrolling Instagram.
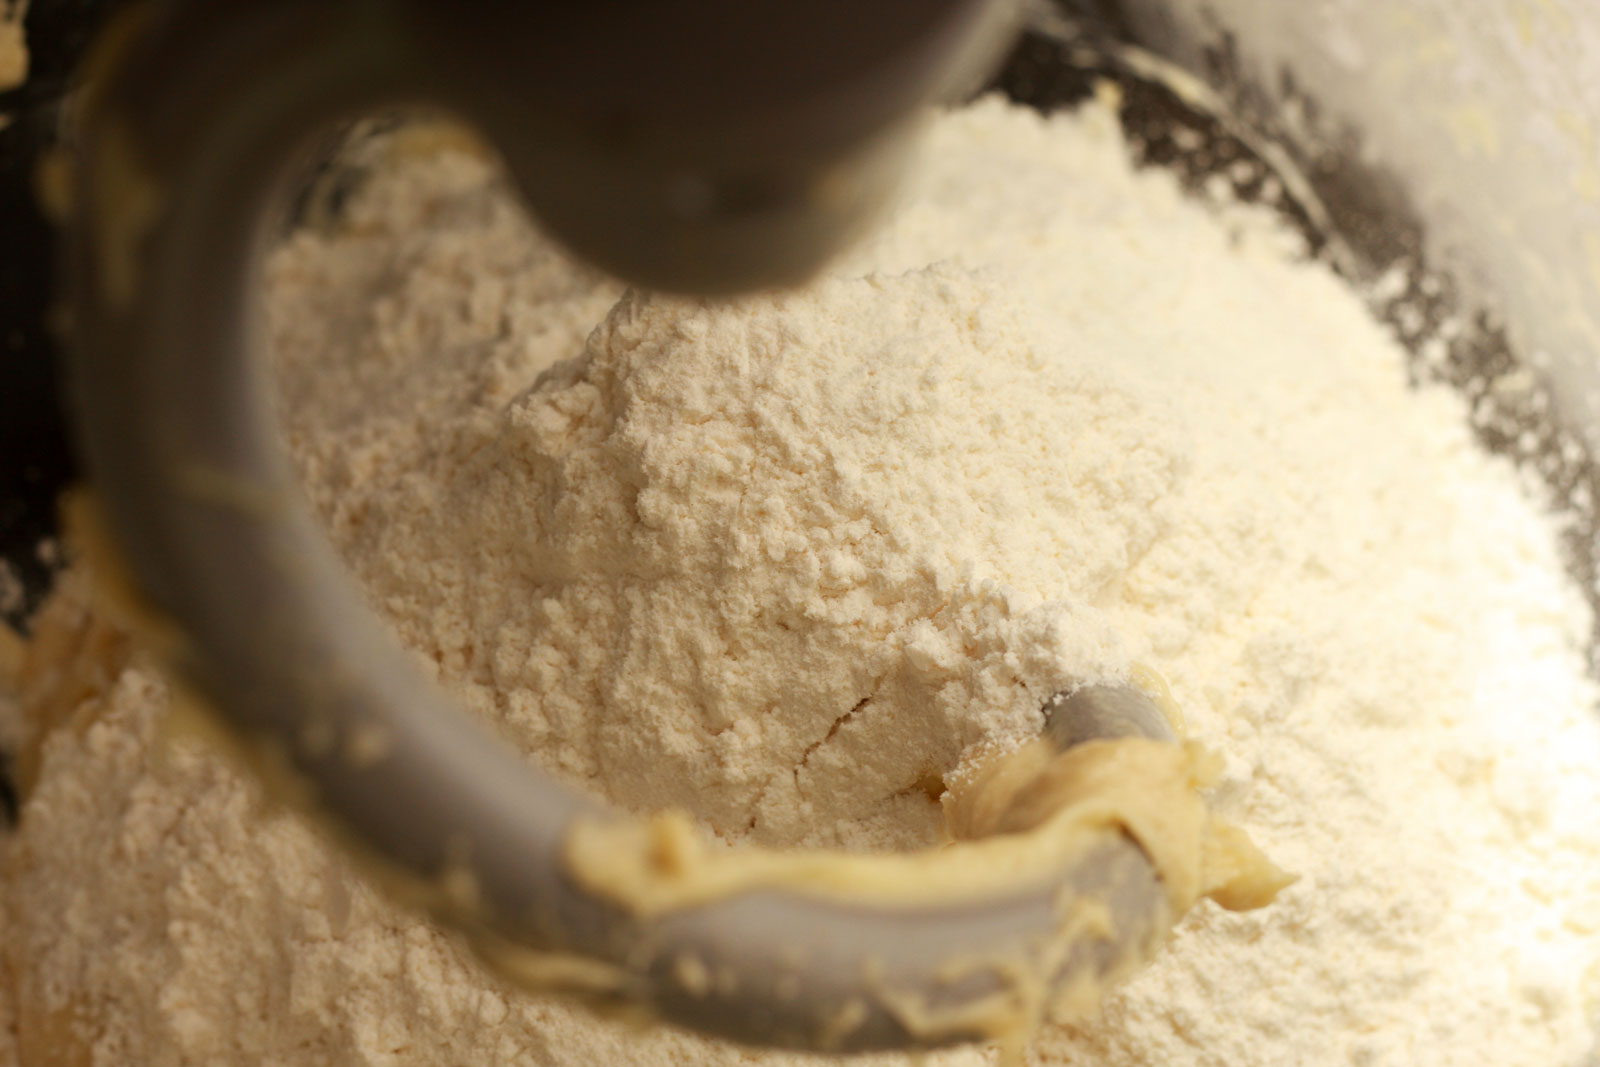
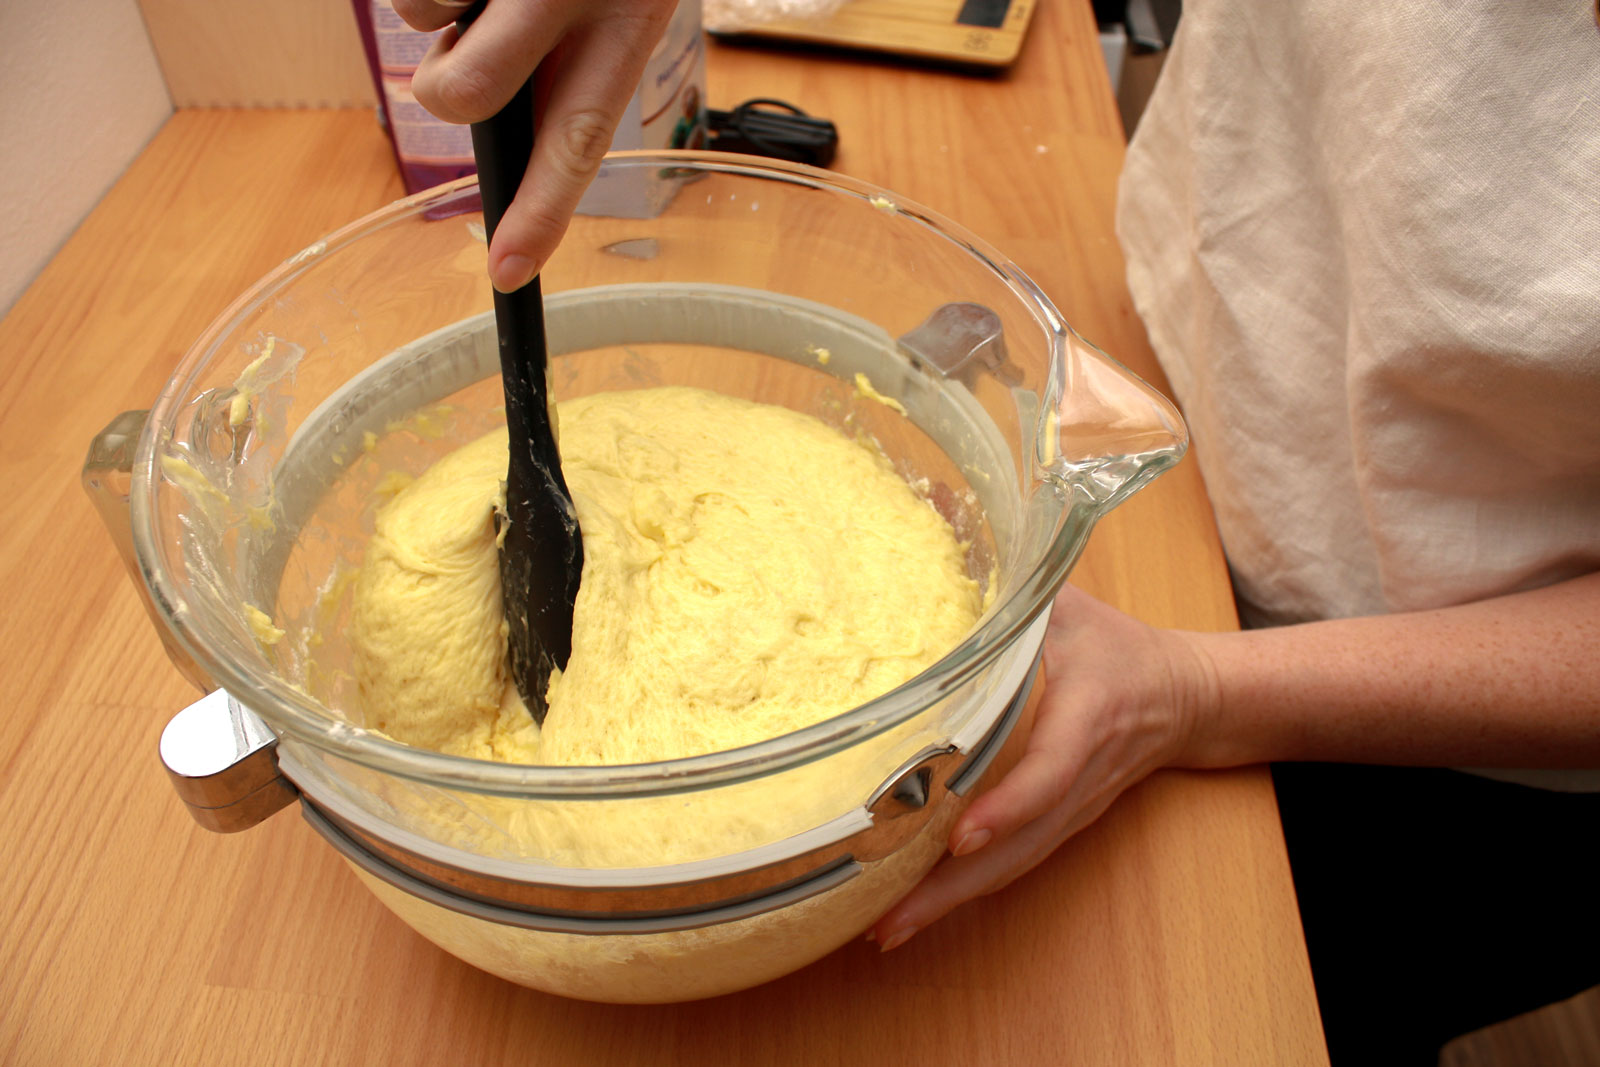
Once all of the butter is incorporated, add in the rest of your flour and continue letting the mixer knead the dough for about five more minutes.
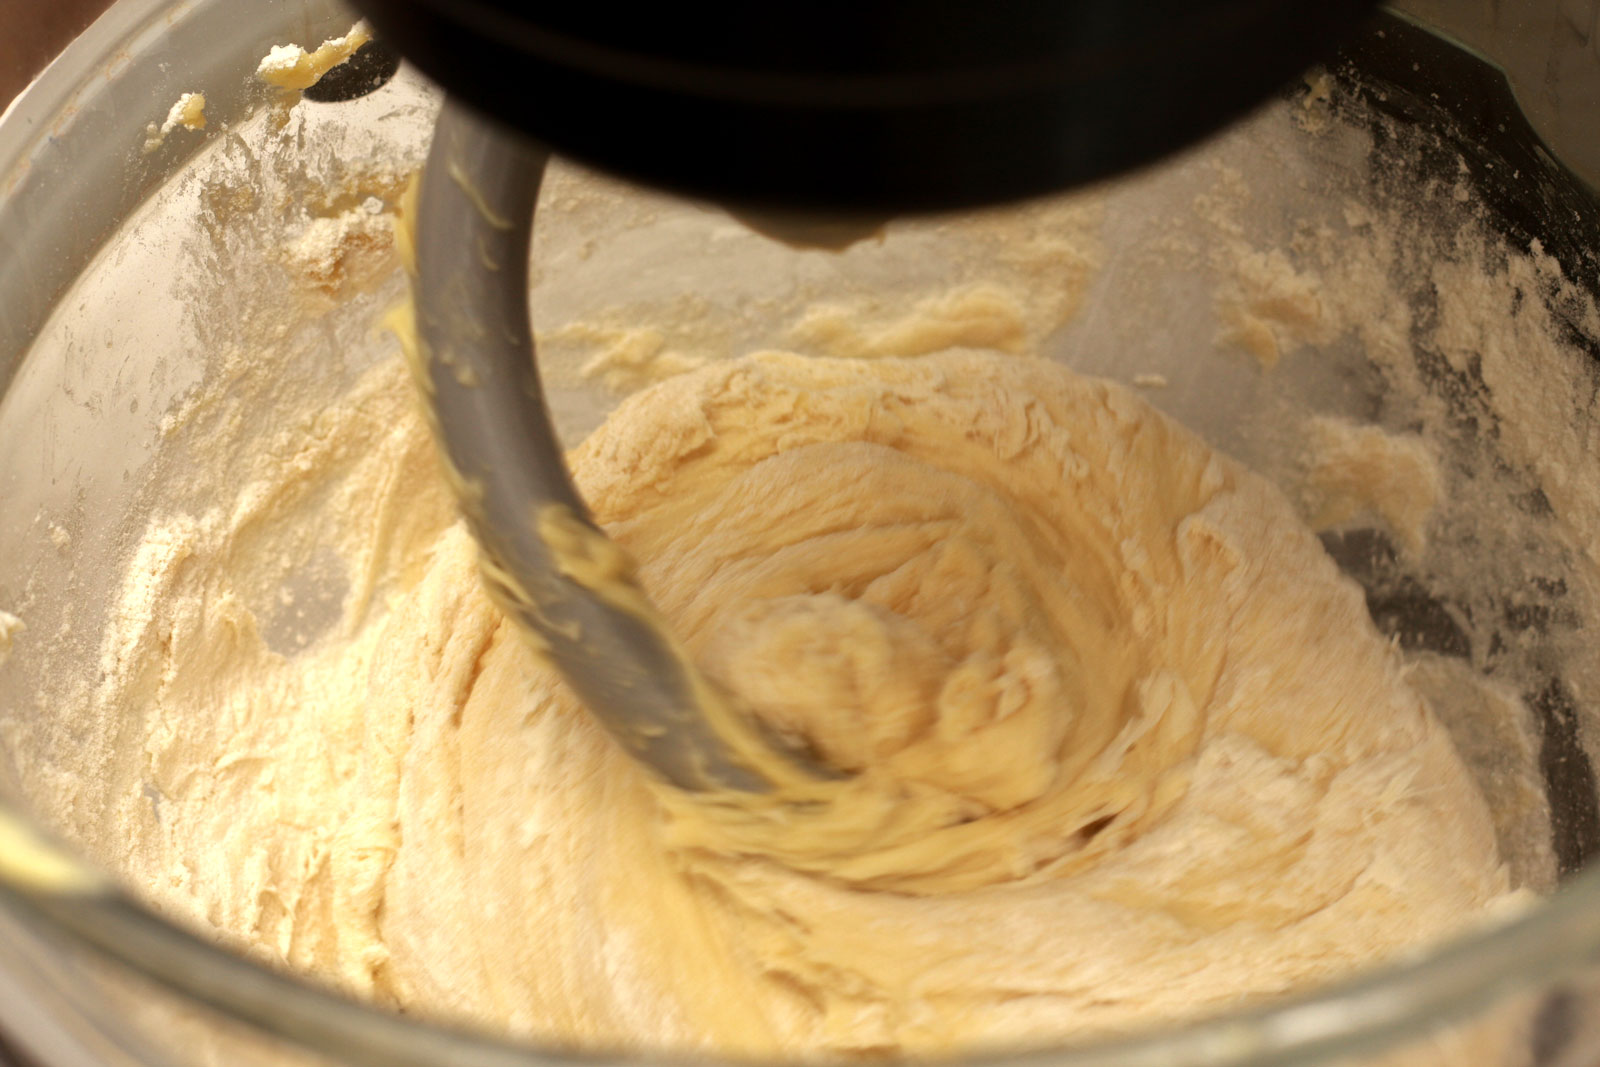
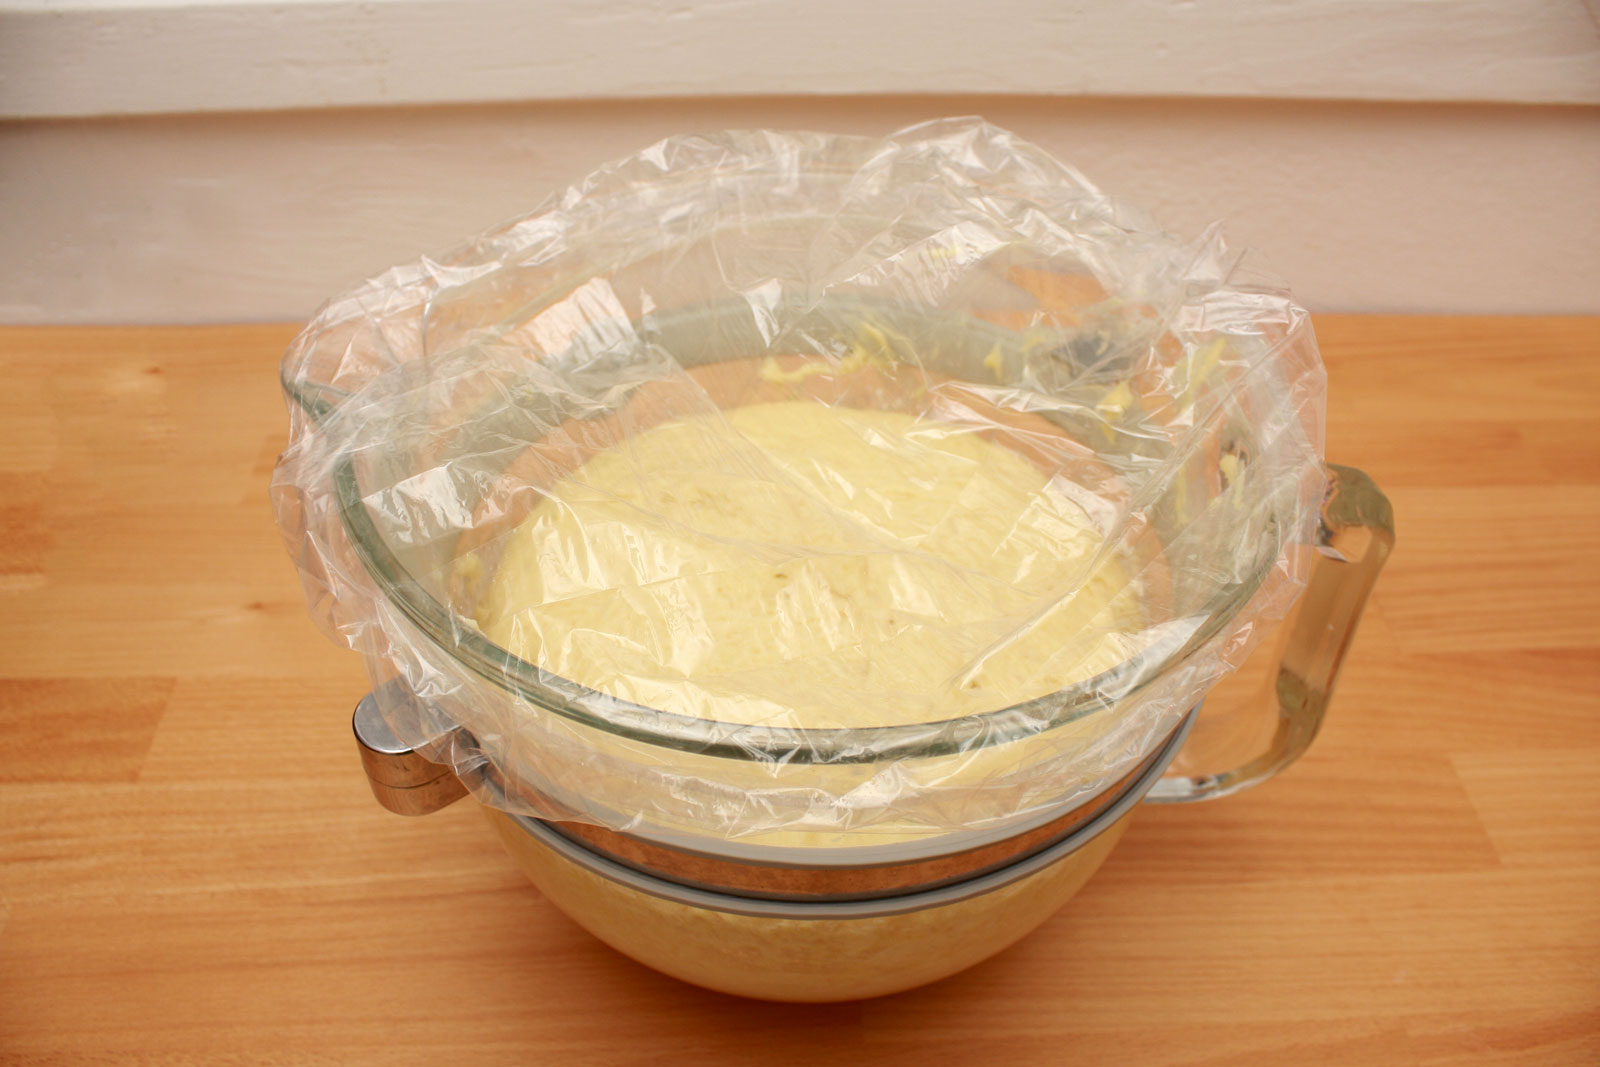
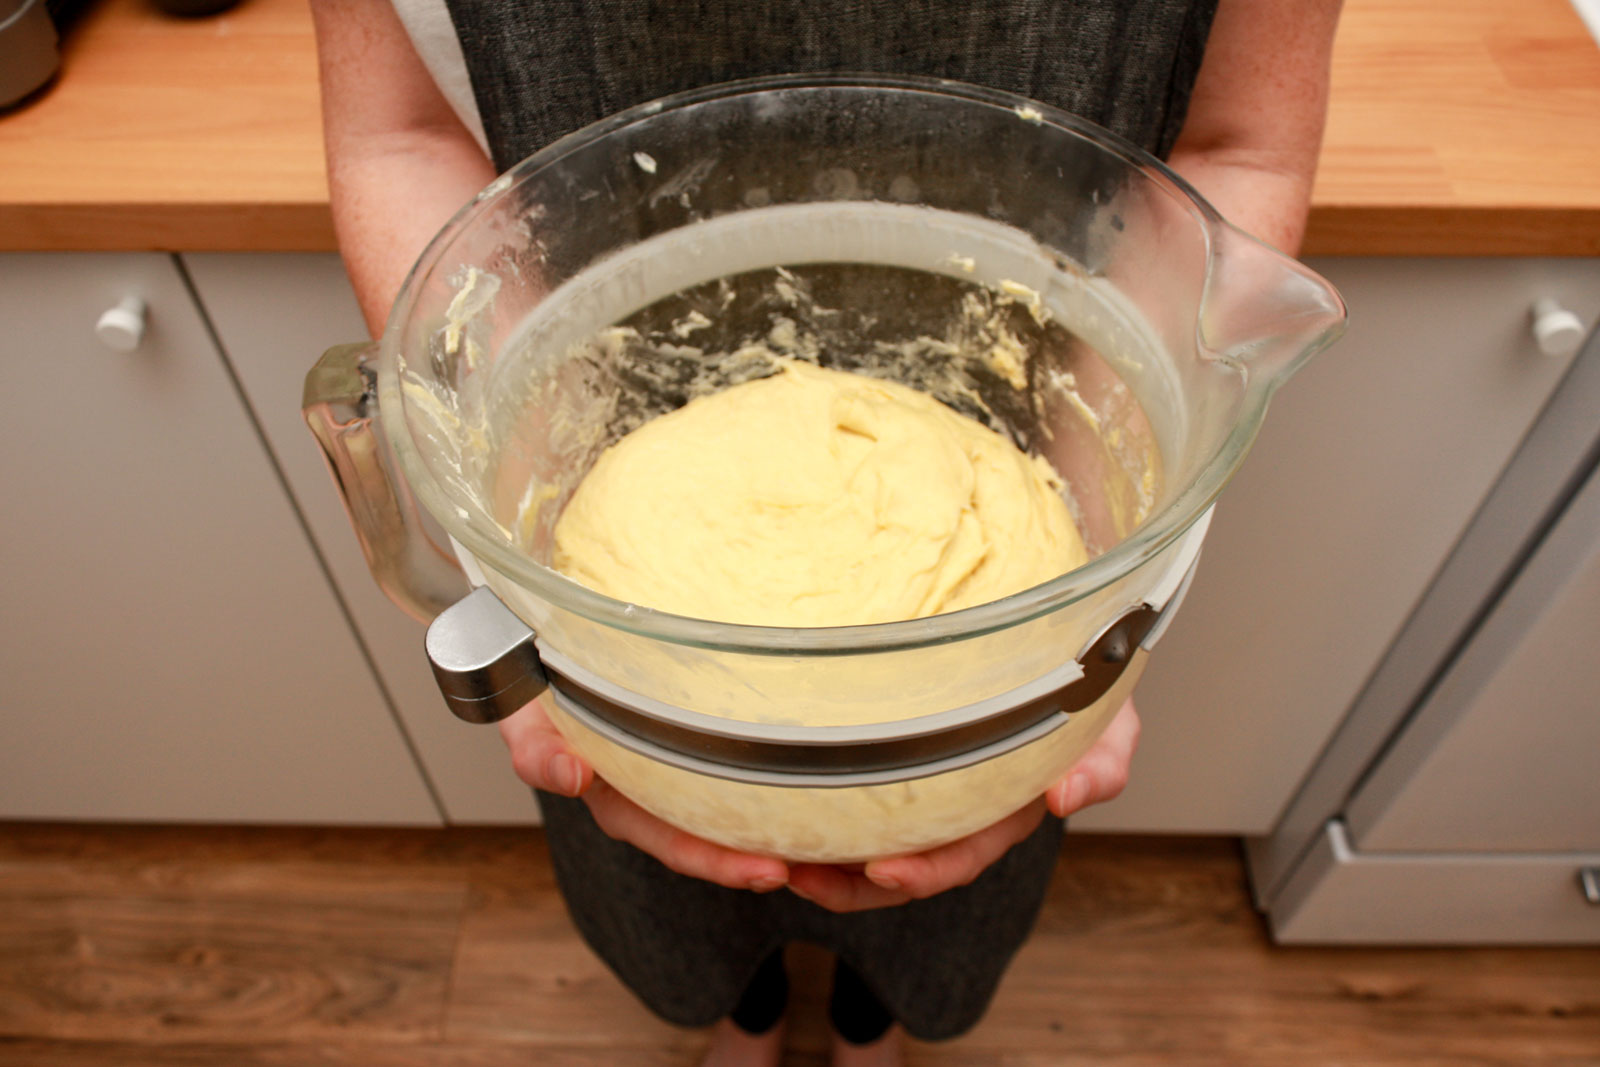
After your five minutes are up, your dough should be quite supple and satiny. Cover with plastic wrap (or my personal favorite – a hotel shower cap I’ve nicked) and let set at room temperature for about two hours or until it has doubled in size.

After the dough has risen, fight every instinct in your body and deflate your just-risen dough. This redistributes the yeast within the mass and allows it to come into close contact with the sugars again (which is why it will rise once more). Allow to chill in the fridge overnight.
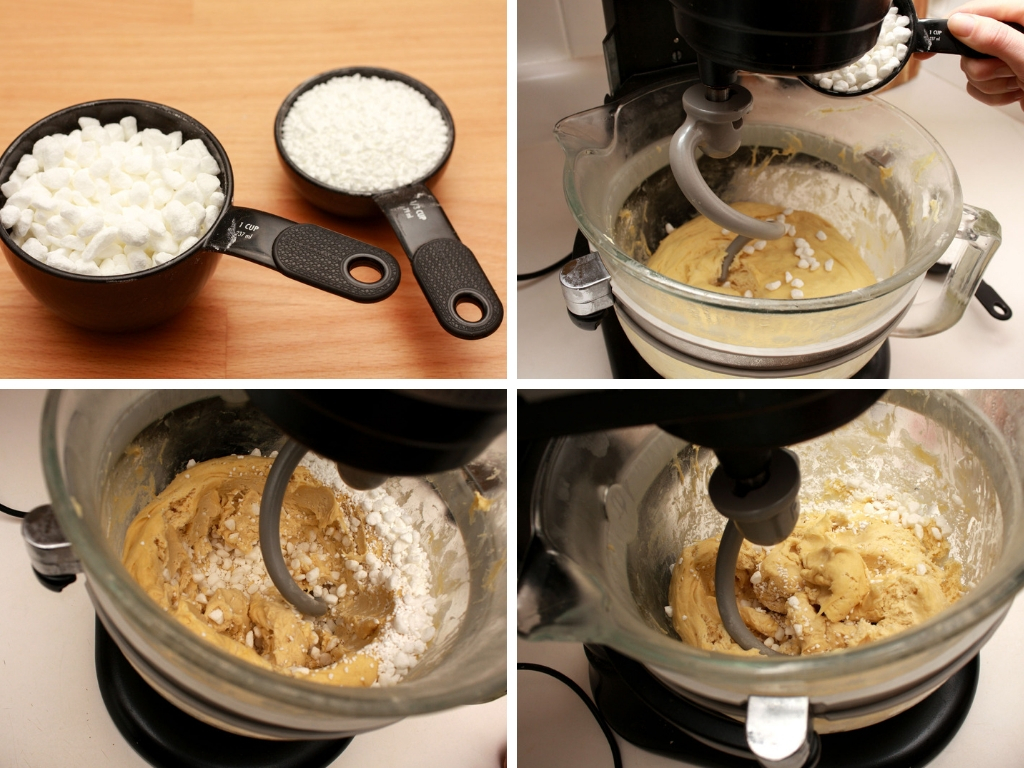
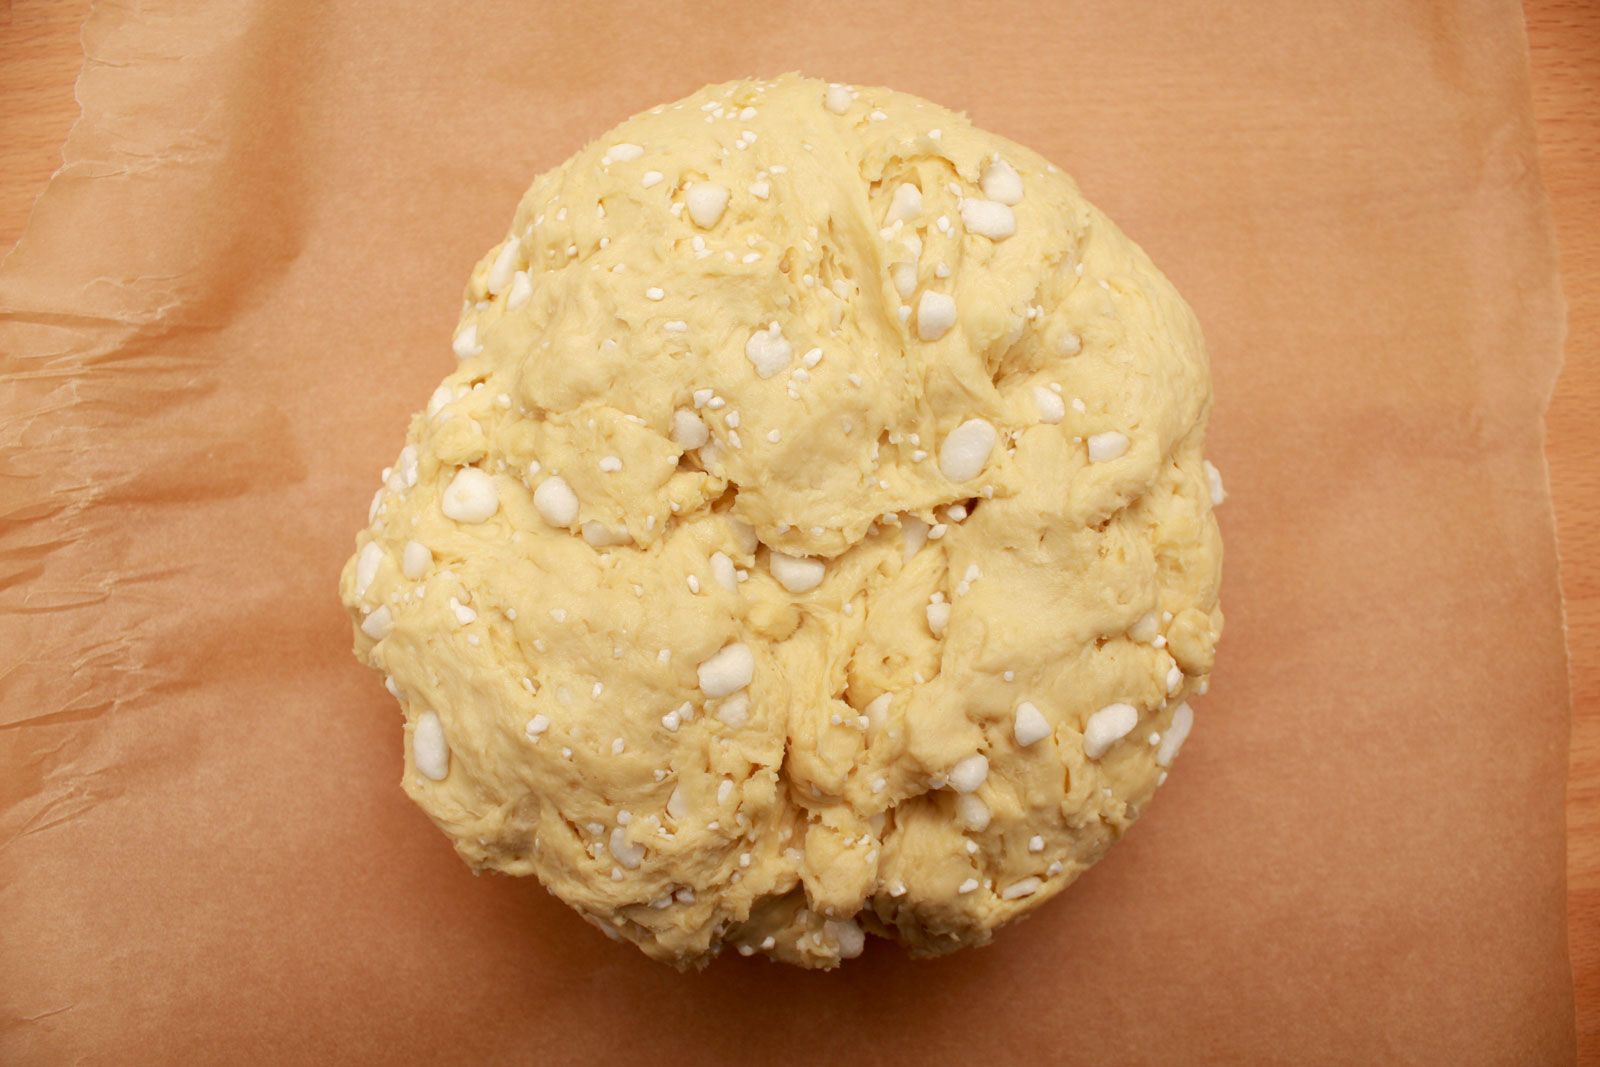
The following morning (finally, I know), make mimosas, preheat your waffle iron to medium-high (my favorite is the Griddler with the waffle iron attachments) remove the bowl from the fridge, and pour in your pearl sugar. I like to use a combination of pearl sugars: the larger Belgian crystals that add larger hits of sweetness throughout the pastry and the smaller Swedish crystals that refuse to dissolve, leaving you with delicious bits of crunch. Knead in the sugar using the dough hook, but be careful not to overwork the dough, which will make the waffles tougher. The chilled butter will cause the dough to be quite a bit firmer than before, which is why it’s so important to have a hard-working stand mixer.

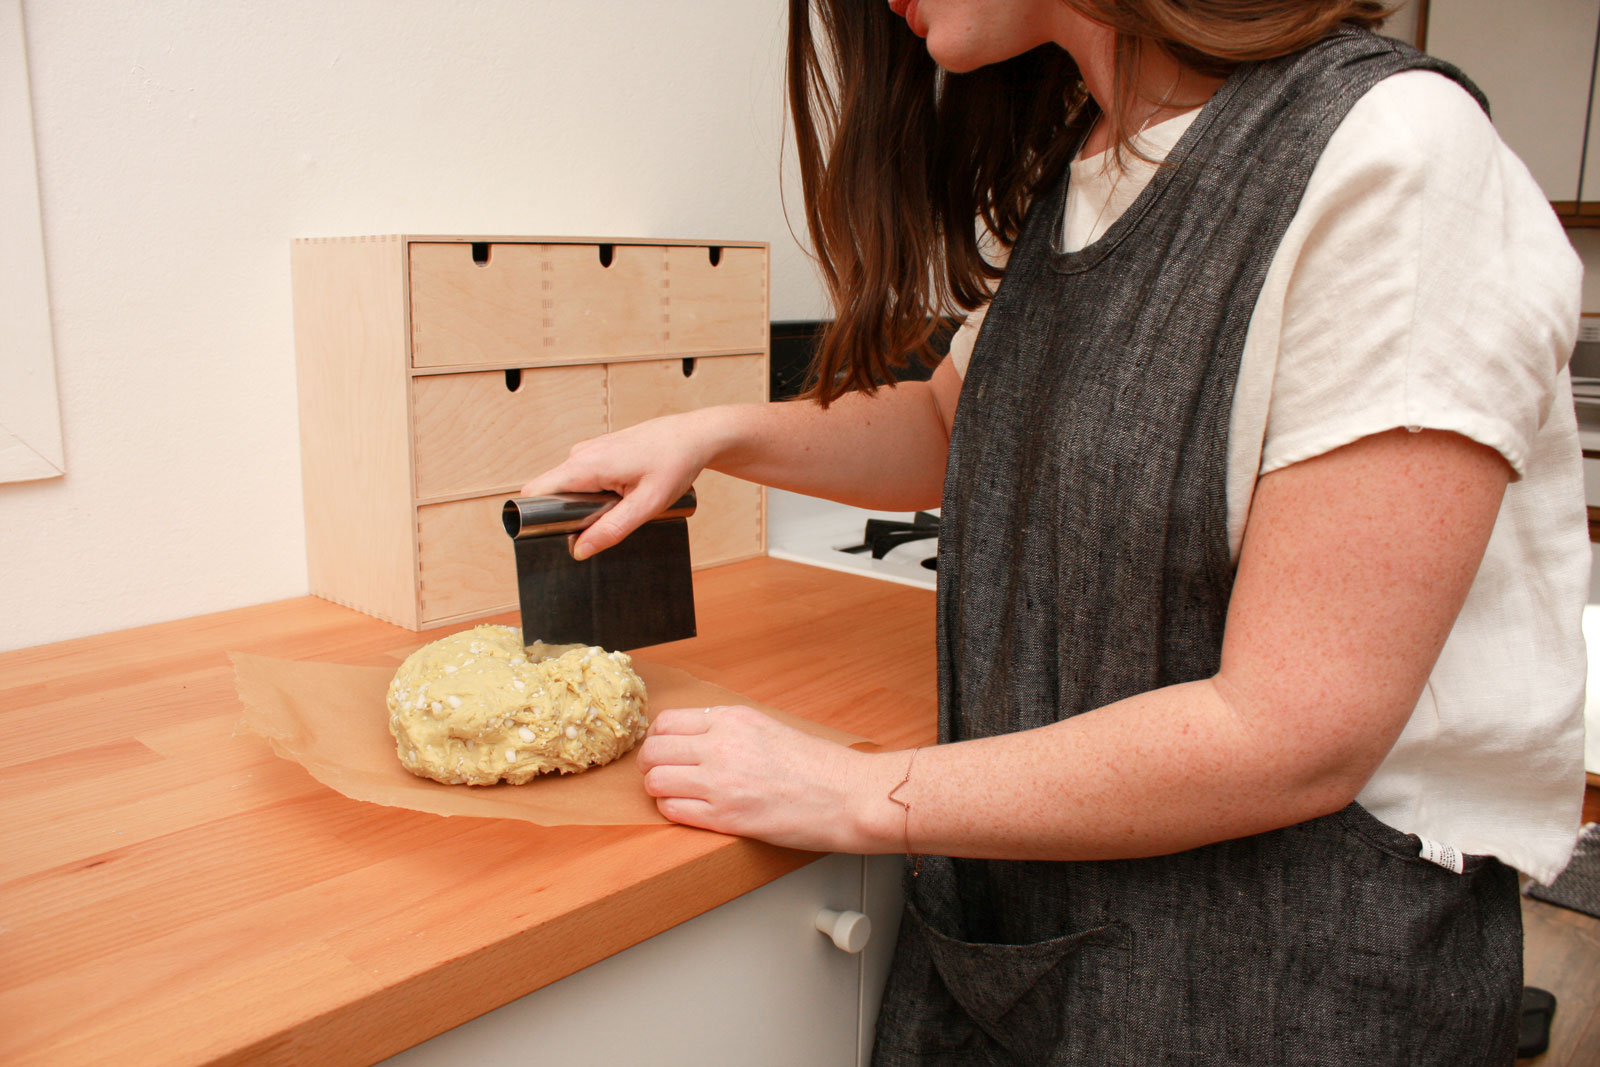
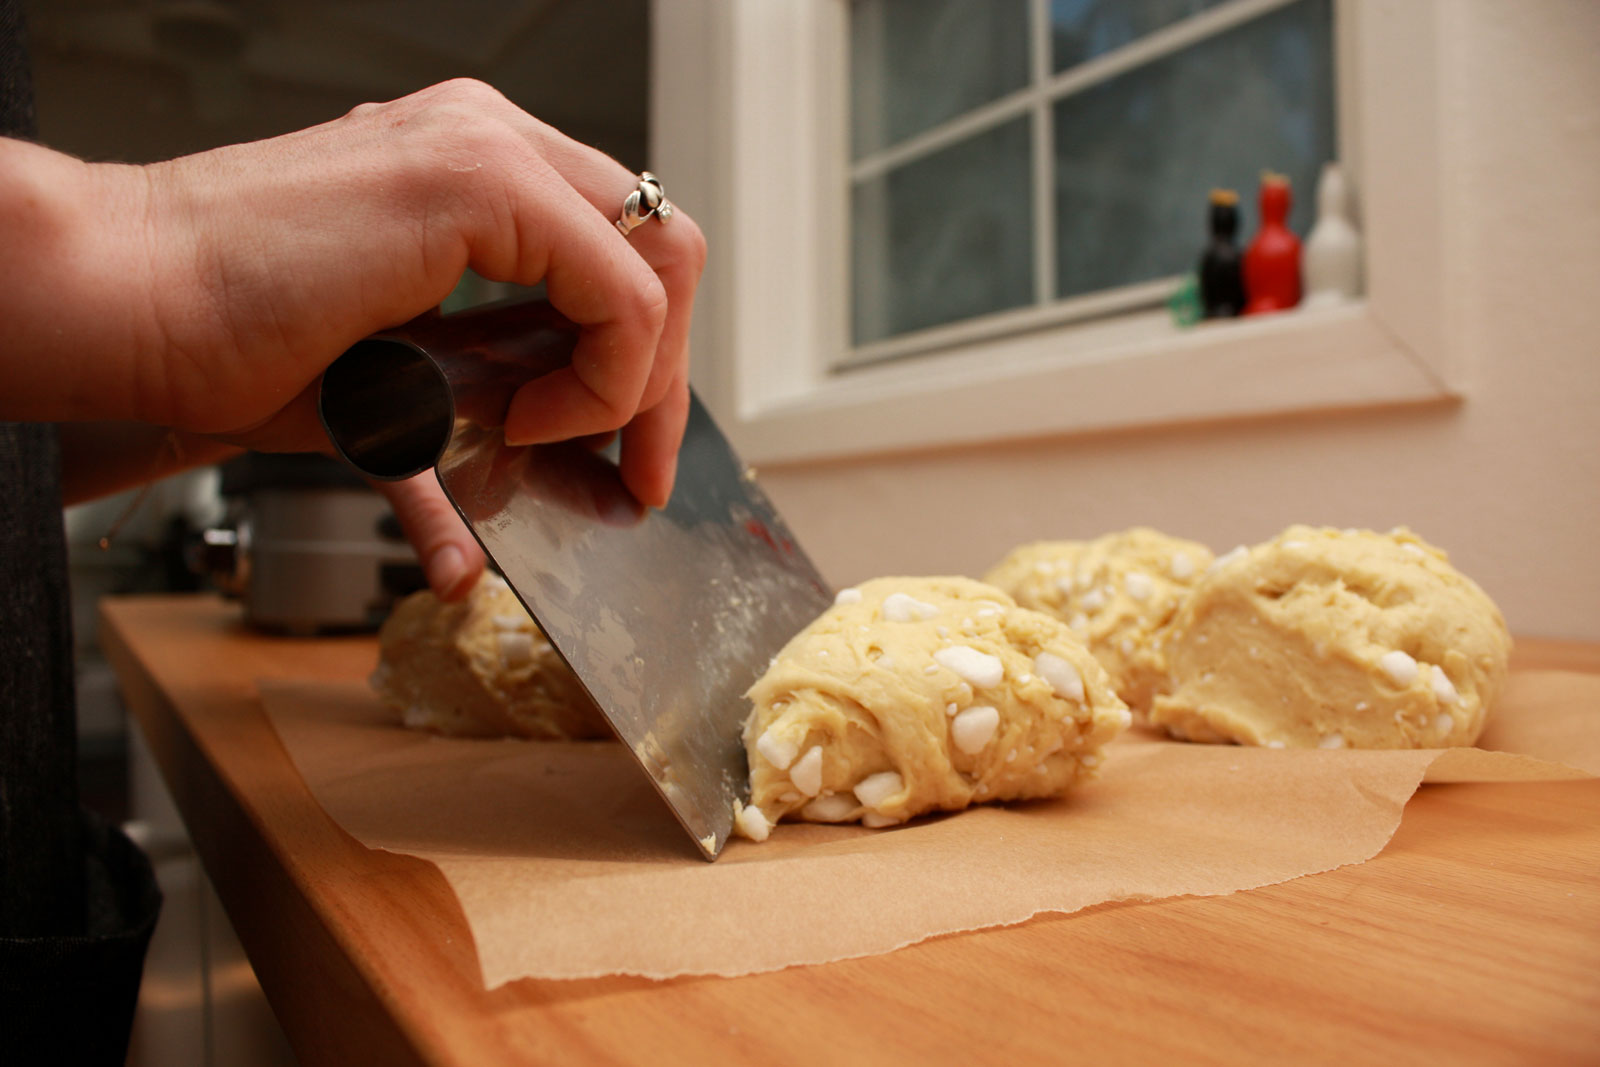
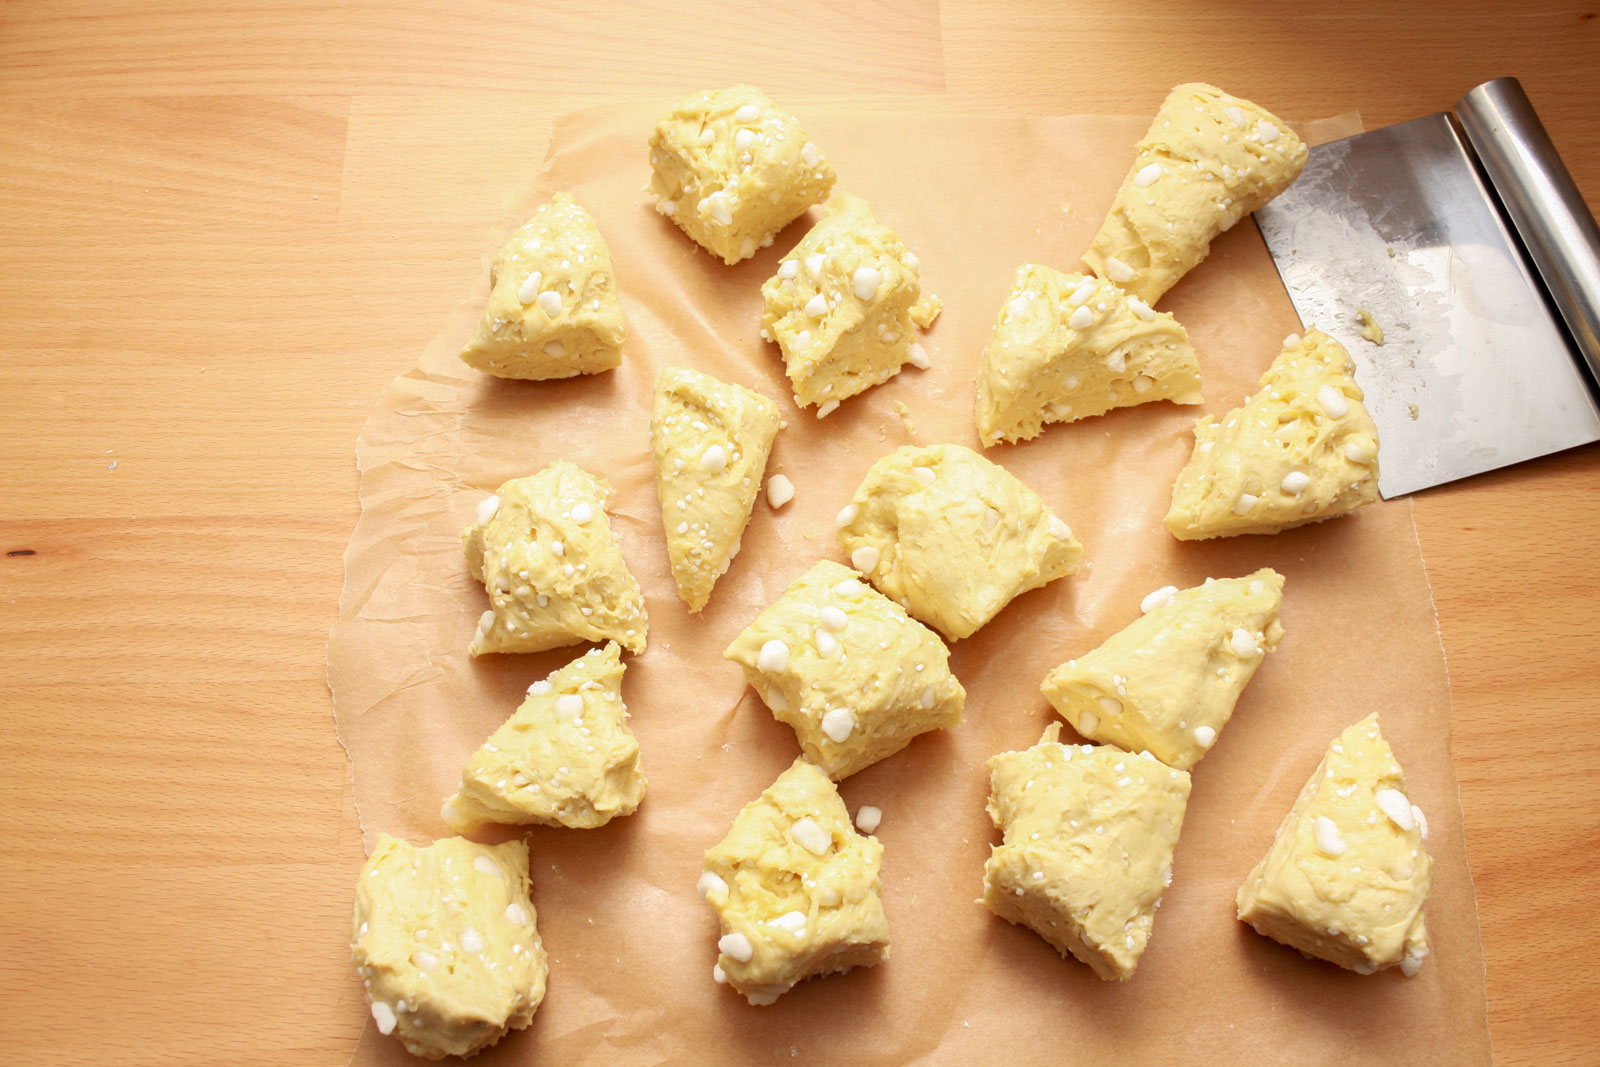
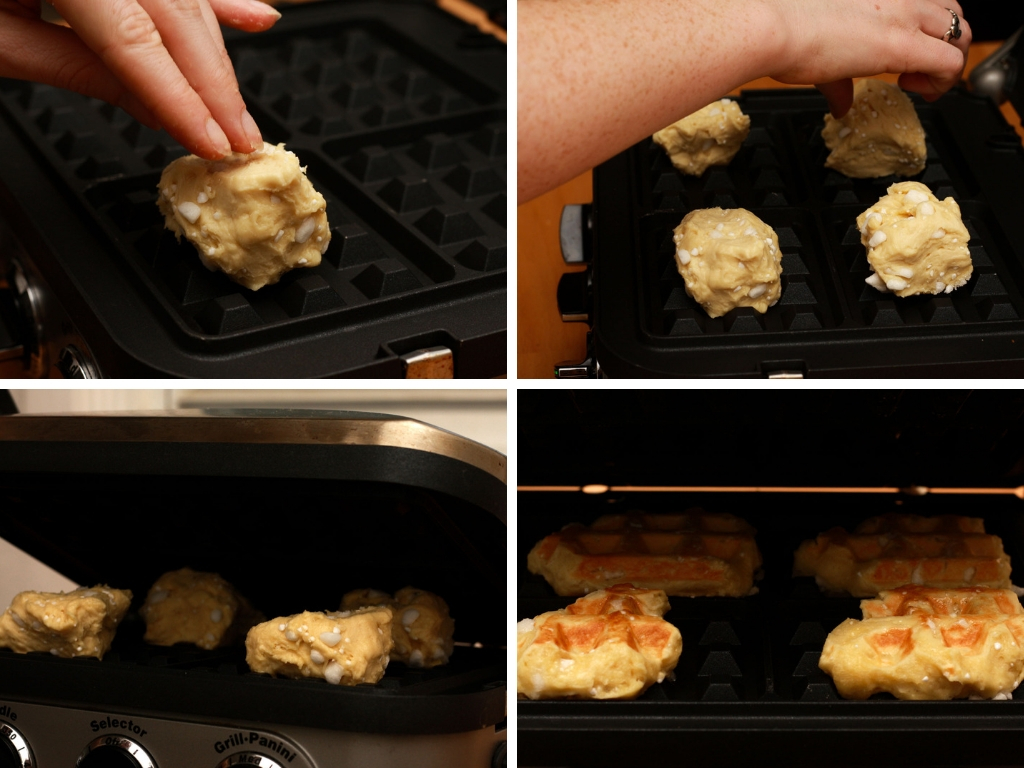
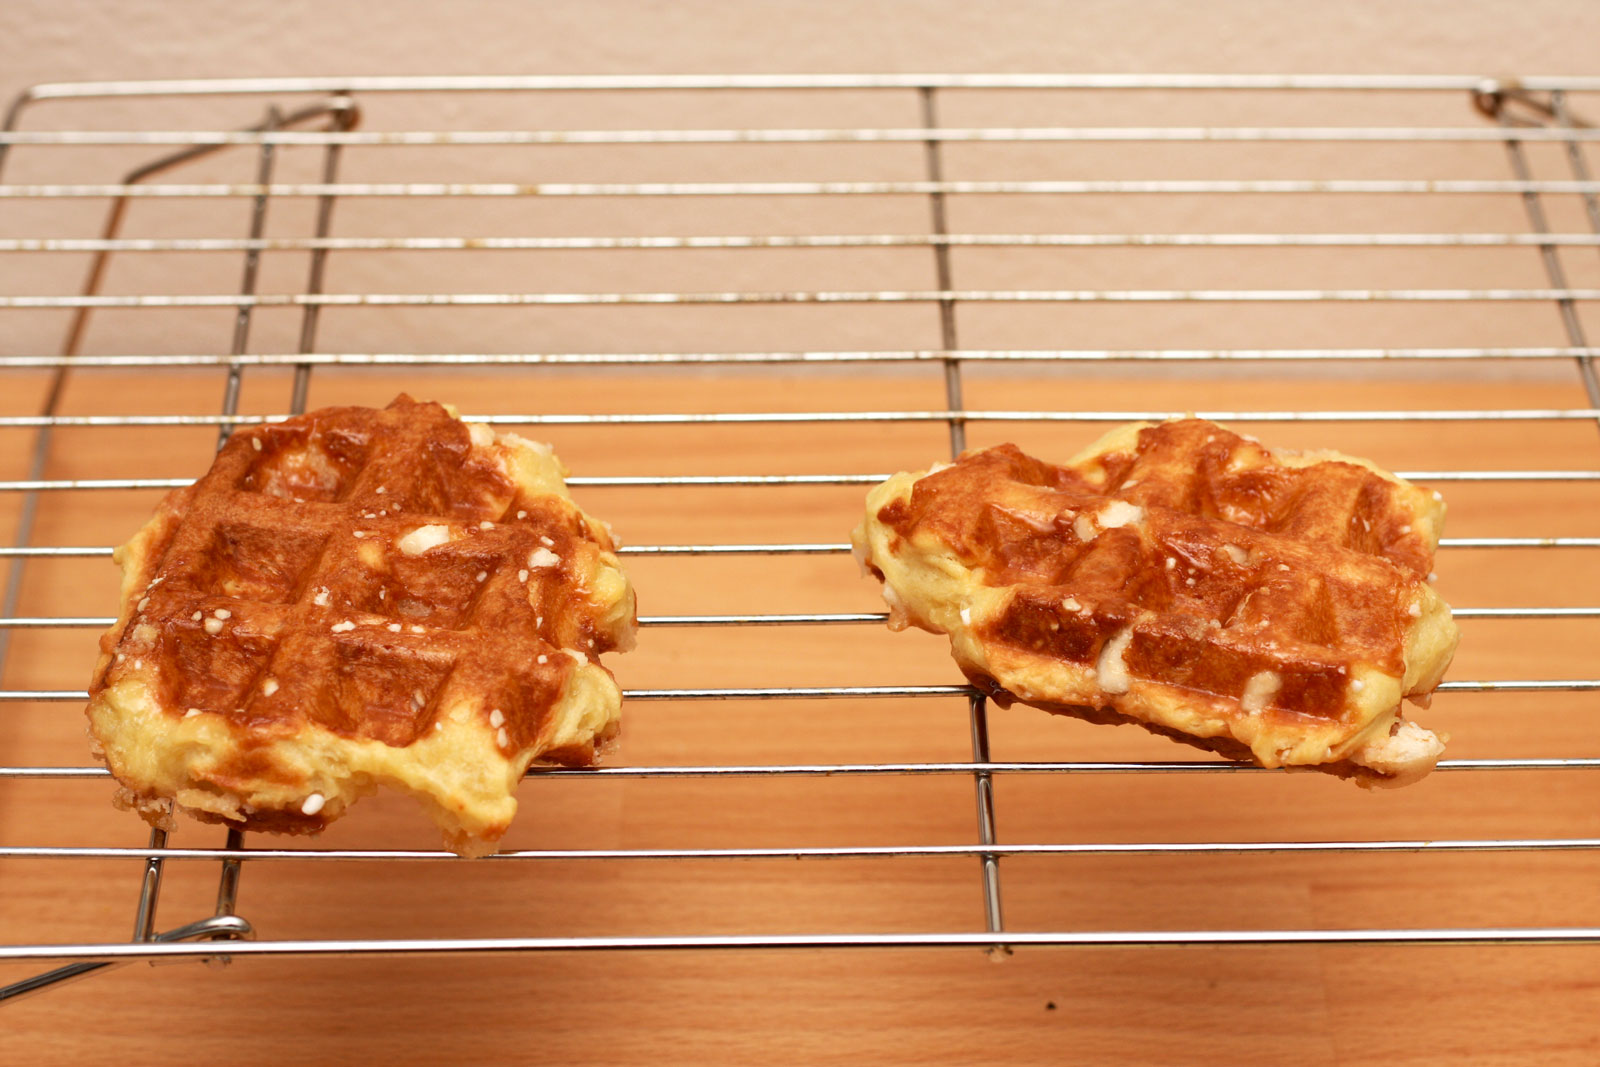
Divide your dough into sixteen pieces and smoosh them (the technical term, of course) into the plates – they will be irregularly shaped and that is part of their beauty. In our waffle iron, the waffles cook in about five minutes; keep a close eye on them so they don’t burn. When they are crisp and deep golden brown on the top and bottom, they are ready to remove. Carefully grasp the waffles with a set of tongs and place them on a cooling rack. The sugar inside is as hot as molten lava – as tempting as they are at this moment, I promise you will regret eating them. Between batches of waffles, be sure to clear any excess sugar that has pooled in the grates. Wait five to ten minutes before diving in; there’s no syrup needed here so you’ll be able to grab and go! Store the waffles at room temperature for a day or two at the most – any longer, and you’ll want to freeze them and reheat them in the toaster oven. Even reheated right out of the freezer, they are impossibly delicious.

Liège Waffles
(adapted from Smitten Kitchen)
Makes 16 waffles
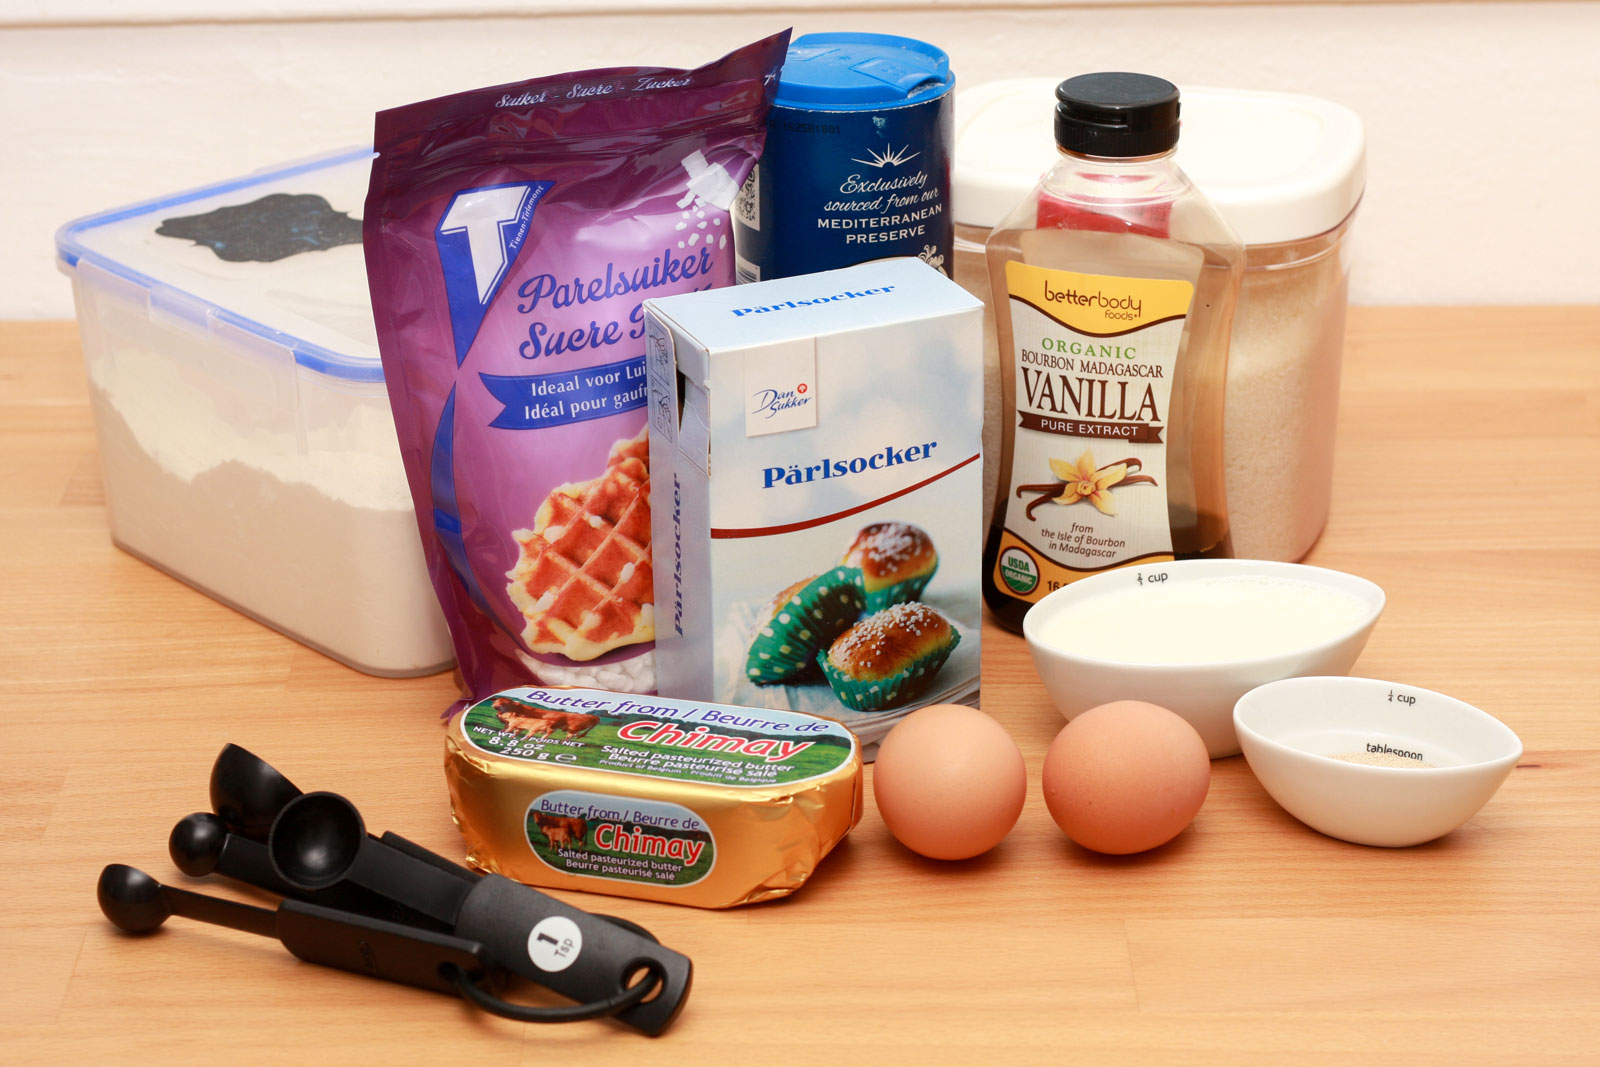
Ingredients
1/2 cup whole milk
1/4 cup water
2 Tbsp sugar
2-1/2 tsp instant yeast
2 eggs
2 tsp vanilla extract
3-2/3 cup all-purpose flour
1 tsp sea salt
14 Tbsp best-quality butter, at room temperature
1-1/3 cup pearl sugar (I use a mix of Swedish and Belgian pearl sugars)
Instructions
The night before you plan to bake your waffles: warm milk and water in a saucepan to about 115°F. Pour liquid into the bottom of the bowl of a stand mixer, and stir in the sugar and yeast. Let sit until foamy, about five minutes.
Stir in eggs and vanilla followed by 2-2/3 cup flour. Add in salt. Knead under the dough hook, and begin adding softened butter one tablespoon at a time, taking care to ensure all butter has been incorporated before adding more. Scrape down the bowl from time to time. Once all butter is incorporated, add in the remaining flour and continue kneading until smooth and supple, about five minutes.
Cover bowl with plastic wrap and let rise for about two hours, or until doubled, at room temperature.
After the dough has risen once, stir to deflate, re-cover with plastic wrap, and set the bowl in the refrigerator to rise once more overnight.
The following morning: Pre-heat waffle iron to medium-high and remove the bowl from the refrigerator. Knead in pearl sugar using the stand mixer; take care to stop as soon as the sugar is evenly distributed to avoid making the dough tough. Using a sharp knife or bench scraper, divide the dough into sixteen mounds, and begin pressing them between the plates. Waffle irons have varying capacities, so be sure there is ample room between pieces of dough.
Once the waffles are a deep golden brown, carefully extract them from the waffle iron plates with a pair of tongs and place them on a cooling rack. Scrape any collected caramelized sugar bits using the tongs to prevent scorching. Enjoy the waffles only after several moments’ cooling time; the sugar within is molten and can cause burns. These are best served warm and plain and can be frozen individually for later days. In our toaster oven, we find the waffles are best after a double toasting.
Looking for more tasty recipes? Why not give one of these a try next:
- Enjoying a Vacation Tradition at Home: Serving up Three Effortless Apéritifs with Le Moné
- Everything Cookies Recipe
- Five Easy Meals
- International Holiday Recipe: Æbleskiver
- How to Brew Coffee at Home with Chemex
- Recipe: Swedish Sticky Chocolate Cake (Kladdkaka)
- Pistachio Ice Cream Recipe
- Vegan Irish Cream Recipe
- My “Pre-Trip Pizza” Recipe
- New York Style Bagels Recipe
- Fresh Pasta Carbonara Recipe
What is your favorite type of waffle?

