Before I begin, I want to go ahead and share that this isn’t the greatest pizza.
Wait, what? Why on earth would she tell me this recipe isn’t going to be any good? Why would she bother posting it on her website?
Well, for three reasons:
- First of all, there’s no such thing as bad pizza
- I just want you to have realistic expectations
- Eventually, I’ll share a recipe for spectacular pizza and will come back here and update this post when it goes live
The recipe I’m sharing today isn’t mind-blowing. It isn’t life-changing. But it’s efficient.
It’s exactly the kind of meal you should be eating the day before you go on vacation: it’s approachable, quick to make, largely hands-off, uses up any odds-and-ends from your fridge that won’t be good by the time you get back, and it isn’t too heavy or filling. Best of all, the dough is divided into four individual pizzas, which means everyone gets what they want.
The pizza dough is ready after just a thirty-minute rise (yes, you will be making a yeasted dough – yes, you totally can do it!) – which means that you can knead the dough, pack your bags, and come back just in time to roll it out, top it, bake it, top it some more, and bake it again.
Because the rise on this dough is so quick, it doesn’t have time to develop that really great pizzeria flavor. You can enhance it with some sourdough starter discard (if you’re still rocking the 2020 trends like me) or a product like this pizza dough flavor if you wish – but either way, we’ll roll it out really thin because the point of this pizza is the toppings (if it makes you feel better, you’re more than welcome to call this a flatbread instead of a pizza).
Just about every veggie is at home here, from asparagus to zucchini. You can use the pizza sauce of your choice, whether it’s a homemade one or from a jar (usually we go the jarred route because the goal of this meal is quick + easy, however, I’ll also share my method for making a quick pizza sauce too). Pickled things are really fun here, like artichoke hearts and candied jalapeños. Meats are optional. Cheese is also optional, except in my household. We go heavy on the ricotta, mozzarella, and smoky cheeses here. Basically, anything you have on hand can go on this pizza (and if not, those other things can probably go in my Everything Cookies). Once out of the oven, these pizzas get a generous sprinkling of red pepper flakes, and perhaps a drizzle of hot honey.
Ready to give it a try?
Let’s get started!
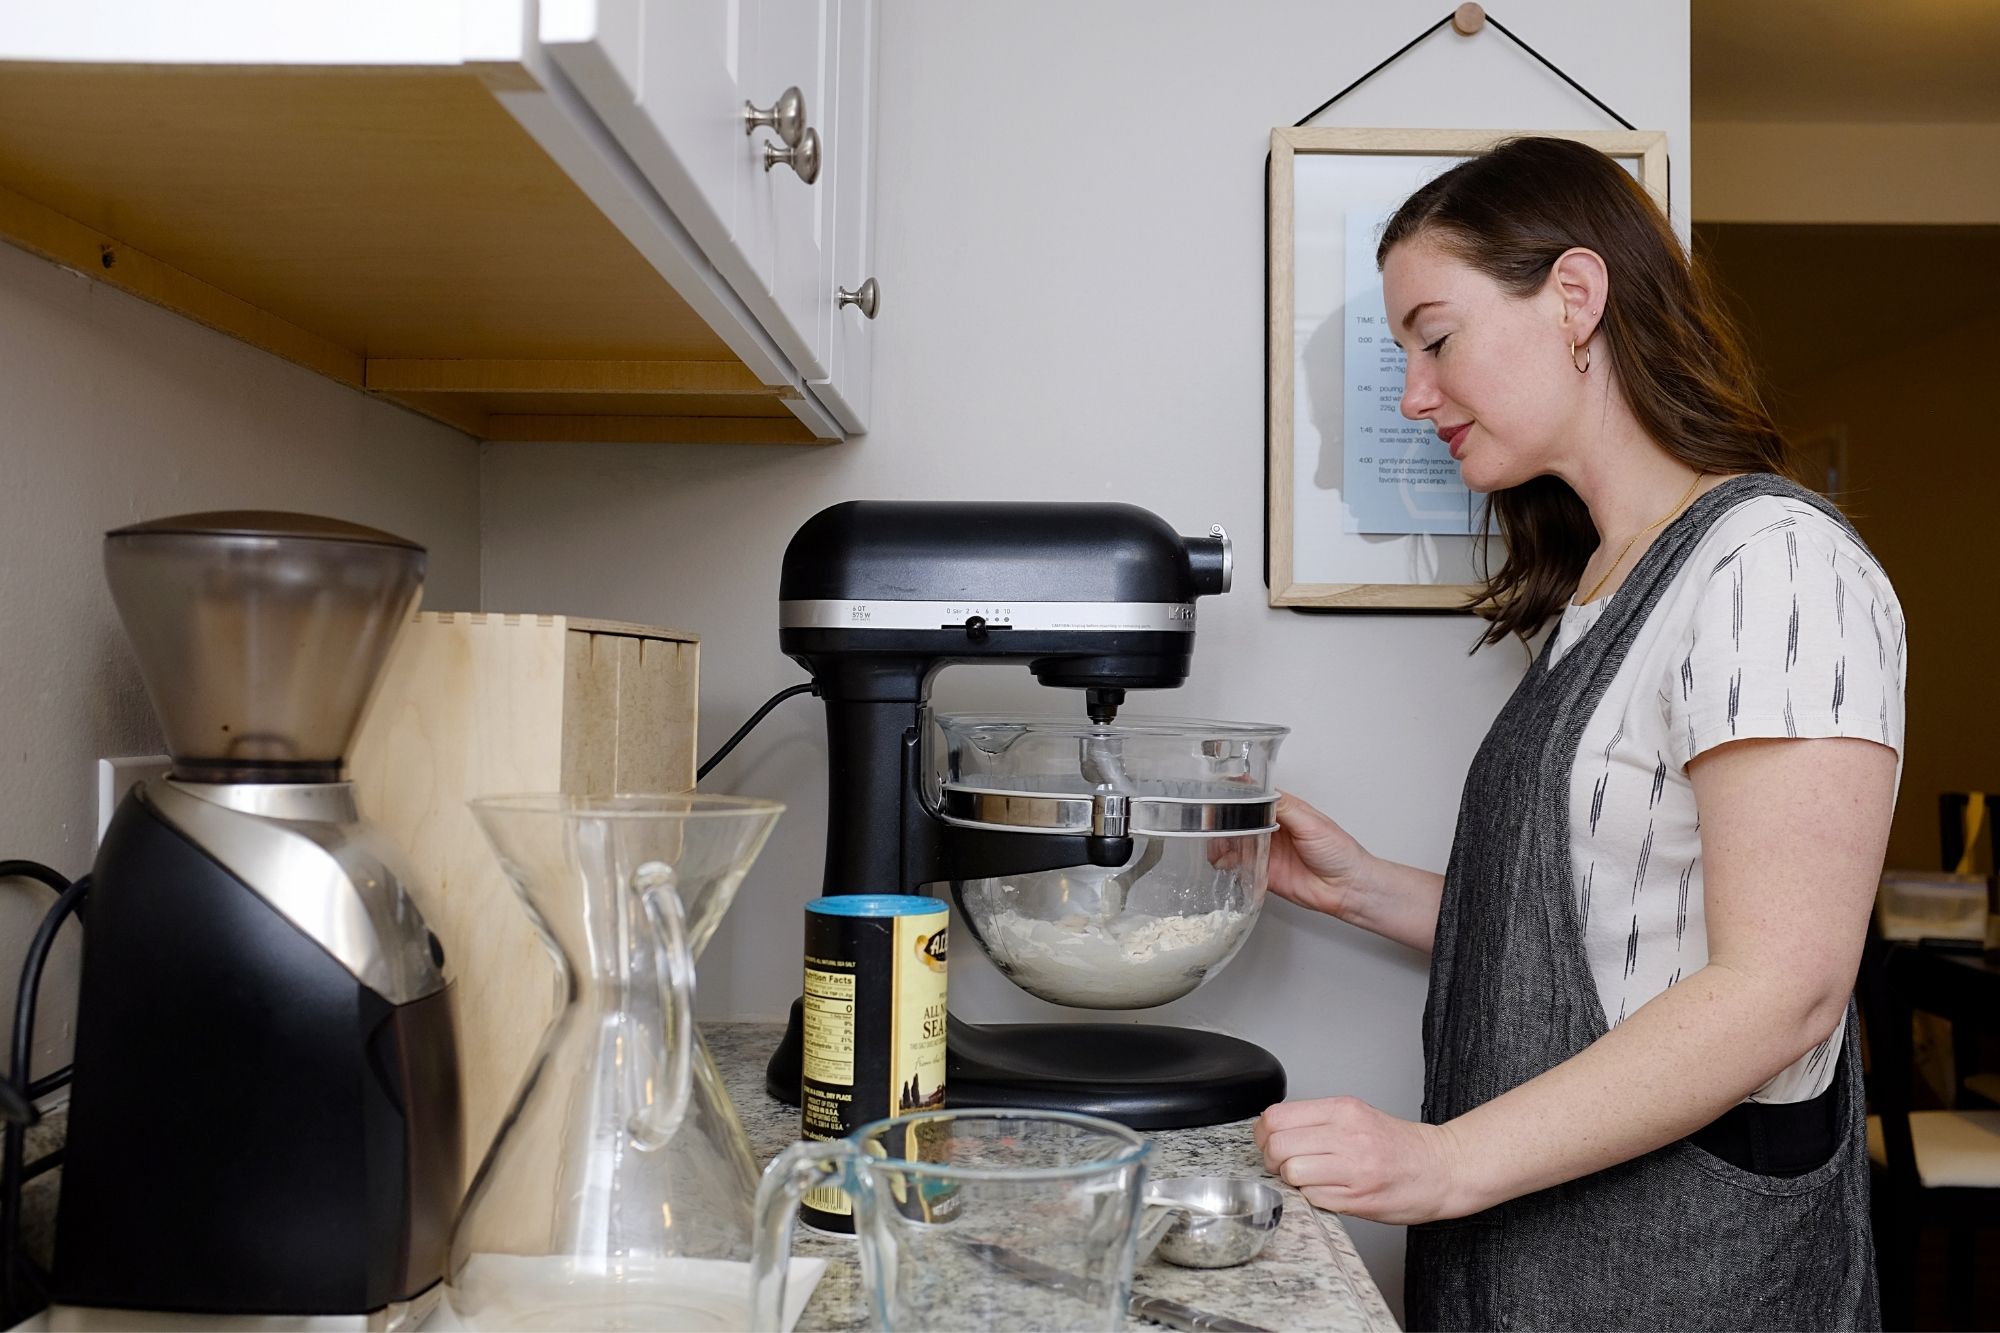
First, you’ll need to assemble your dough ingredients. This recipe only calls for flour, instant yeast, salt, and water. That’s it! You’ll also want to turn on the light in your oven if you have it, or turn your oven on at 200°F for five minutes and then shut it off. This will provide some warmth so we can get a quick rise out of the dough (of course if your home has a proving drawer, feel free to use that! And can I come over and bake in your kitchen?).
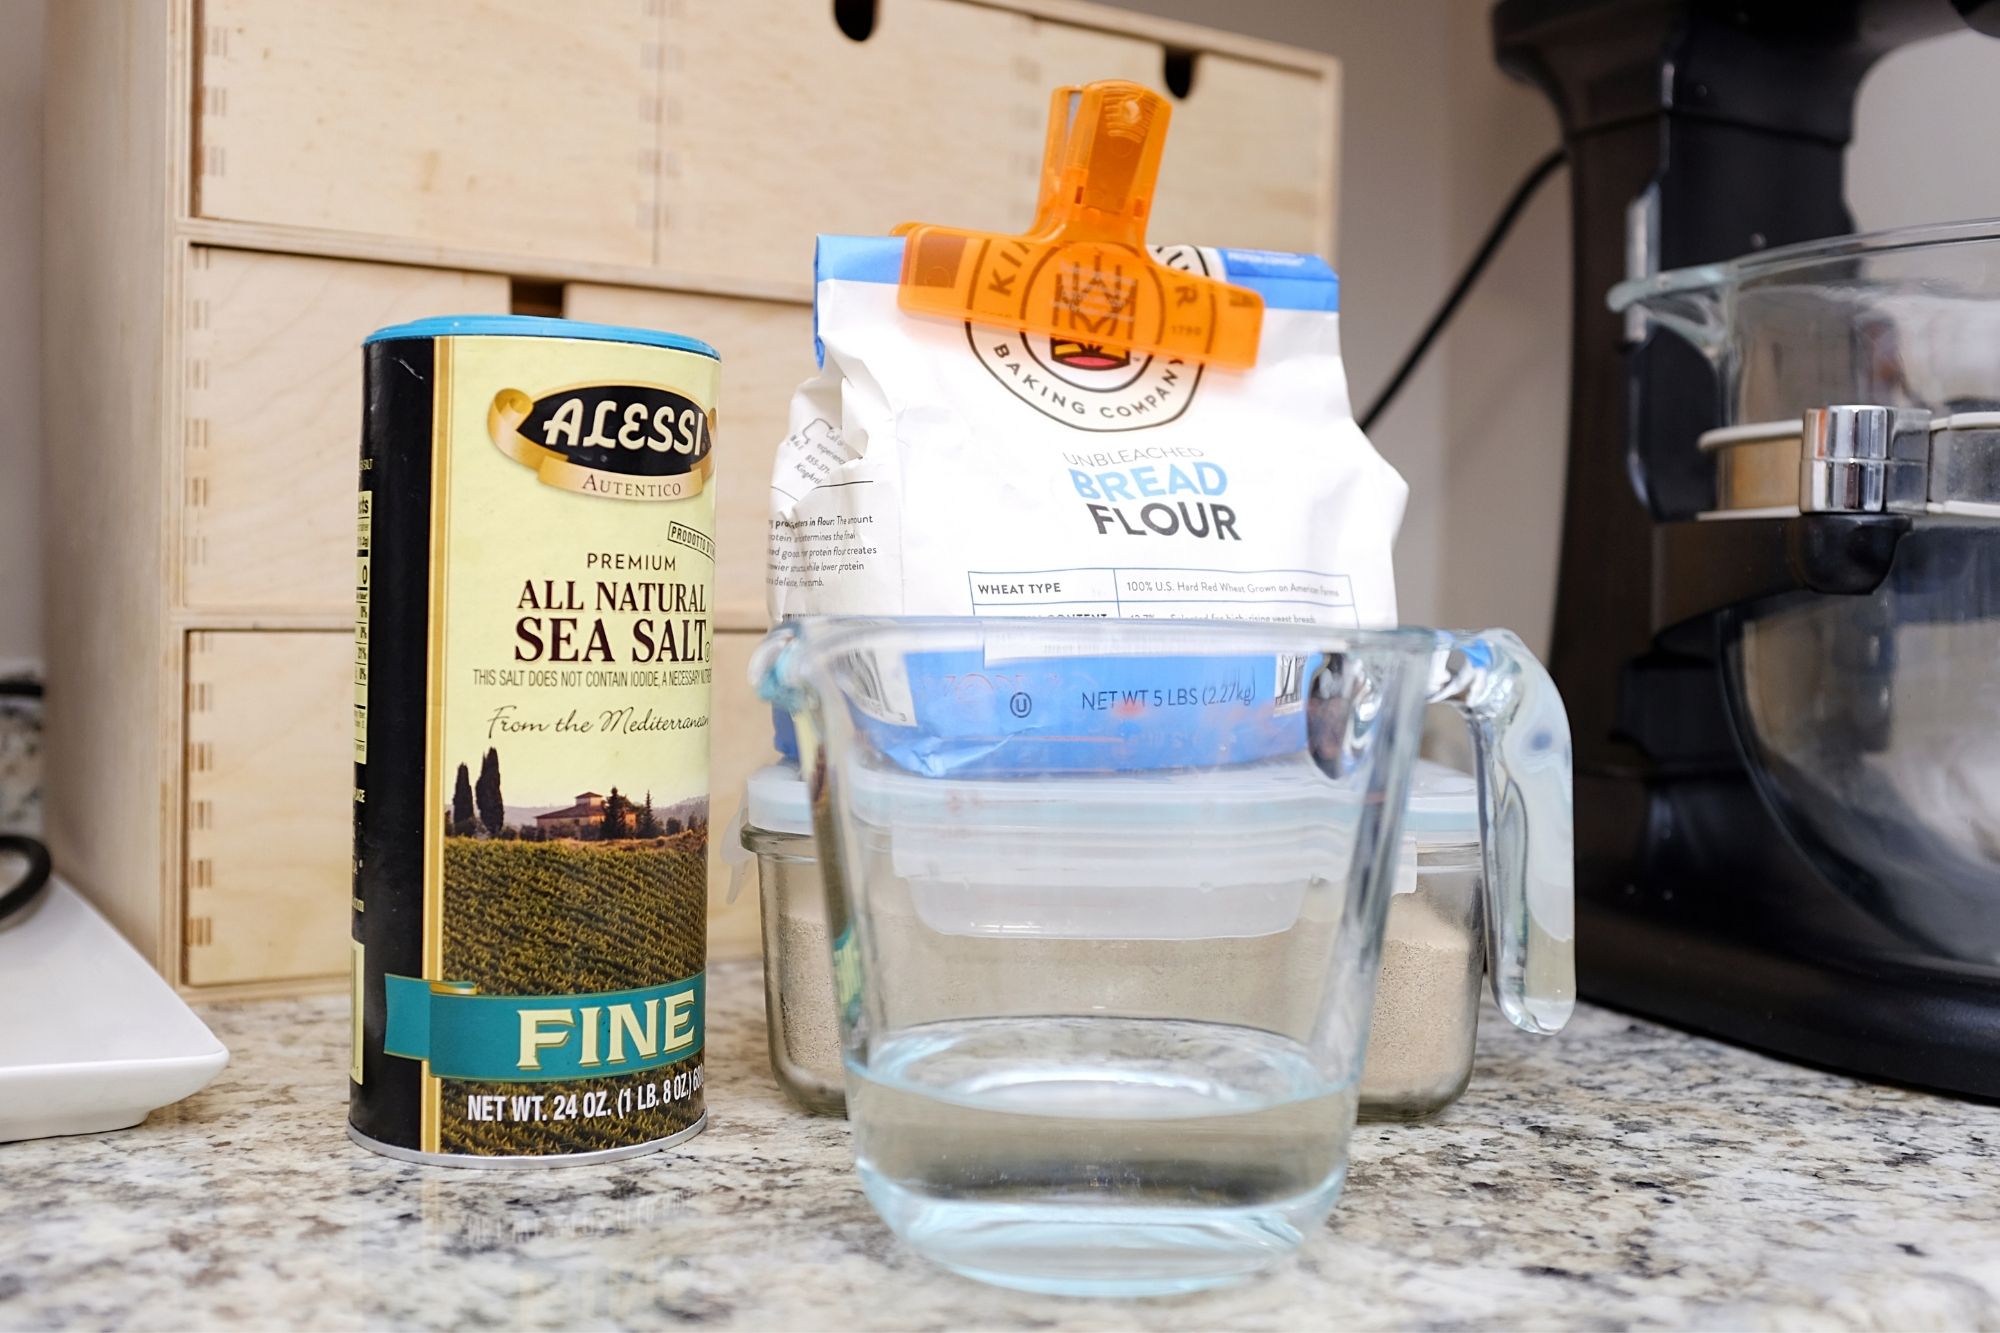
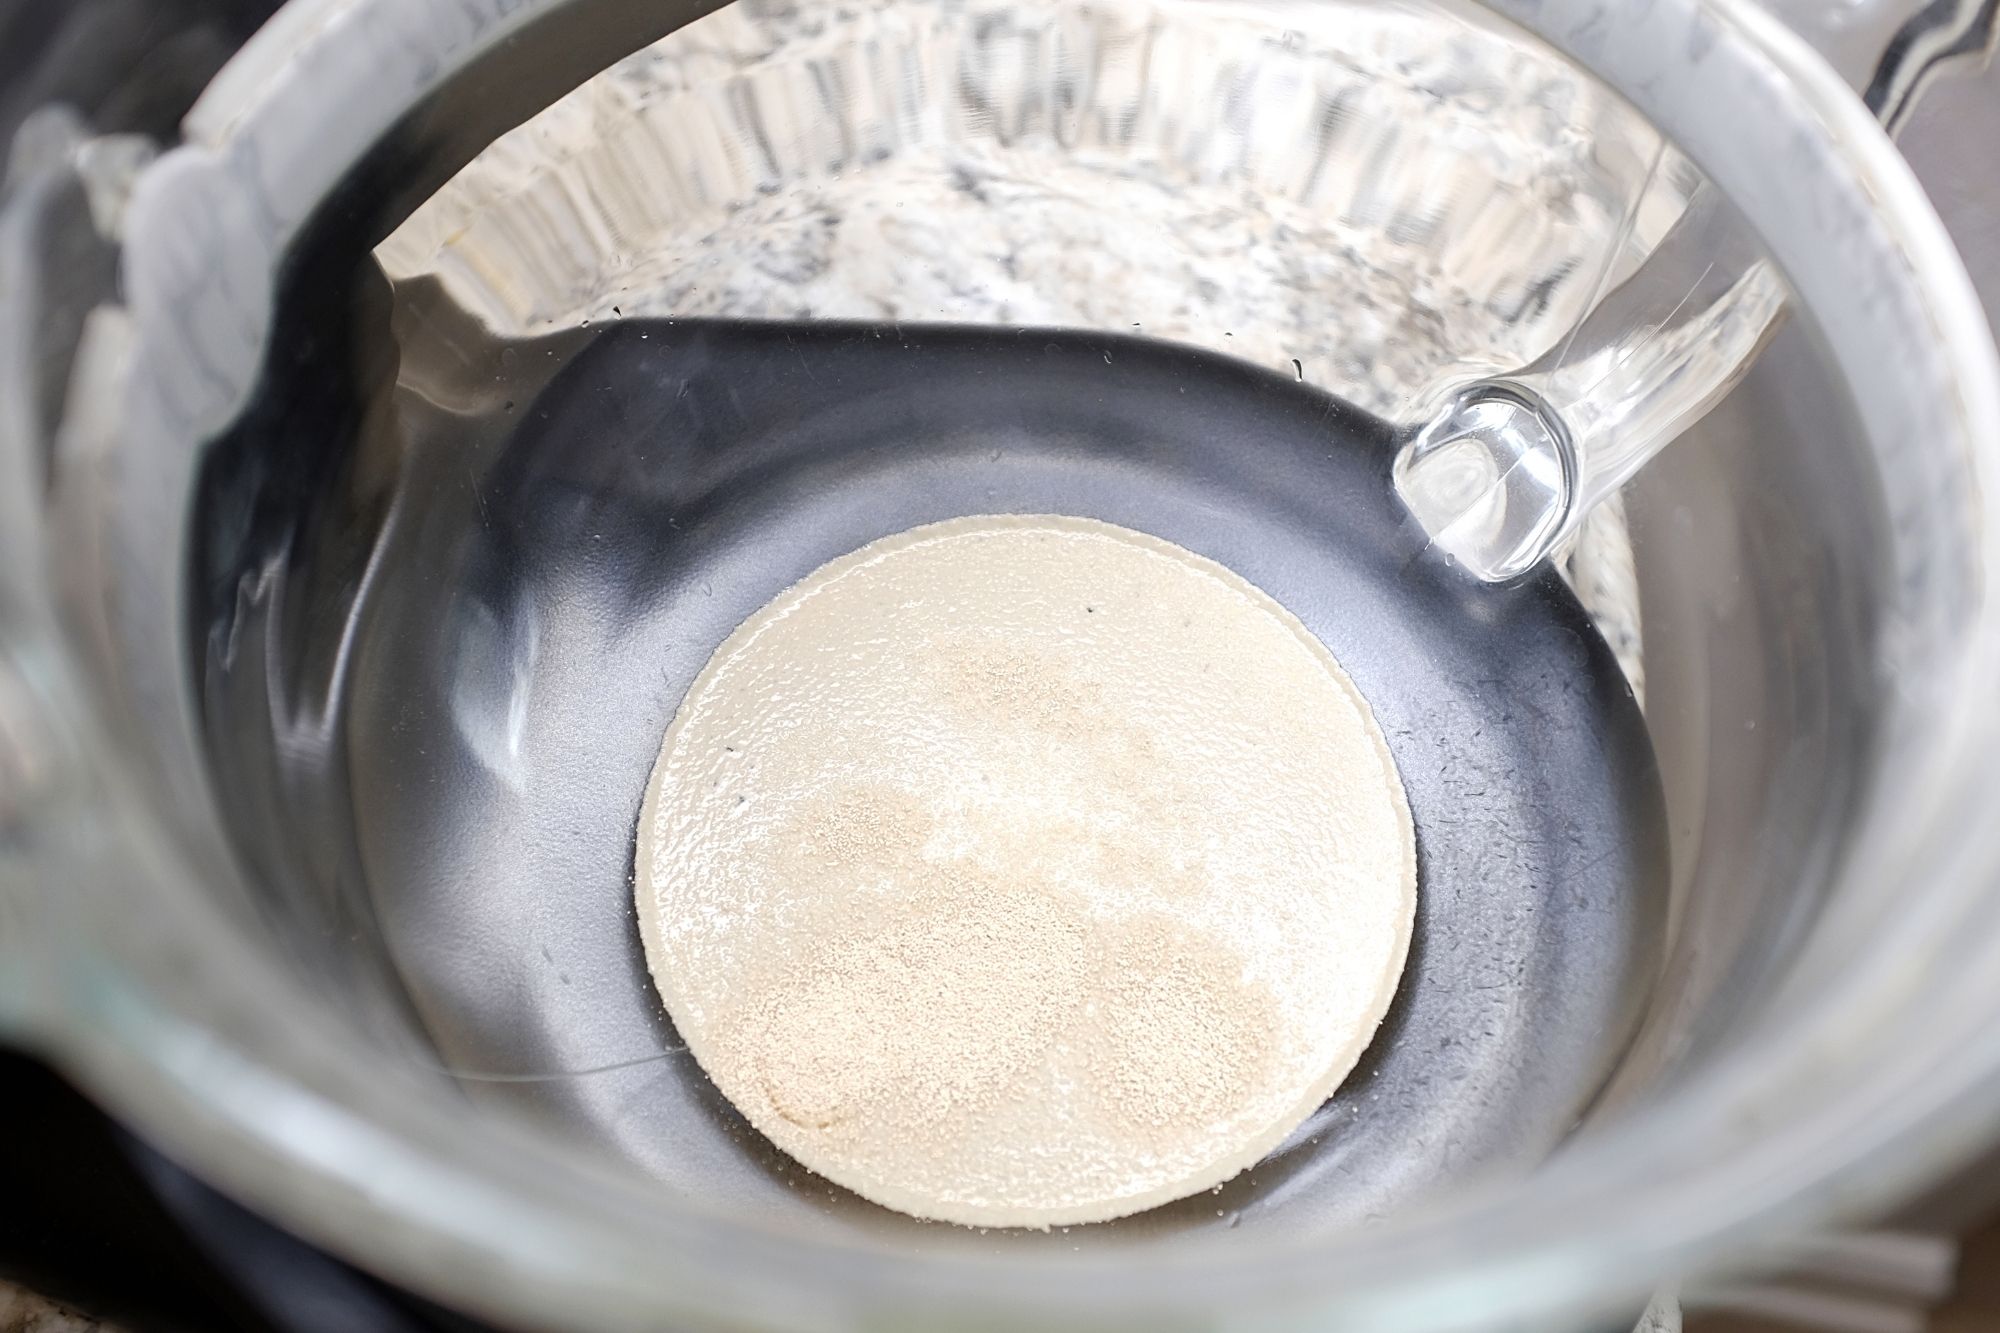
You’ll pour the water into the bowl of a stand mixer if you have it (if not, you’ll pour it into a large bowl and roll up your sleeves, because you’ll be kneading by hand) and sprinkle the yeast on top. Even though this recipe calls for instant yeast, which doesn’t need to dissolve in water before other ingredients are added, I always like to do so to make sure it’s still active (there’s nothing worse than making a recipe through to the end to find that it didn’t rise due to sluggish old yeast). If everything is good, you’ll see it foaming on top of the water.
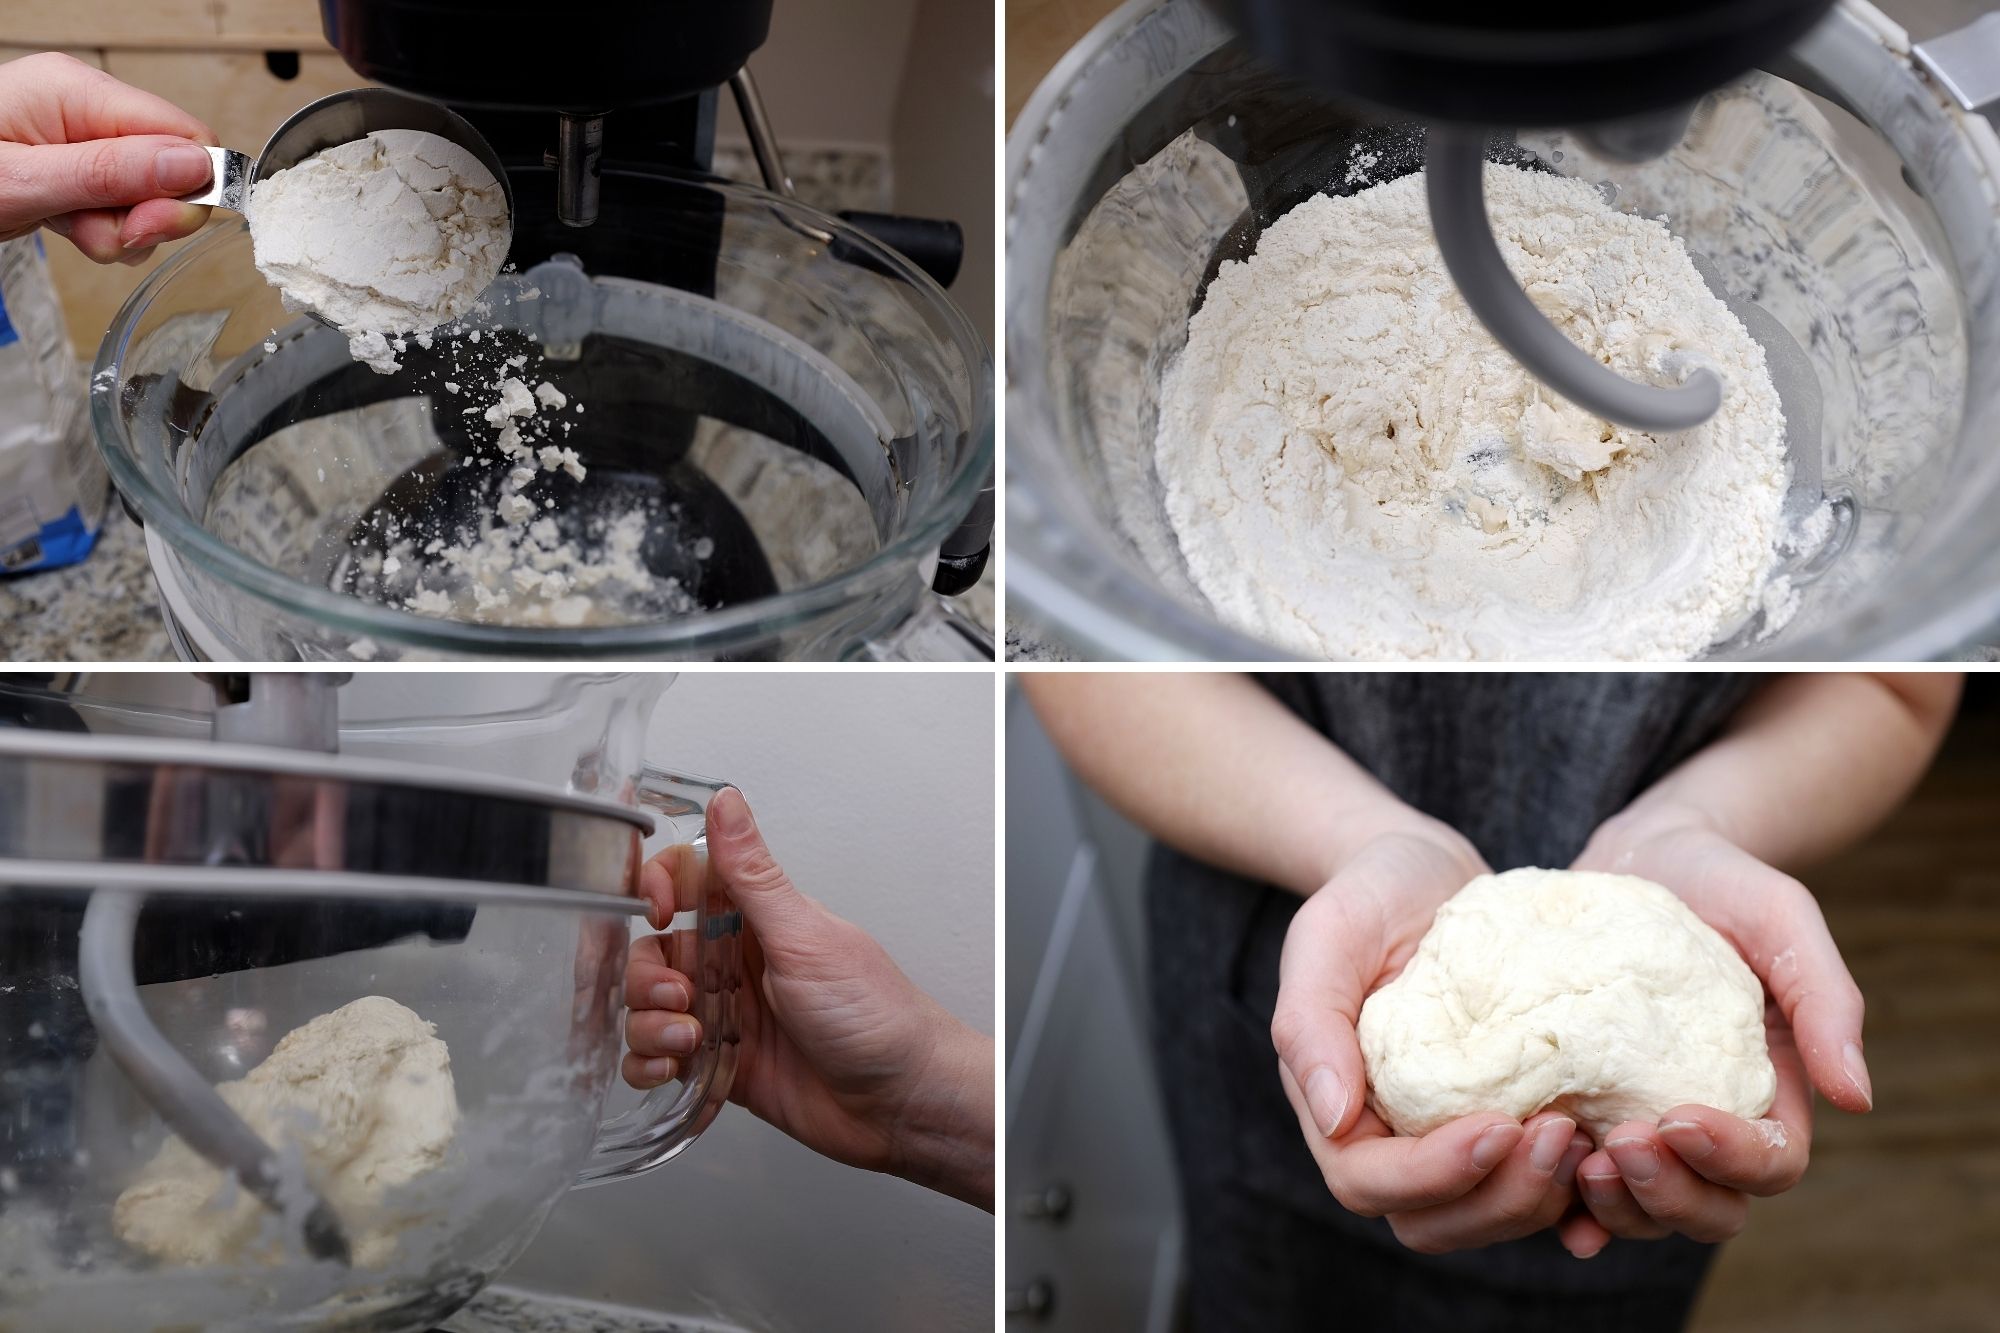
Here comes the fun part! After ensuring the yeast is happy and active, you’ll go ahead and add in the flour and salt. I prefer using bread flour for this recipe, but I also have made this recipe many times with All Purpose Flour and it works well too. On occasion, I’ll also sub up to 1/3 of the flour with whole wheat flour, for a chewier texture and wheaty flavor.
I like to give my stand mixer a head start by stirring the dough with a spoon before switching to the dough hook to knead for five minutes. If you’re making this by hand, start with a wooden spoon to bring the ingredients together, and then get kneading. Total time by hand will depend on how quickly you move, but you’ll know it’s done when all of the flour is absorbed and the dough loses its stickiness. If the dough feels dry, add a few drops of water until it feels smooth; if it feels tacky, add a small sprinkle of flour.
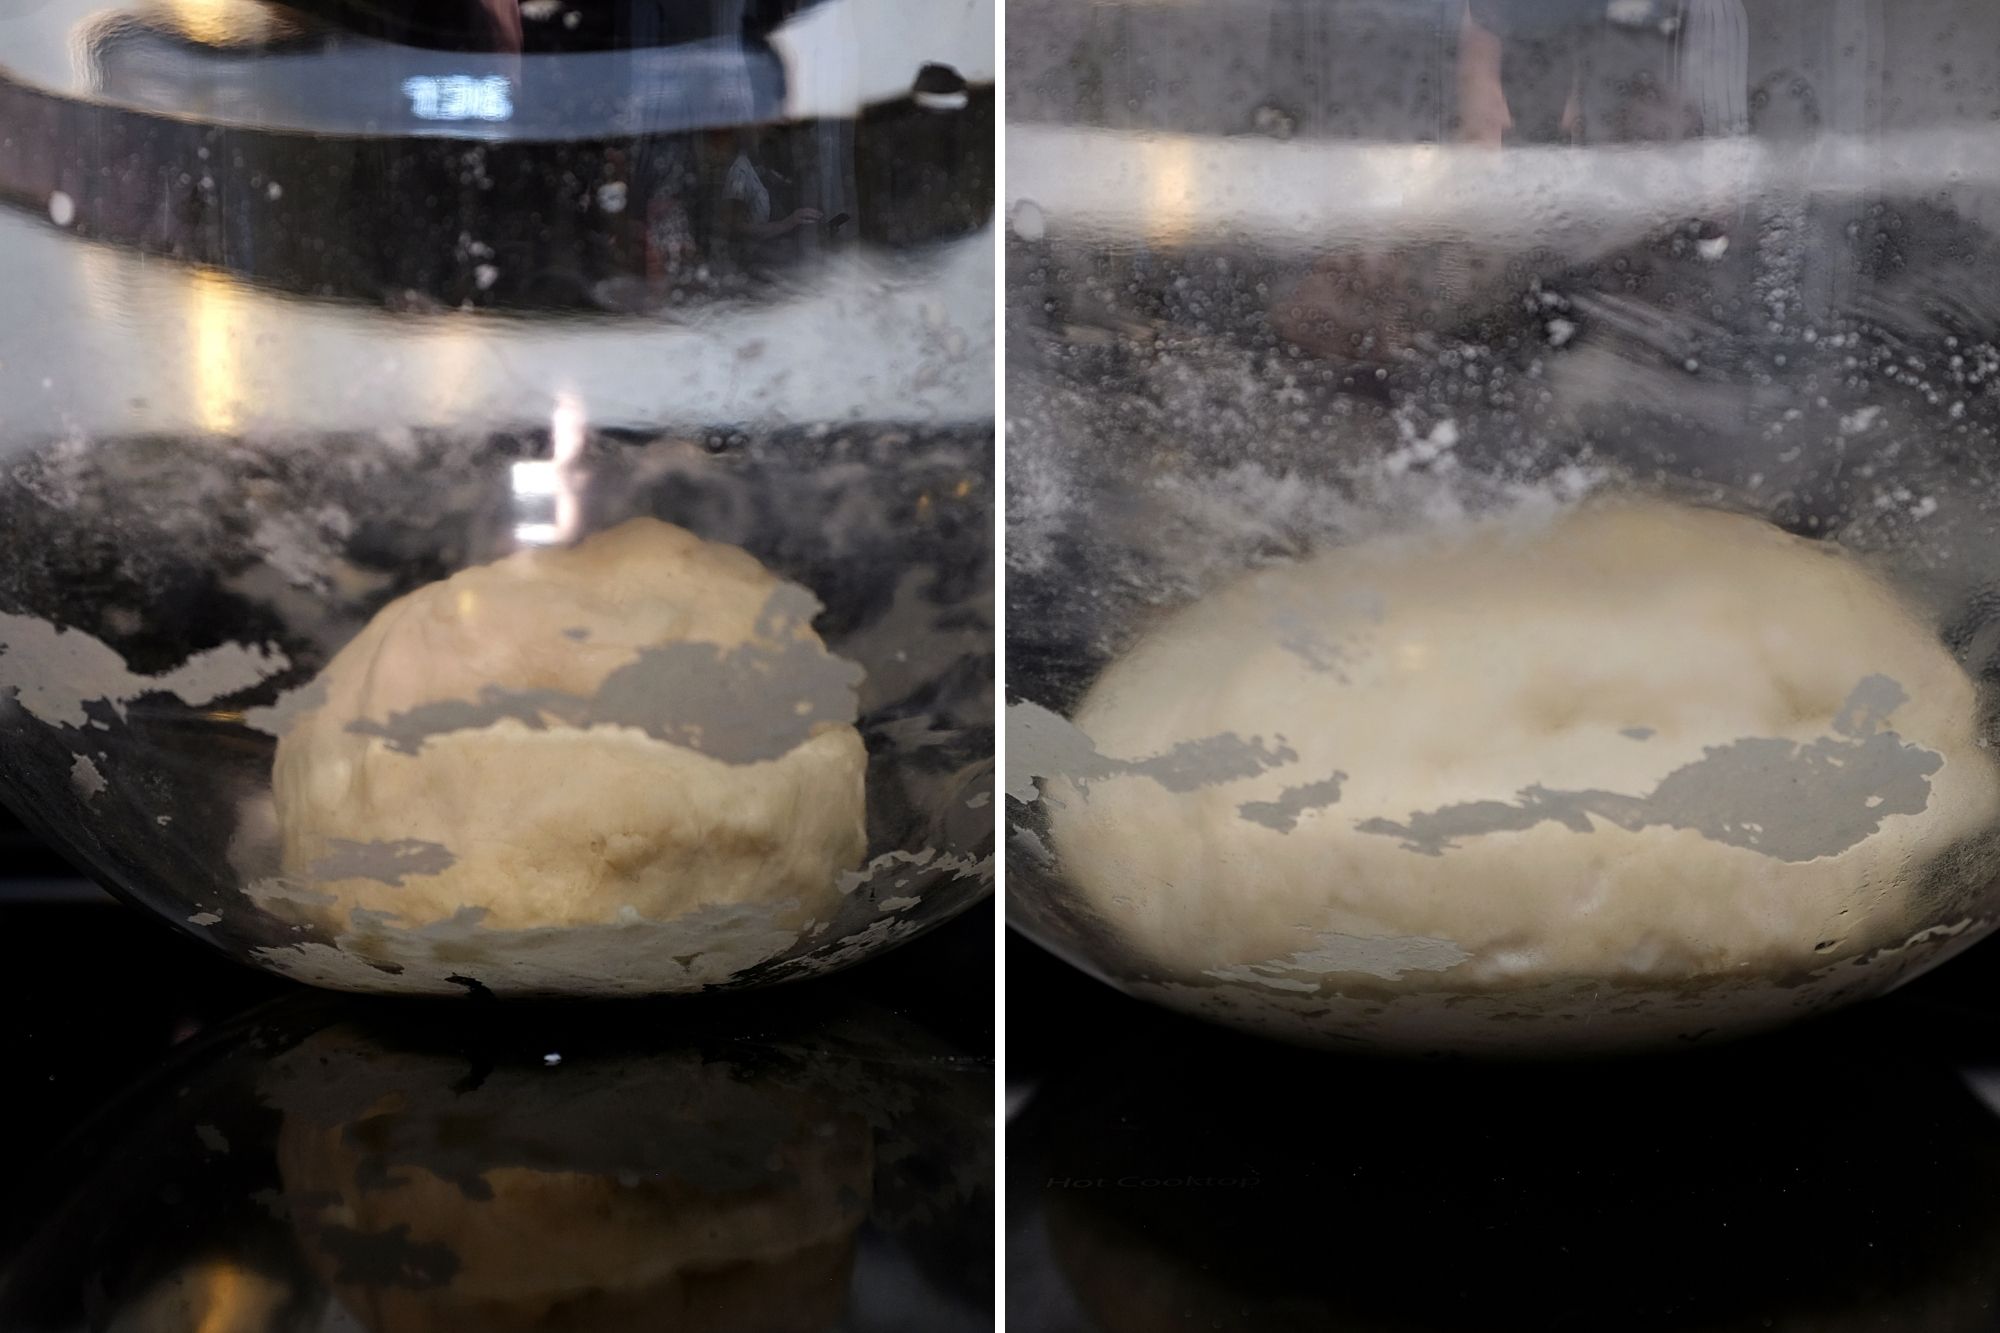
The hard part (which happens to be the fun part, too) is over, and now your warmed oven will take on the work as the dough rises. You can oil your bowl if you’re worried about sticking, but I usually can get away without it. Cover with a lid or plastic wrap, and place in the warmed oven to rise until doubled. I like to leave my oven light on the whole time to keep things moving.
—
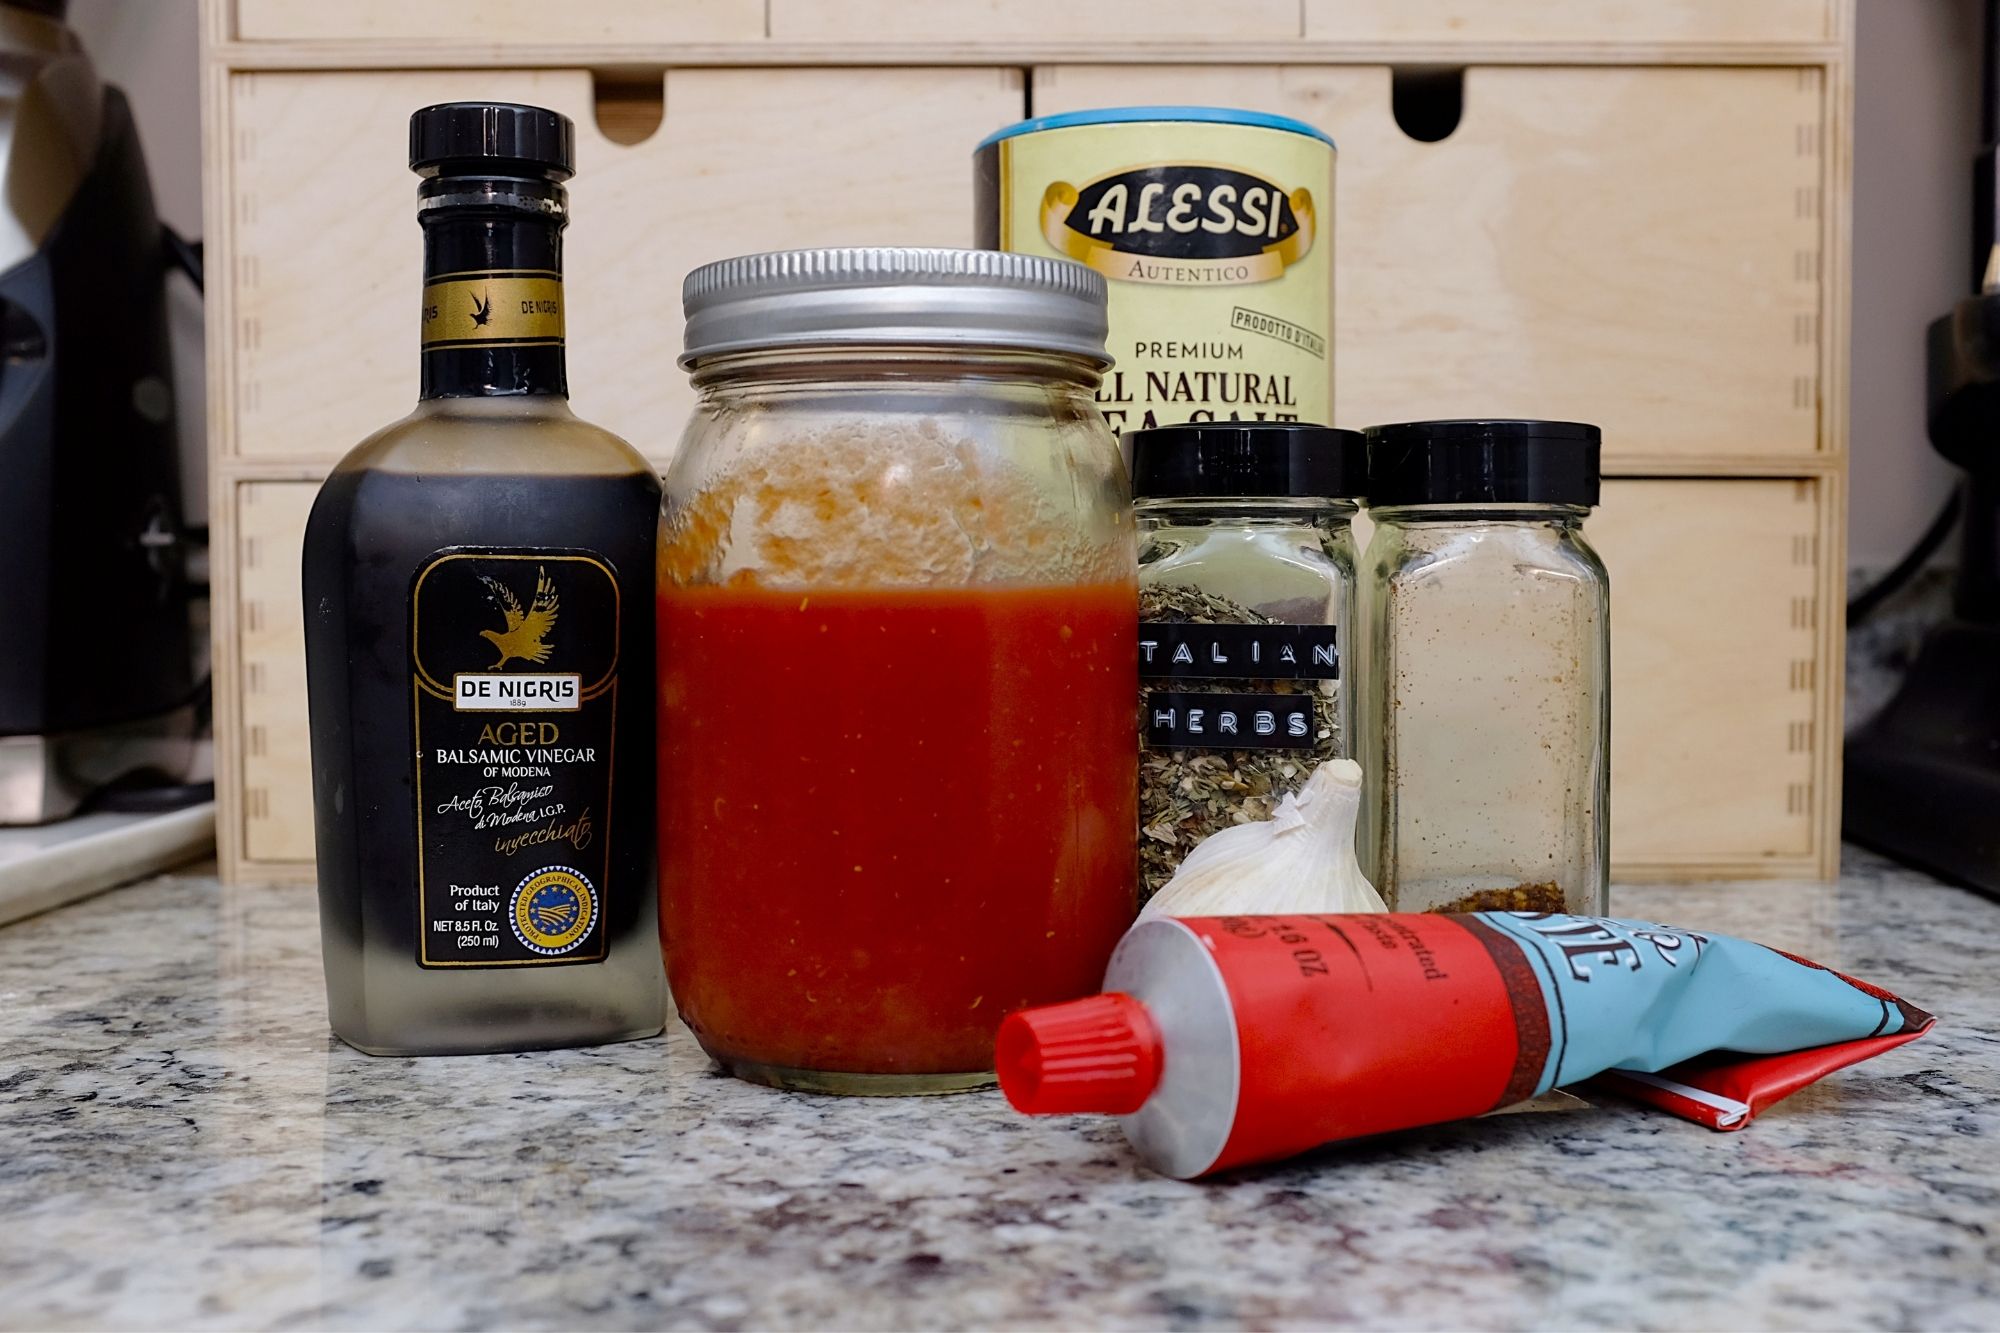
During these thirty minutes, I’ll usually go work on something else, but when shooting this recipe I realized I didn’t have any of my go-to jarred sauce in my pantry. However, I am sure to always keep an abundance of canned tomatoes on hand, and I thought I’d share my quick no-recipe recipe for impromptu pizza sauce.
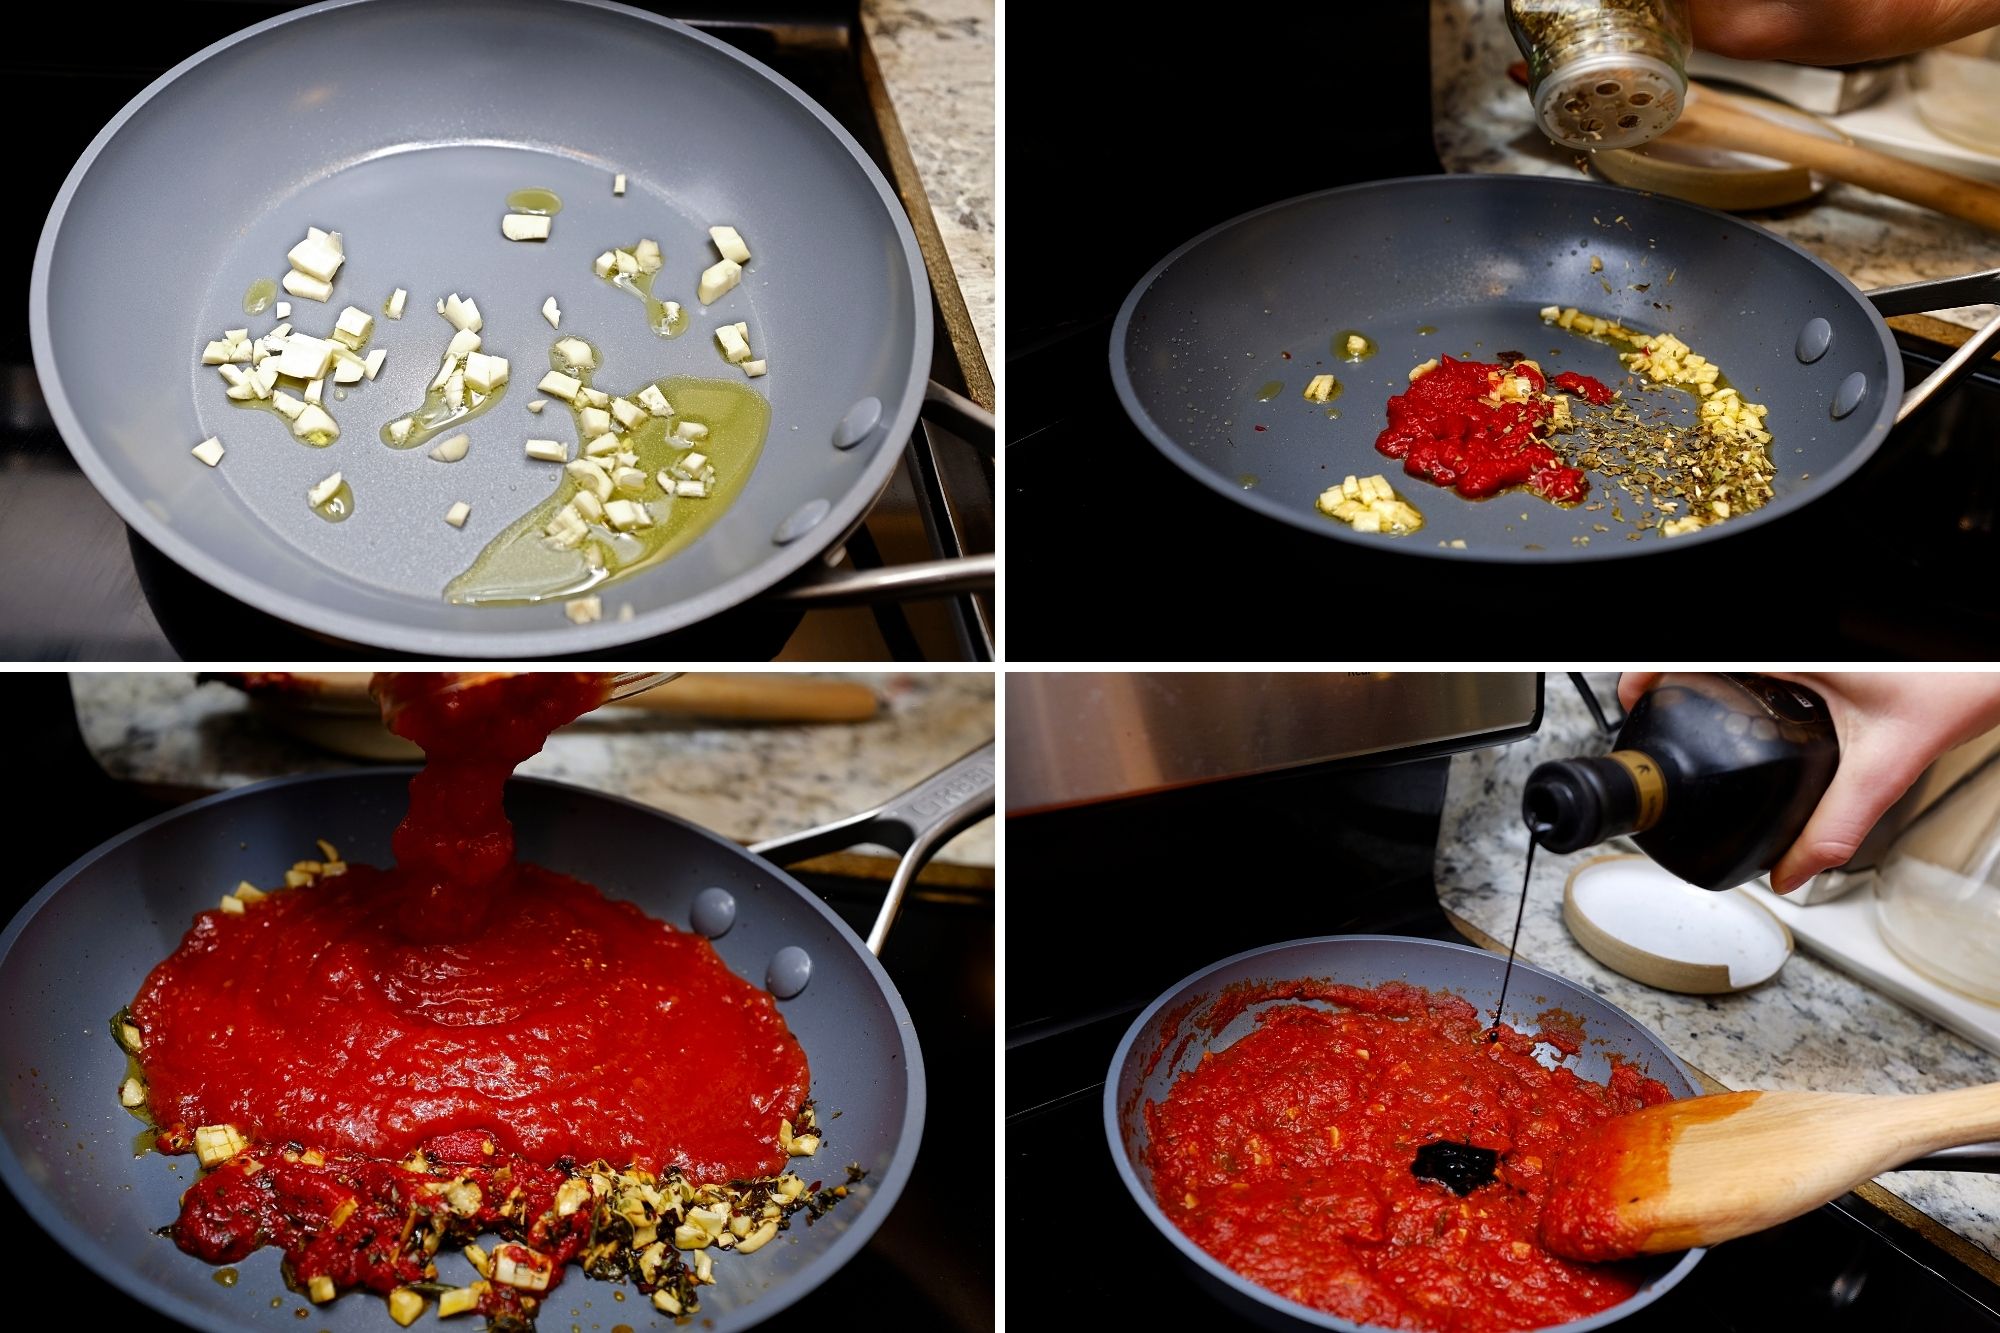
Like most sauces, it gets better the longer you cook it, but even this thirty-minute start-to-finish version can hold its own. Here’s how I make my last-minute sauce: I chop or mince two garlic cloves and saute them in olive oil over medium-low heat until they start to become fragrant and golden (2-3 minutes – you can see in the photos below how much of a rush I was in with the garlic!). I’ll add in a bit of tomato paste and cook out some of the raw flavor (1 minute), and then add in any herbs and red pepper flakes (30 seconds).
These items are prone to burning, so if you are unsure, I’d err on the side of undercooking than overcooking. I then add in a small can of crushed tomatoes and a pinch of salt, and let it simmer, stirring occasionally, for as long as I can. You’ll notice it will lose some of its water and begin to darken. Just before it’s time to come off the heat I like to taste for salt and then add in a very small amount of balsamic vinegar for both acid and sweetness, but you’ll want to skip this step if your tomatoes are particularly acidic.
—
Thirty minutes is up! Back to the pizza:
Remove the dough from the warm oven, and preheat it to 475°F. Prepare your baking trays with a little bit of olive oil, or high-heat parchment paper (if using paper, be sure to cook the pizza at 450°F instead, for a minute or two longer). Divide the dough into four even pieces. Roll out each of the four individual balls of dough directly on the trays to an even height of about ⅛ inches – it doesn’t really matter the shape, and I think it’s more fun if they’re a bit abstract.
The dough should be nice and easy to work with, but you can lightly flour your hands or the surface if needed. Be sure to remove any excess flour from your tray as it will burn. Top your pizzas with the sauce, as well as any uncooked veggies. It’s a bit unorthodox (this whole recipe is, really), but we’re going to bake the pizza twice. The first time it goes in the oven, the sauce will lose a bit of extra moisture and the crust can rise without being weighed down by wet cheese. Your thinly sliced raw veggies will get a jumpstart on their cooking time as well. You’ll bake it this round for 6-8 minutes, pulling it out just as the crust starts to turn a light golden brown on the very edge.
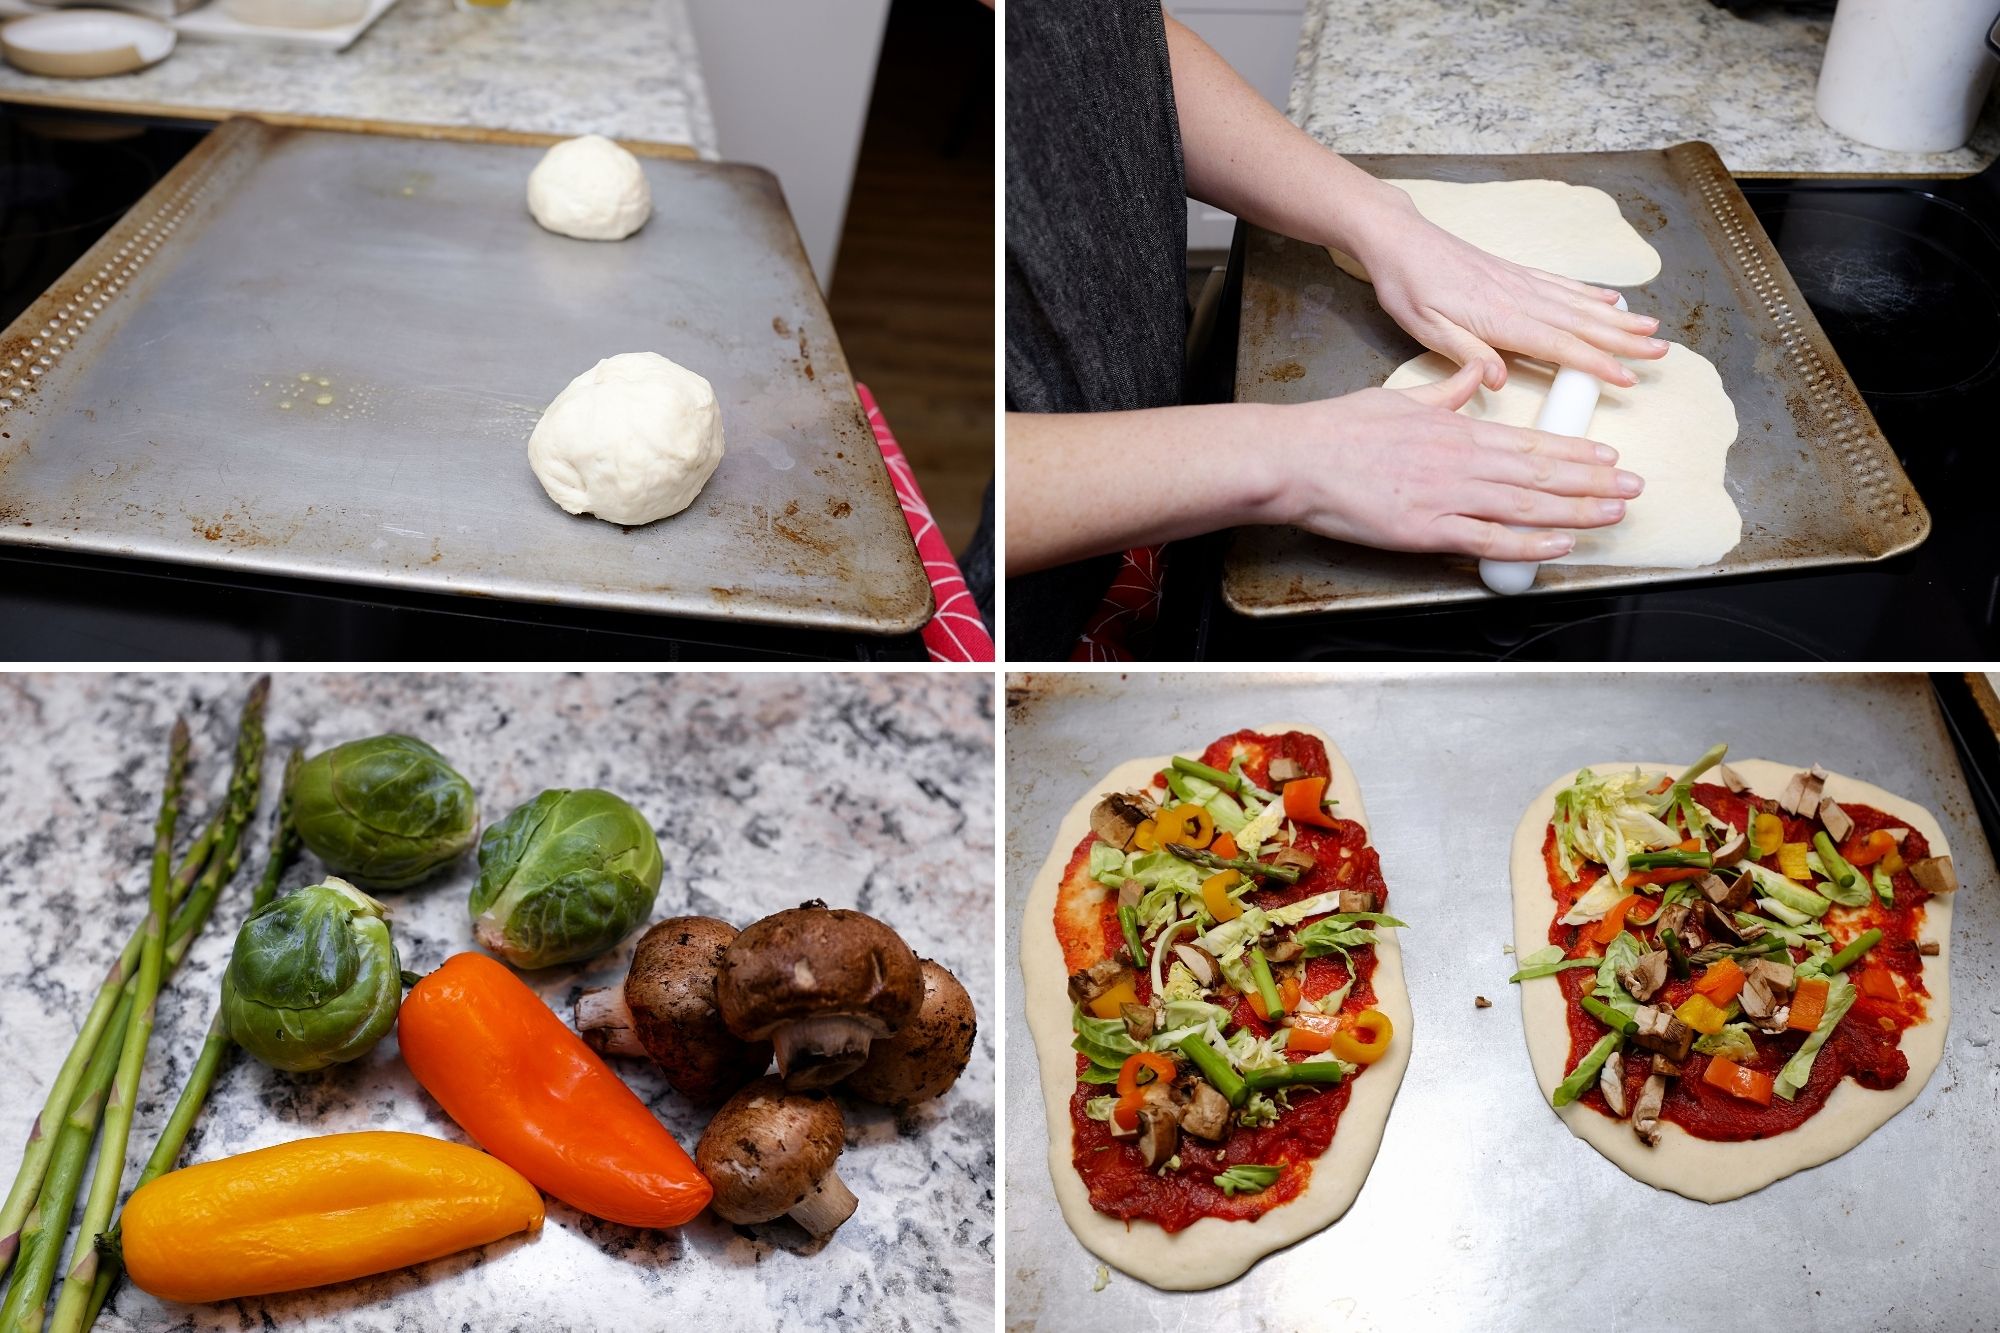
While the pizzas are baking for the first time, slice or shred any cheese you’d like to use. It’s amazing how quickly time passes – the oven will beep before you know it. When it does, take the trays out of the oven and top with your prepared cheese, as well as any cooked or pickled items (e.g. sausage, pepperoni, pickled jalapeños, etc.). Be careful as the trays will be hot. Place them back in the oven for another five minutes, or until all the cheese is melted and the crust is fully golden brown.
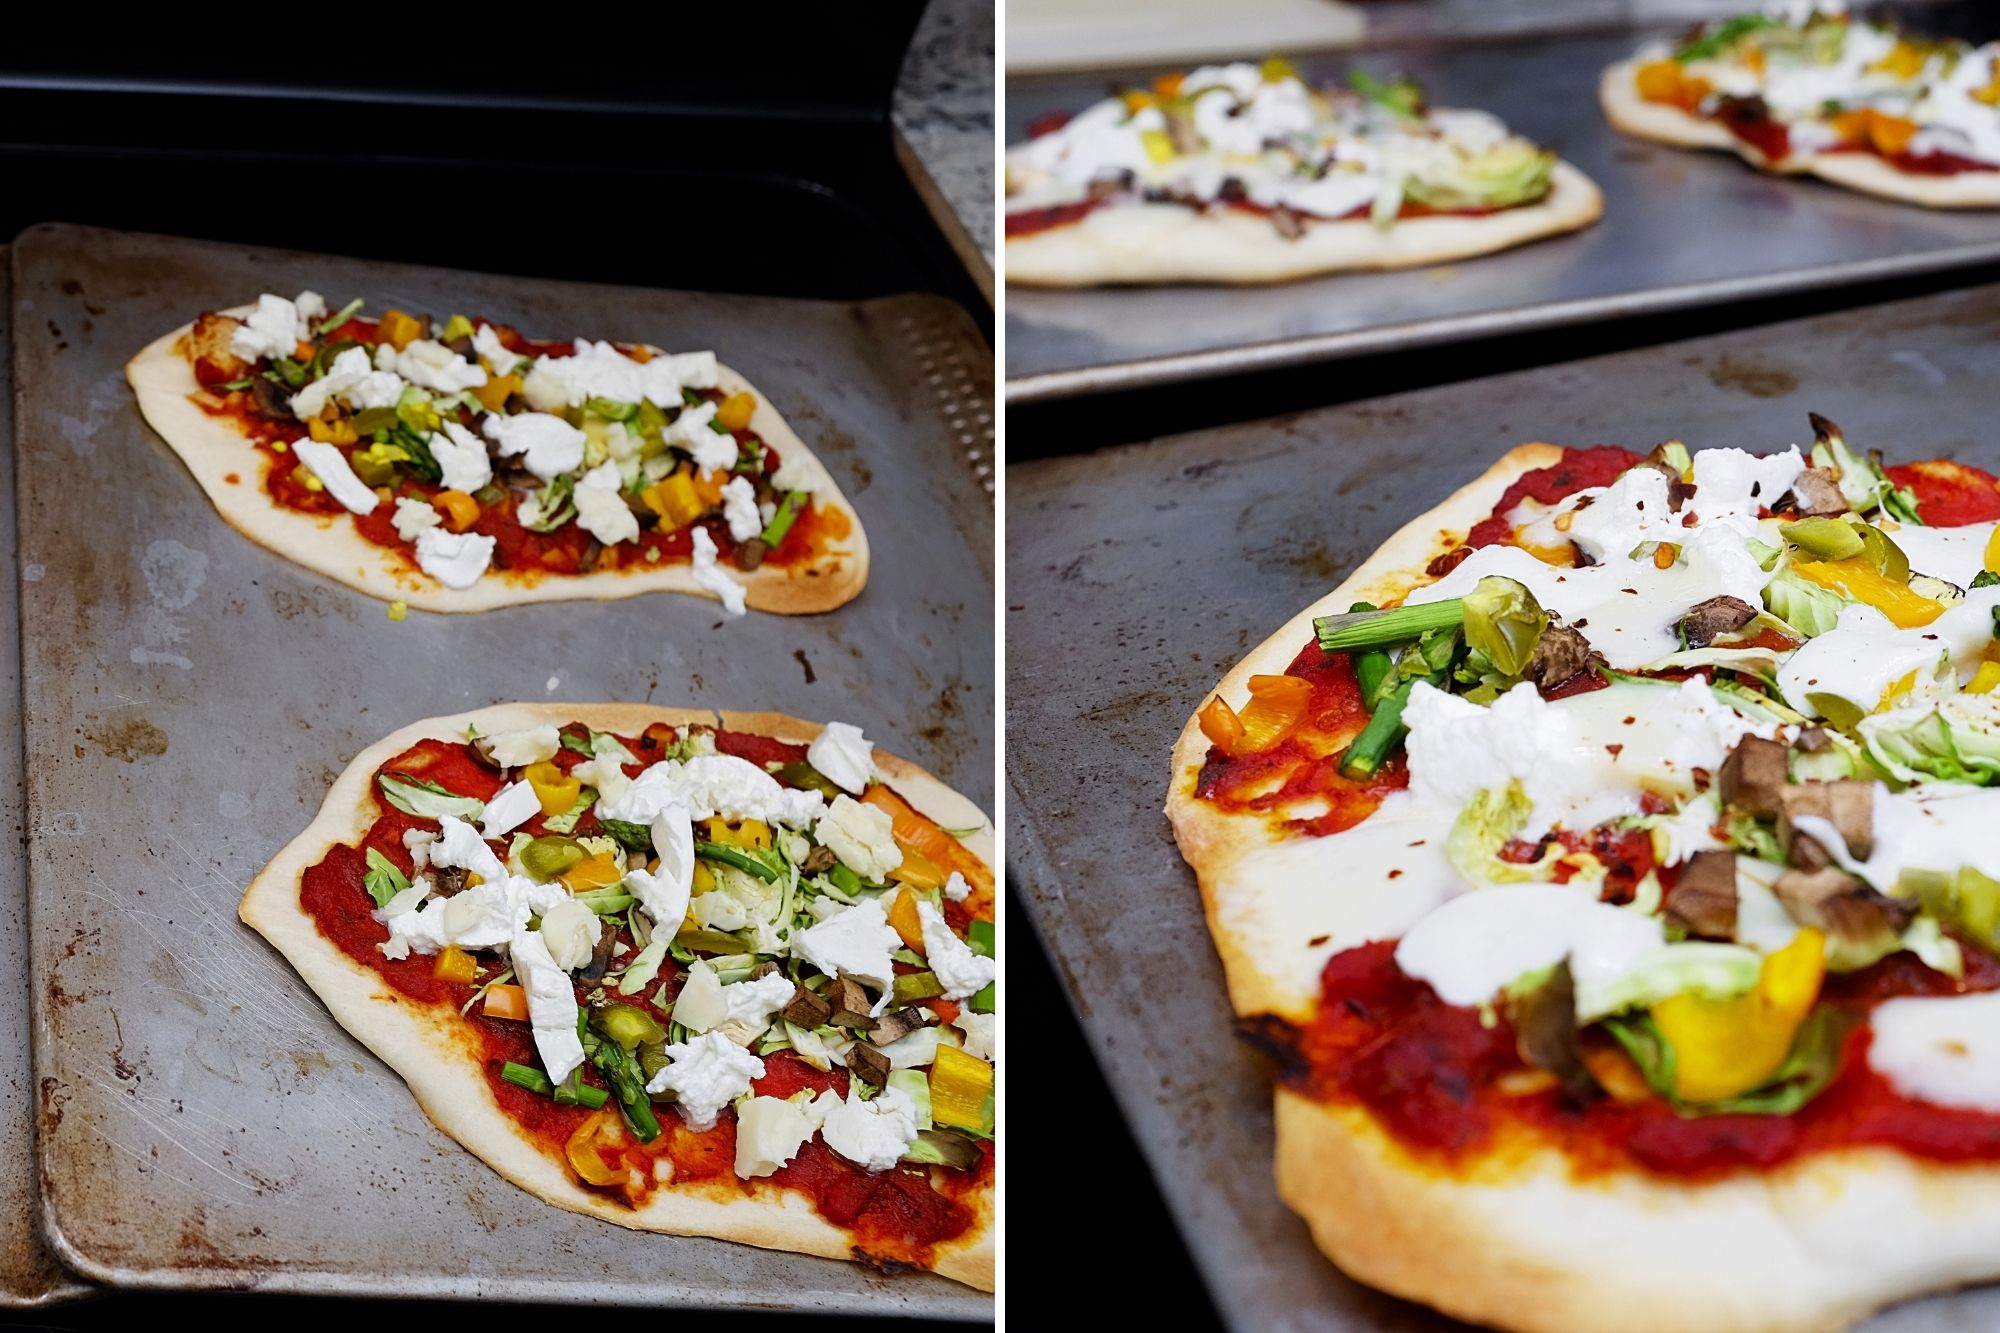
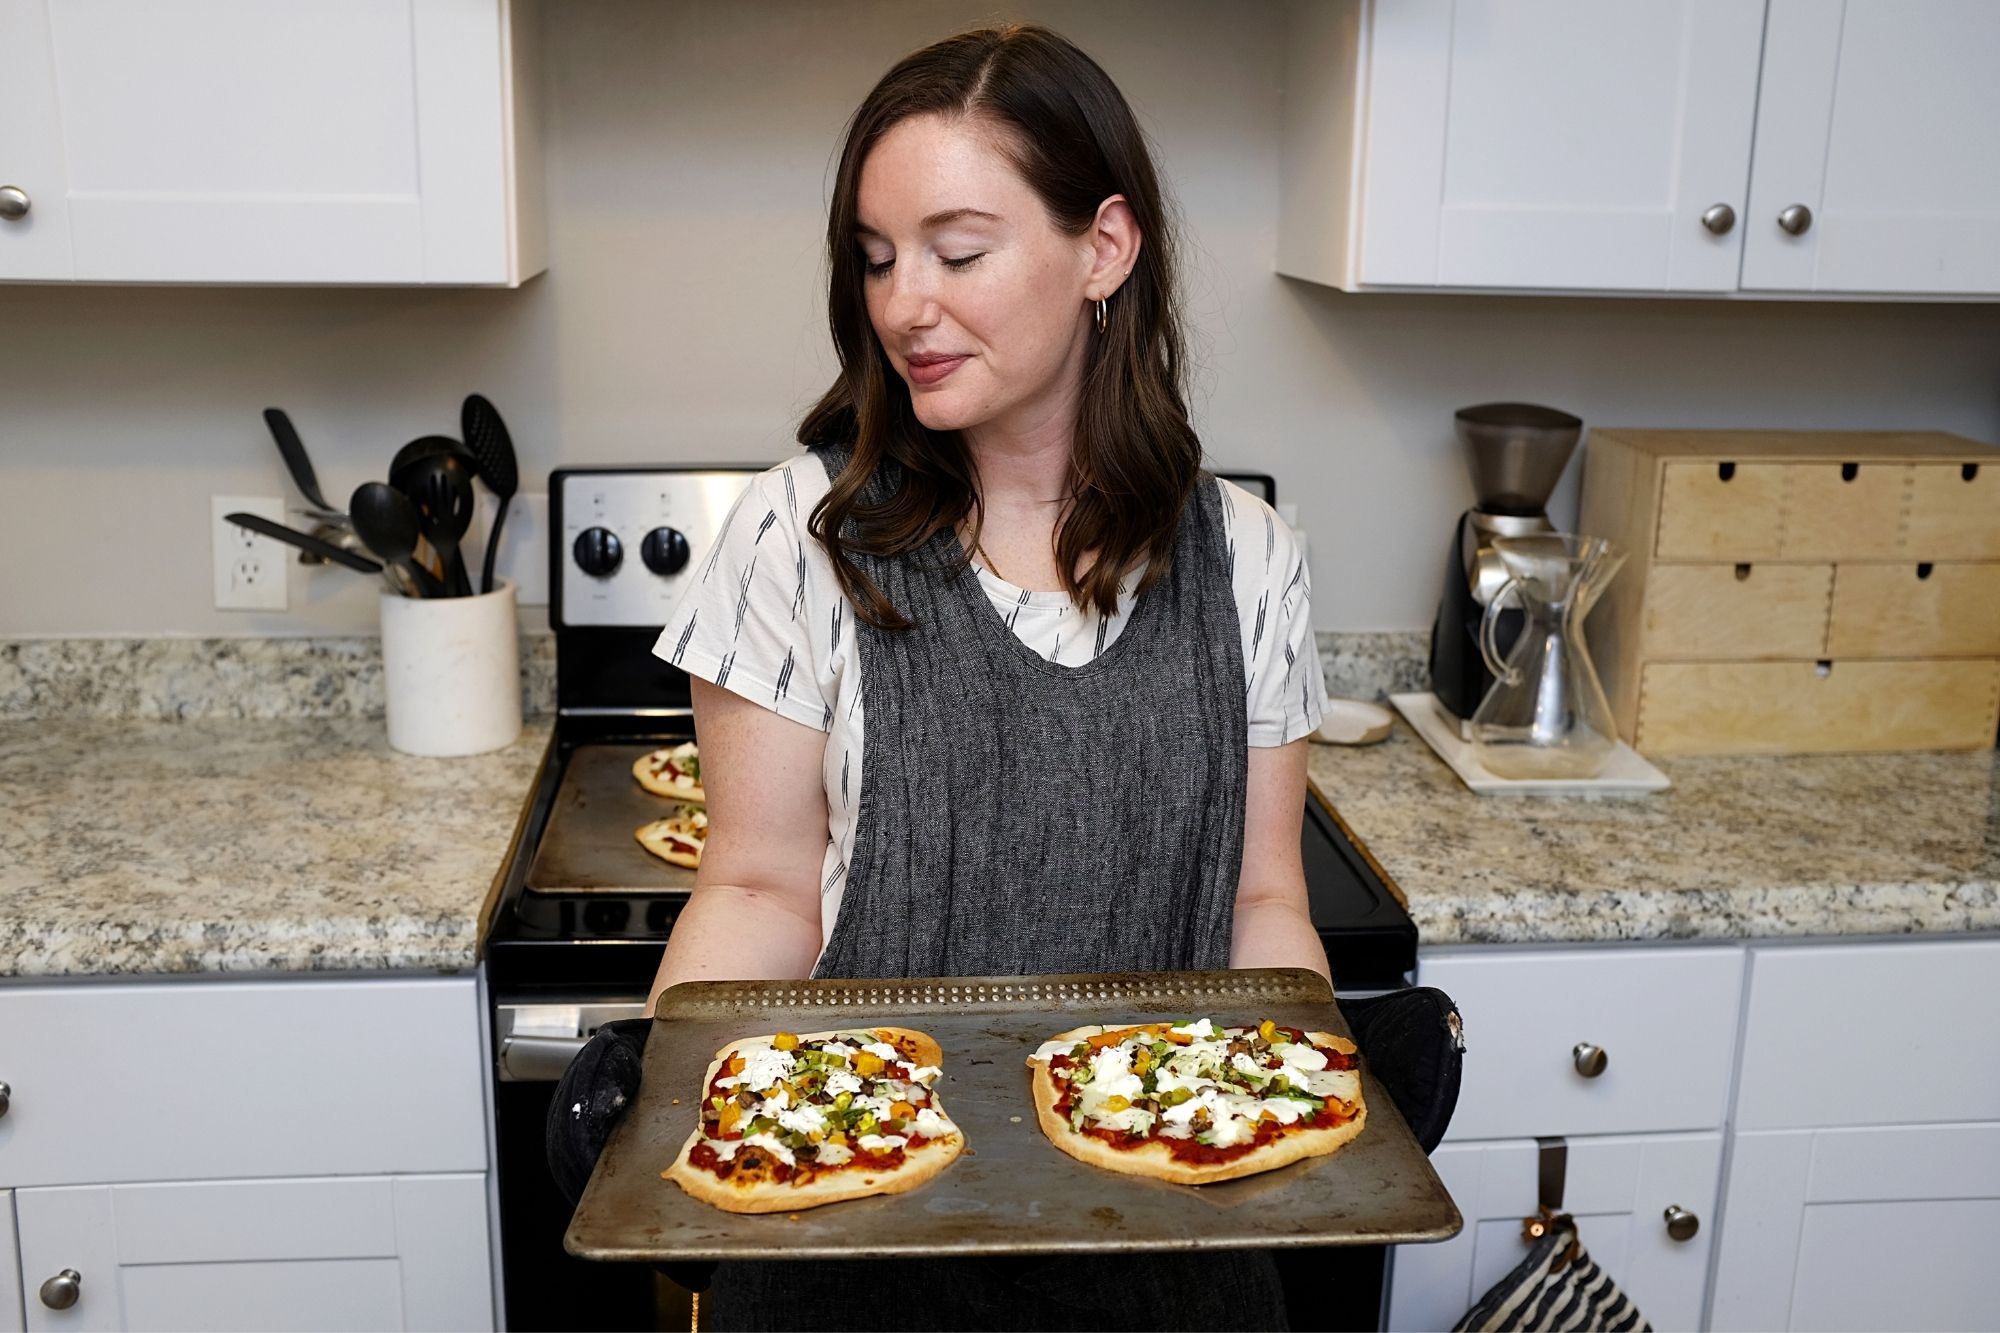
Let them cool for just a moment, slice, and serve. Voila – you’ve pulled off a crowd-pleasing meal that doesn’t take much time or effort, and you’ve used up some of your perishable produce to boot.

Pre-Trip Pizza Recipe
(adapted from Smitten Kitchen)
Serves 4
½ cup warm water
1¼ teaspoons instant yeast
1½ cups bread flour or all-purpose flour (plus more for dusting, if needed)
1 teaspoon sea salt or kosher salt
Warm your oven by turning on the oven light, or by preheating to 200°F and turning it off after five minutes.
Pour ½ cup water into the bowl of your stand mixer and sprinkle the yeast on top. It should bubble and foam with activity. Add the flour and salt, and stir loosely together. Attach the dough hook, and knead on low speed for 5-7 minutes. The flour should be fully absorbed, and the dough should be smooth and elastic.
If desired, coat the bowl with olive oil and place dough on top; cover the bowl and place it in the warmed oven to rise until doubled, about thirty minutes.
Once doubled, remove the dough from the oven, and preheat it to 475°F.
Divide the dough into four even balls, and prepare two baking sheets with a light coating of olive oil or nonstick cooking spray. Roll out the pieces individually, directly on the tray (you should be able to fit two pieces of dough per standard tray), until they measure about ⅛ inches high.
Add desired sauce and any raw vegetable toppings. Place trays in the oven and bake for 6-8 minutes, or until the center of the dough appears puffed and the edges are slightly golden brown.
Remove trays from the oven, and top with any remaining toppings, such as cheese, cooked vegetables, pickled vegetables, or cooked meats. Place trays back in the oven, and bake for an additional 5-7 minutes, or until the edges of the dough are golden brown and the cheese has melted.
Remove trays, and let cool for one minute. Slice and serve the pizzas as desired.
Enjoyed this post? You may also like:
- Five Easy Meals
- Pistachio Ice Cream Recipe
- Fresh Pasta Carbonara Recipe
- New York Style Bagels Recipe
- Everything Cookies Recipe
- How to Brew Coffee with a Chemex
- Liege Waffles Recipe
- Æbleskiver Recipe
- The Easiest Aperitifs
I gotta know – do you think pineapple belongs on a pizza?


Delightful read! Your pre-trip pizza recipe not only tantalizes the taste buds but also adds a flavorful twist to the excitement of the journey. Can’t wait to try it on my next adventure! 🍕✨