
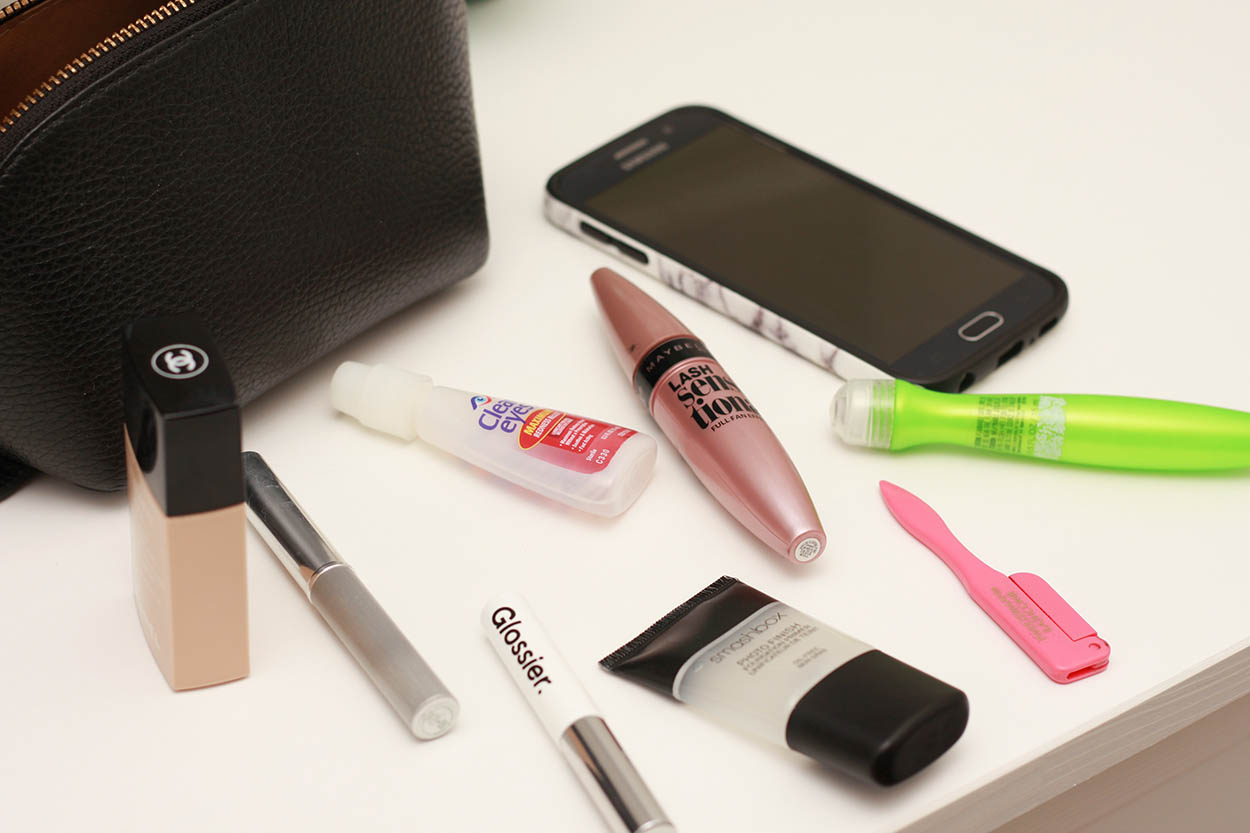
Confession time: I used to bring way too much makeup with me when traveling (actually, I used to bring way too much everything with me). But once I started unpacking mindfully, noting everything that was used during the trip and everything that was not used, I was able to whittle it down. I stopped packing any makeup or skincare for “just in case” and only pack my tried-and-true essentials. Now, all of my makeup fits in the smaller of the two Leather Travel Cases from Cuyana (reviewed here – with an updated review here). Best of all, my daily makeup routine at home has changed too – when I noticed how little I needed to feel “ready” while traveling, I reduced the number of products I use on a daily basis.
This post contains affiliate links
Today I’m sharing what I consider my “essential” products and steps. Everyone’s routine is different of course, and for the brow-pencil-and-lipbalm gals, this may seem like a maximalist’s list. But this is my routine that takes me from fresh-faced to all-done in five minutes or less (because I promise you don’t want to be stuck in your Paris/Milan/NYC hotel or Airbnb doing makeup – you want to be out enjoying the place you came so far to see):
STEP ONE: START WITH A CLEAN FACE
Though this post is more about makeup than skincare since everyone’s skincare needs are unique, I’m going to climb on a (TSA-approved) soapbox and tell you that it’s really important to keep up with washing your face. Sweat, dirt, and city grime are all major by-products of travel, and messed-up skin is not the souvenir you want to bring home. At the very least, wash your face at night before bed; if water is not available I recommend using micellar water (I love this one) to cleanse on the go.
—
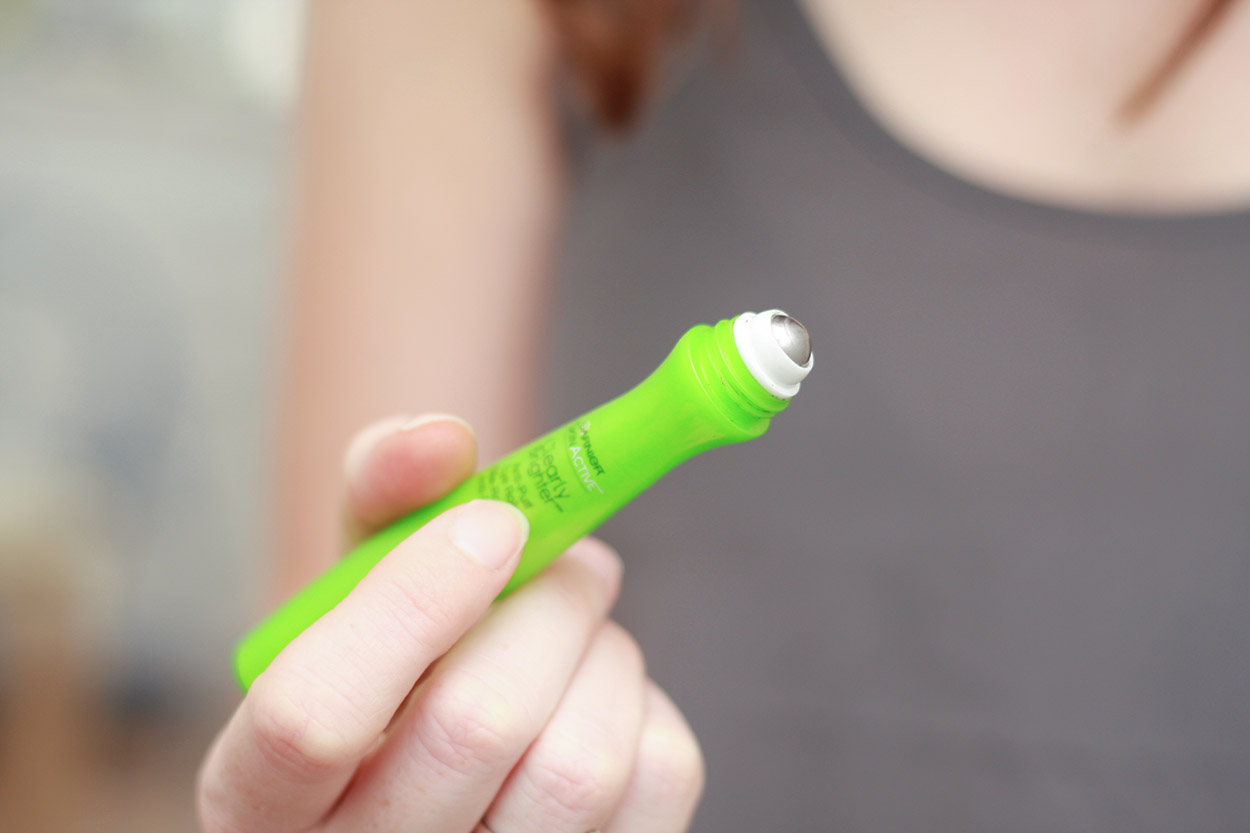
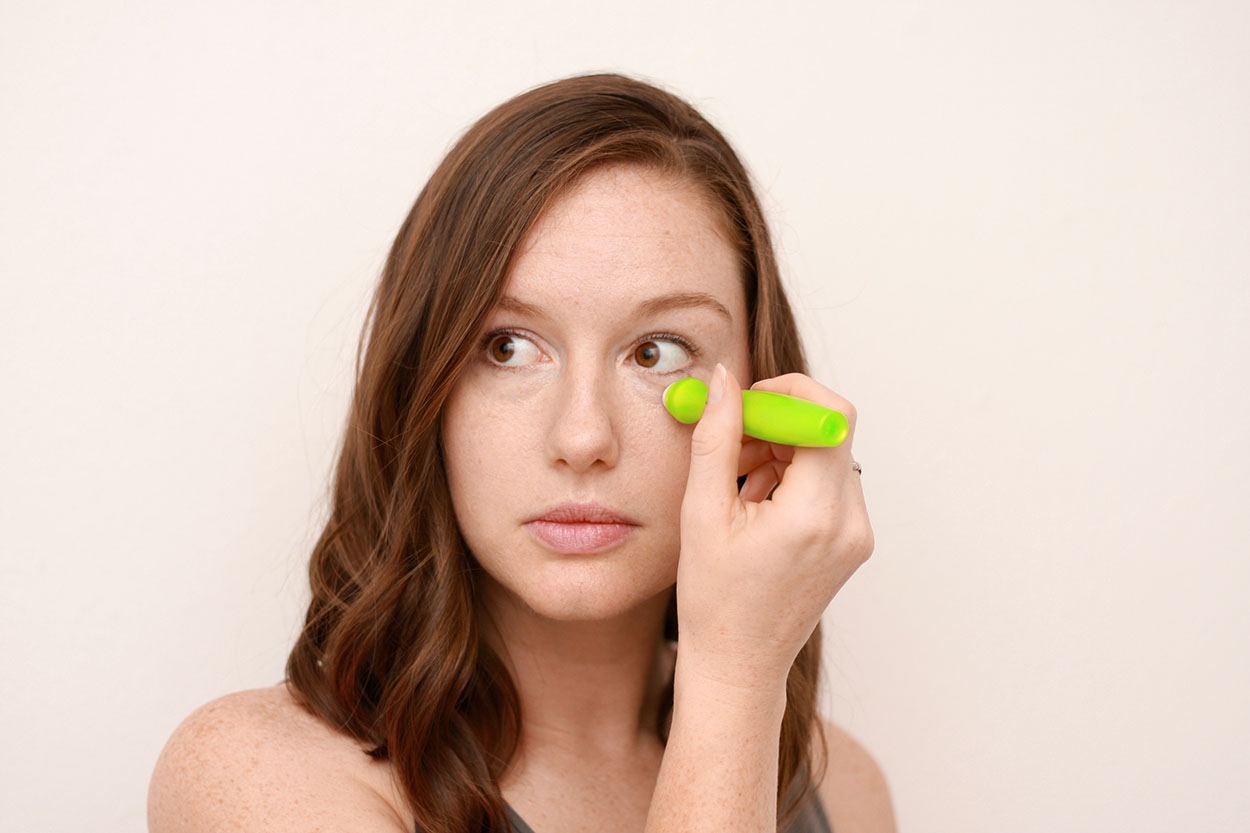
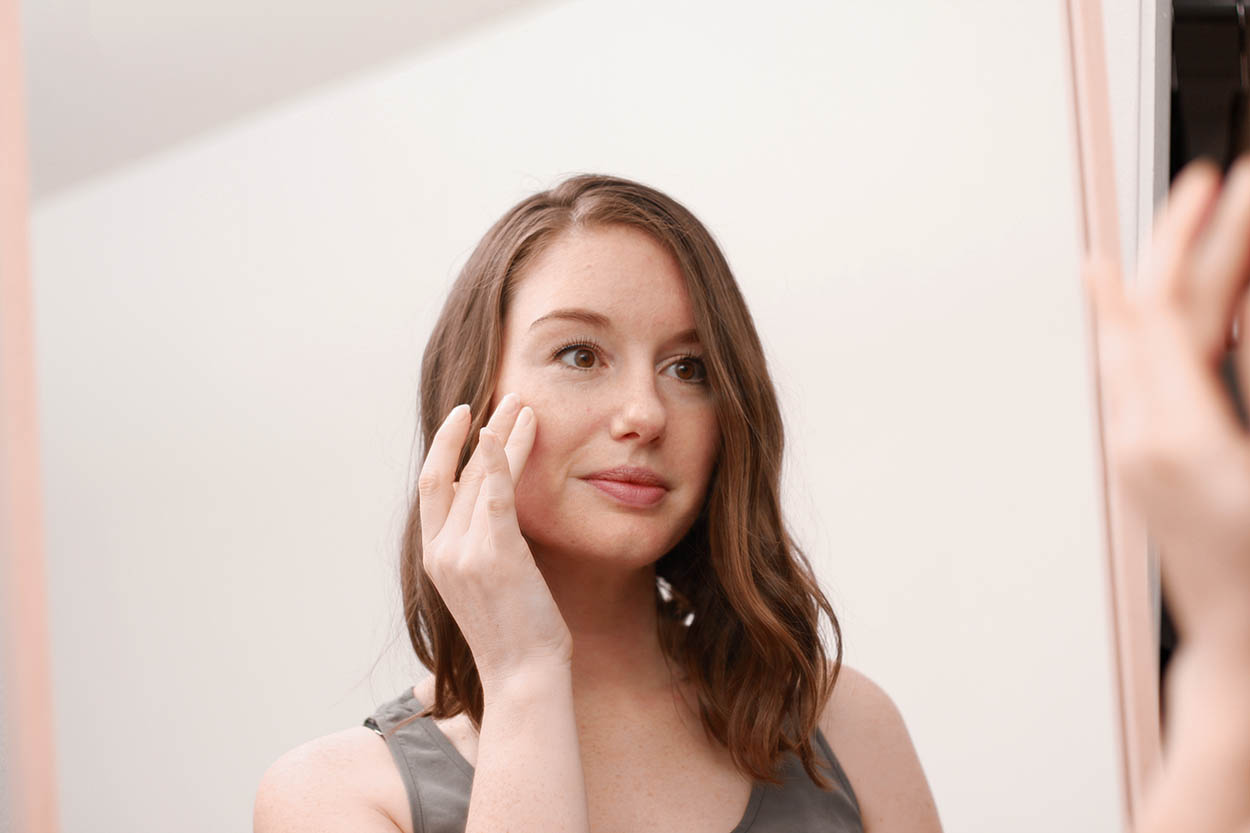
STEP TWO: PREP AND PRIME
I start with eyedrops, which help reduce redness (buh-bye redeye from last night’s flight), quickly pass a caffeine eye-roller under my eyes to deflate puffiness, and swipe on some shimmery, eye-opening eyeshadow primer to seal in the eyeshadow I’m going to apply. Time spent: 45 seconds.
—
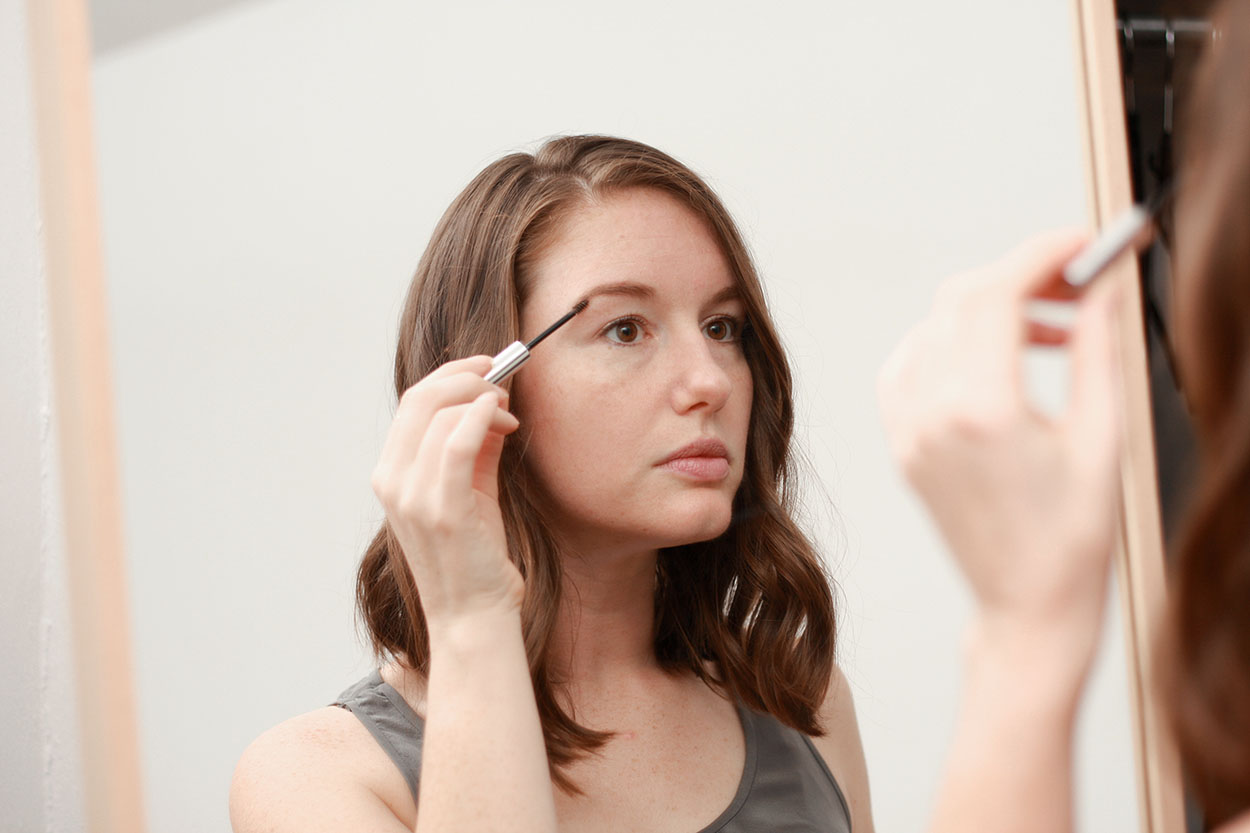
STEP THREE: BROWS
My eyebrows are so light that they are nearly clear, which means I tint them at home every few weeks and always right before a long trip. When they are freshly tinted I can usually get away with a quick swipe by a spoolie brush, but I prefer to sweep a little Boy Brow through to thicken, darken, and help them stay in place. Time spent: 40 seconds.
—
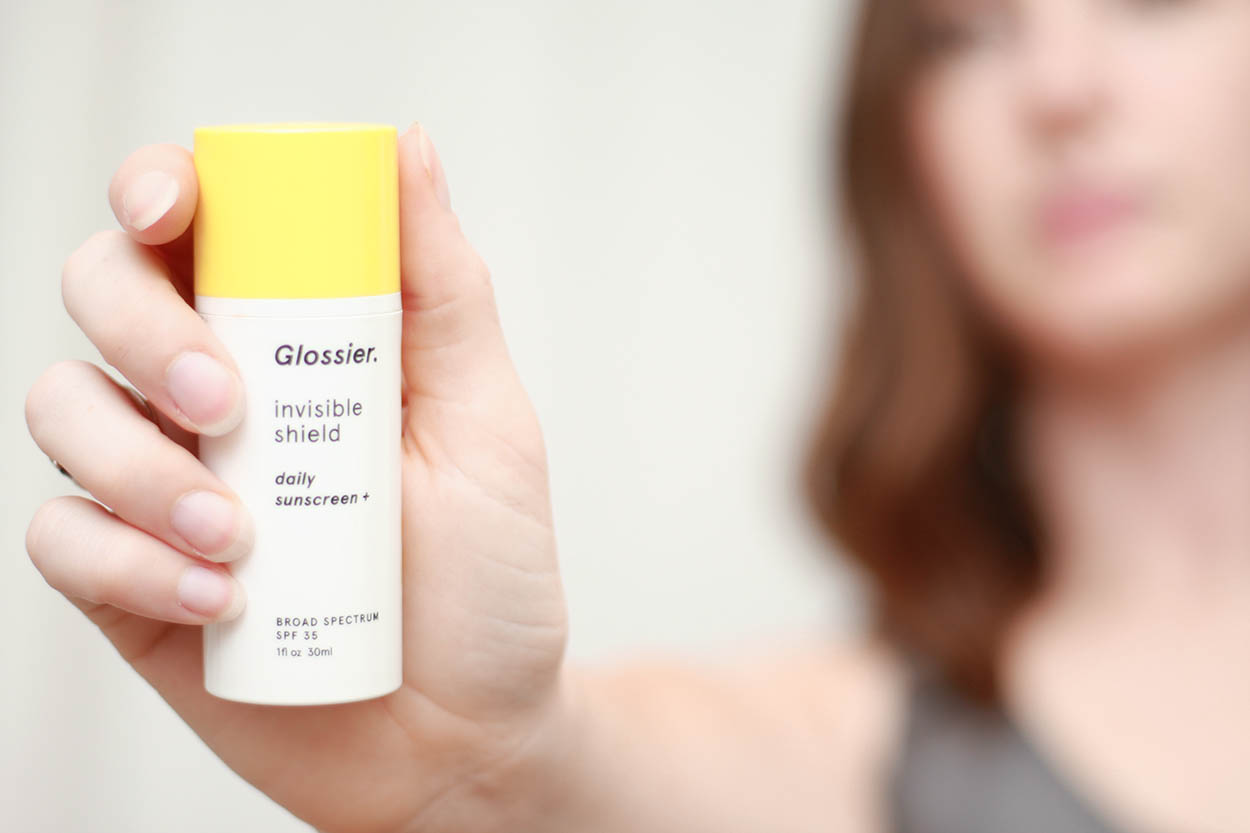
STEP FOUR: SUNSCREEN
Because I said so, that’s why. We’re outside a lot more than usual when we’re away from home, so I try to be really diligent about sunscreen application. Applying at this stage allows the formula to settle in before you layer any foundation over. I really like the clear, non-greasy sunscreen from Glossier. Time spent: 35 seconds.
—
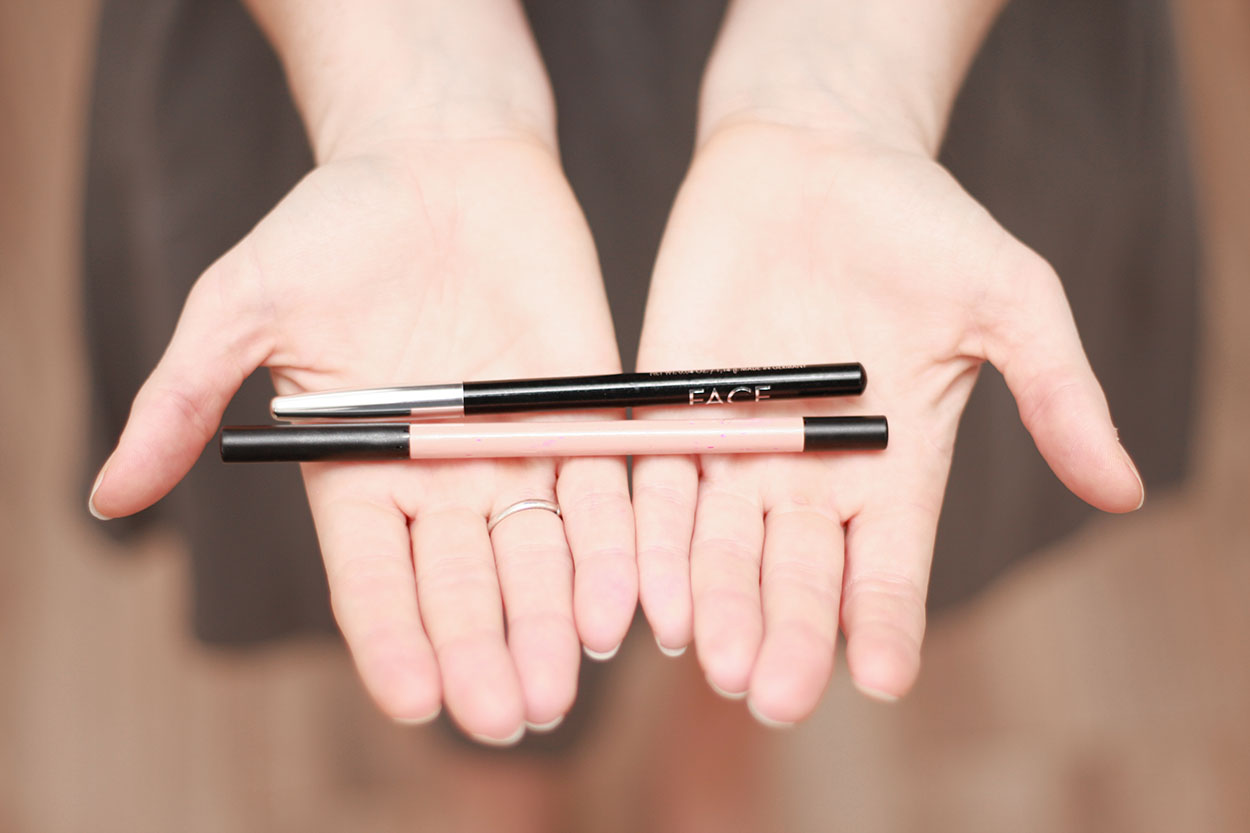
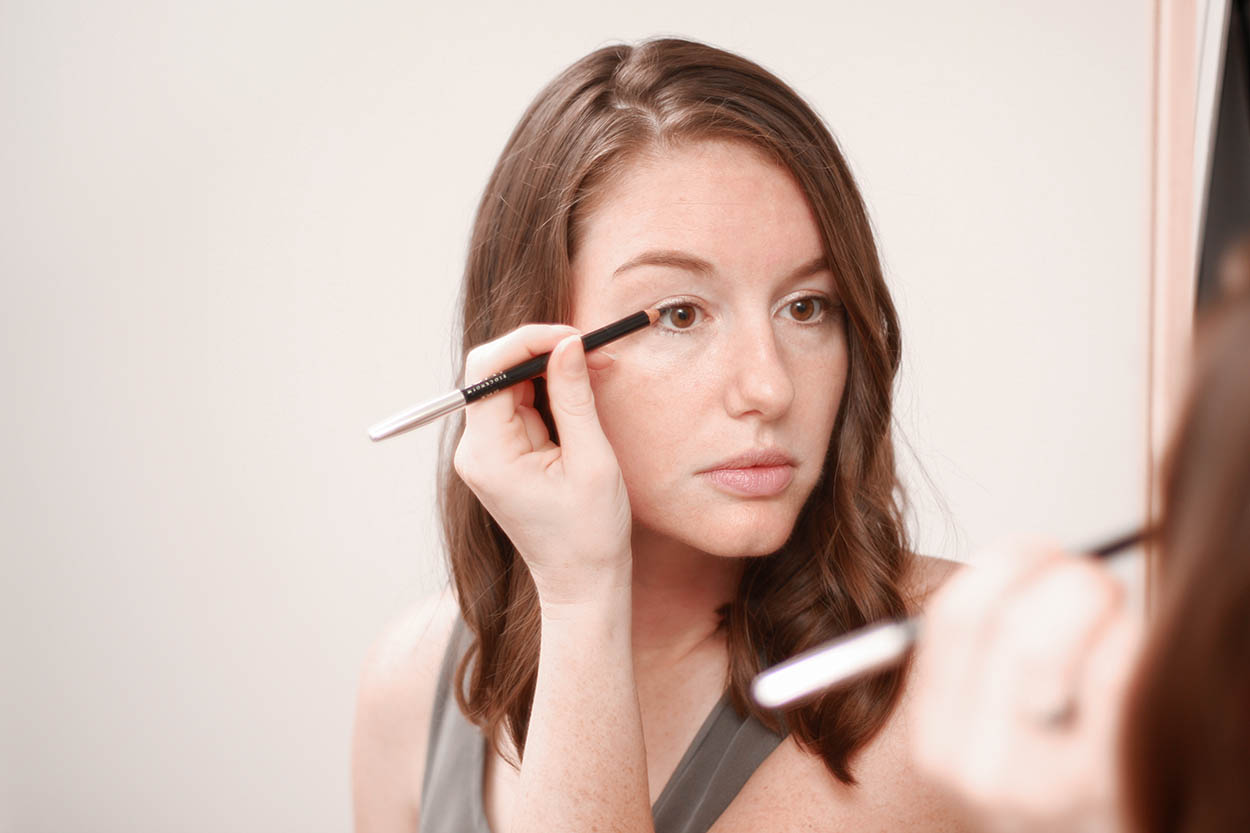
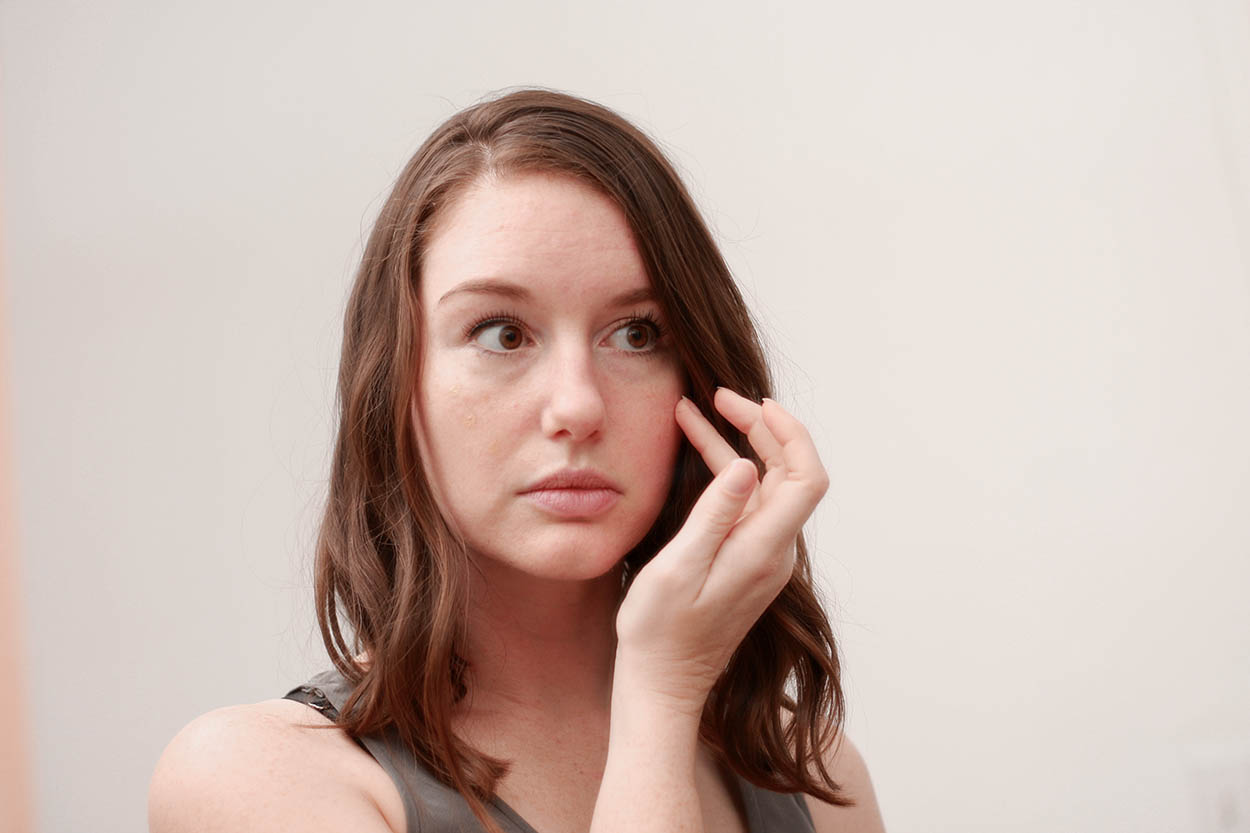
STEP FIVE: EYES
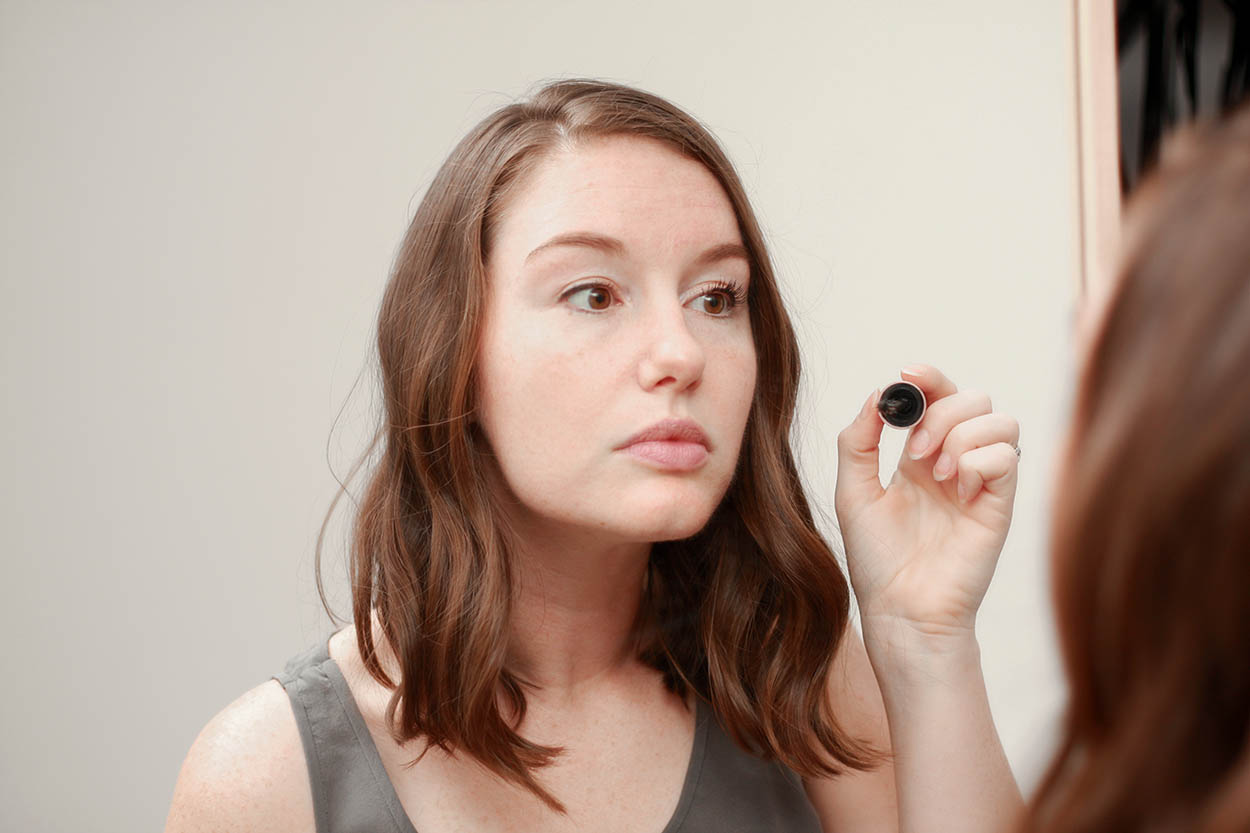
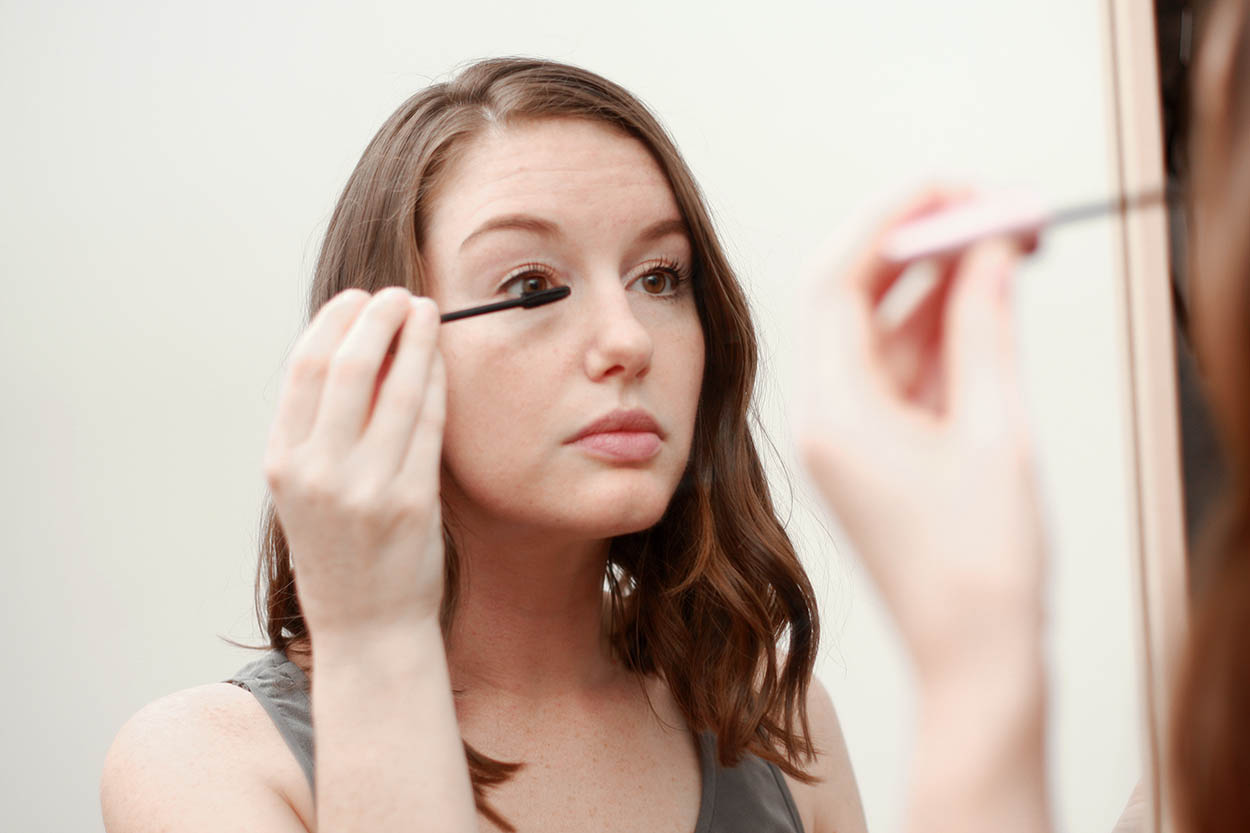
Now that the eyeshadow primer is dry, it’s time to line, color, and add mascara. I don’t typically go full-on eyeliner during the daytime; instead, I smudge it along my lashline from about the midway point to the outer corners of my eyes to give just a little definition. On my bottom lash line, I use a pale pink inner-rim eyeliner*, which brightens my eyes and makes them look larger. Finally, I add a quick swipe of two neutral eyeshadows, dipping my brush in both the matte and shimmer shadows so I just get a nice sheen. (I’ll touch on which shadow palette I use later in the post, along with two palettes that didn’t quite work for me). After eyeshadow, a quick comb-through of black mascara on my top and bottom lashes adds the finishing touch and makes my eyes look more open and awake. Time spent: 1 minute, 25 seconds.
—
STEP SIX: FACE
Due to rosacea, my skin tone is difficult to match. Once I found this light-coverage formula from Chanel, I knew I’d never need to buy another foundation again. To make the foundation look even more natural, I apply it to my face mixed with a little lotion. Right now I’m not setting it with a powder, but that’s because I’m still on the hunt for the perfect small, lightweight pressed powder to reduce the risk of spillage. Any leads? Time spent: 45 seconds.
—
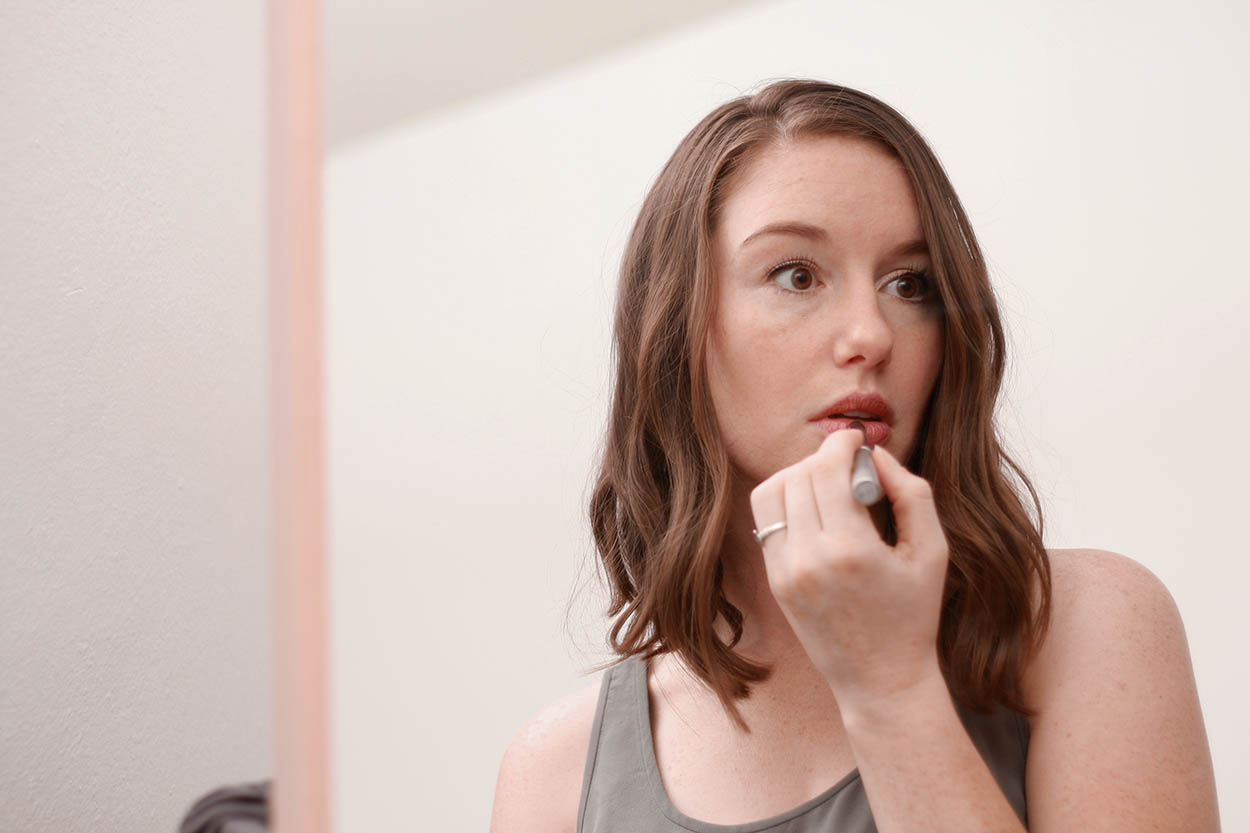
STEP SEVEN: LIPS
I don’t have much luck with lipstick when we’re traveling; it either flakes off or disappears onto the edge of the many cups of coffee we consume. Instead, I stick with the ’90s-essential Black Honey. It’s sheer but buildable, still looks good as it starts to fade, and it’s never flaked on me. It’s a classic for a reason. Time spent: 15 seconds.
—
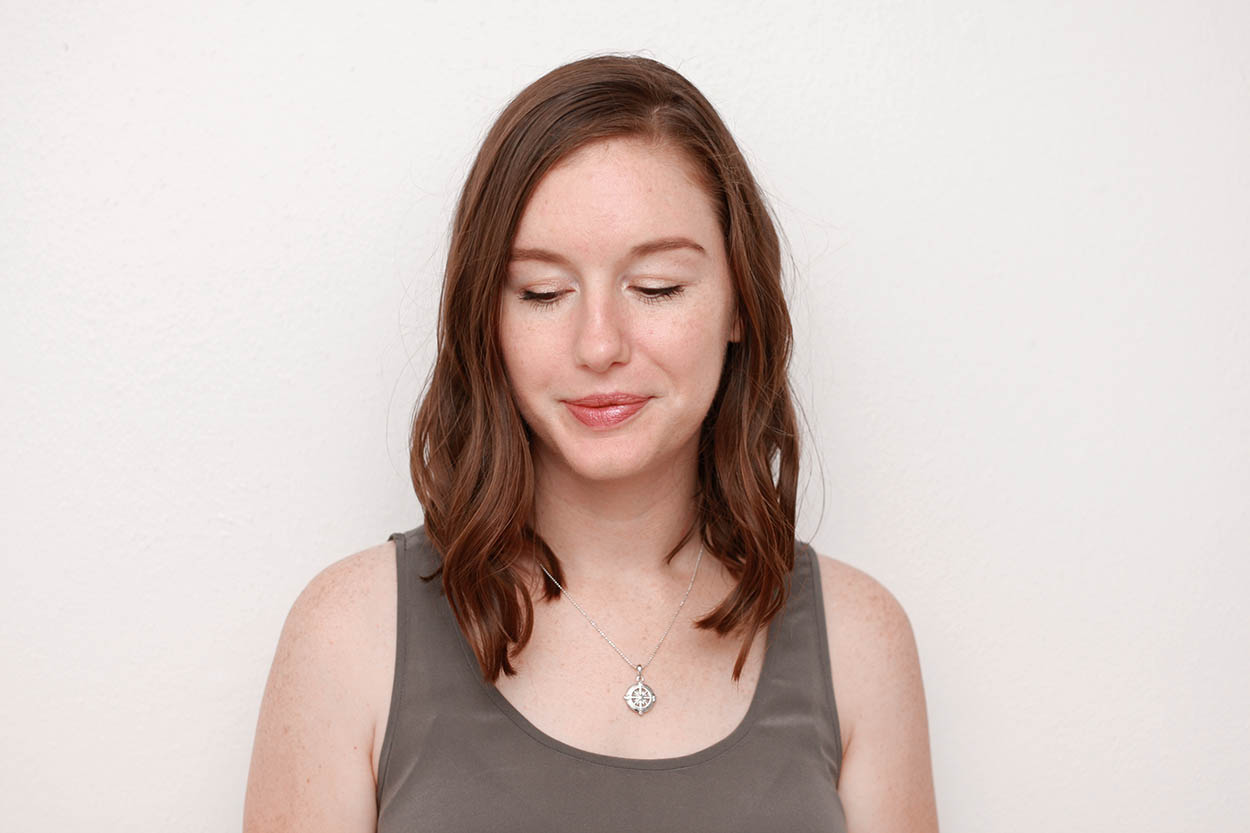
Finished, with 35 seconds to spare!
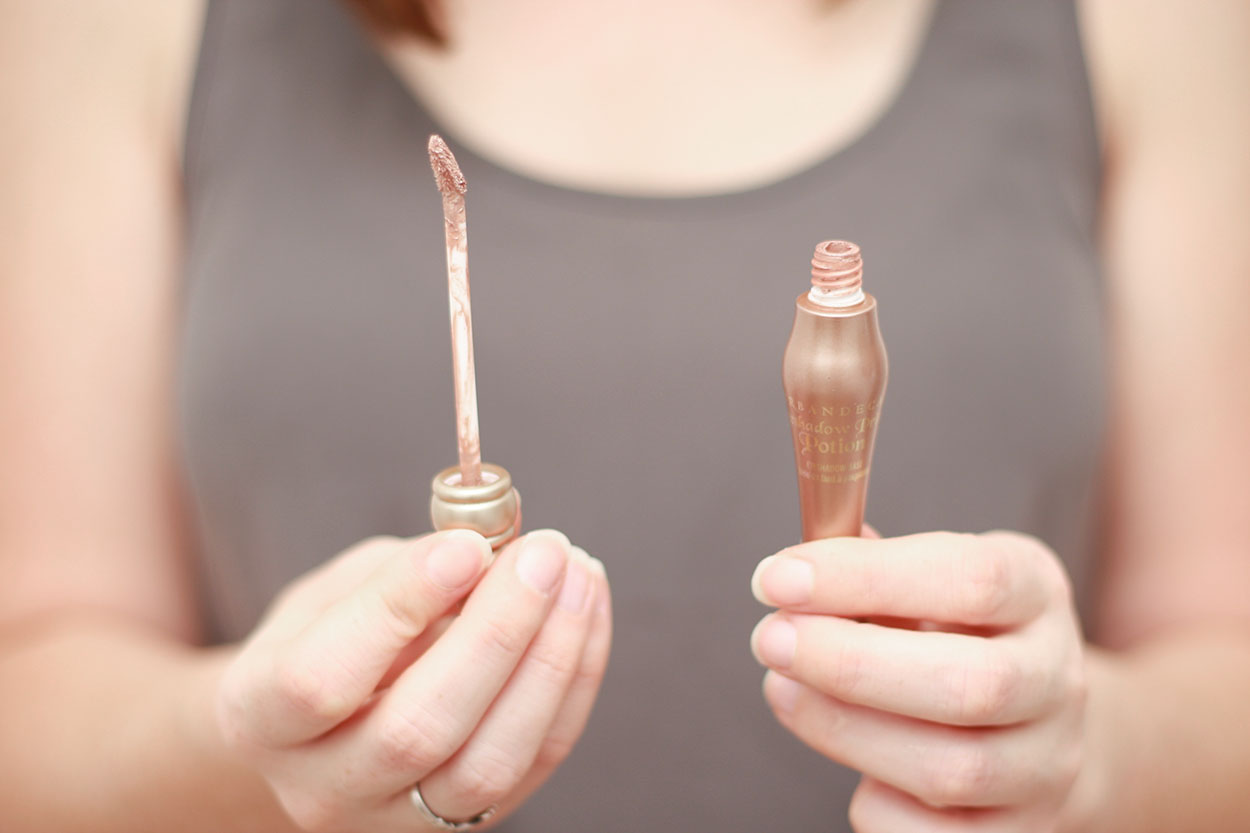
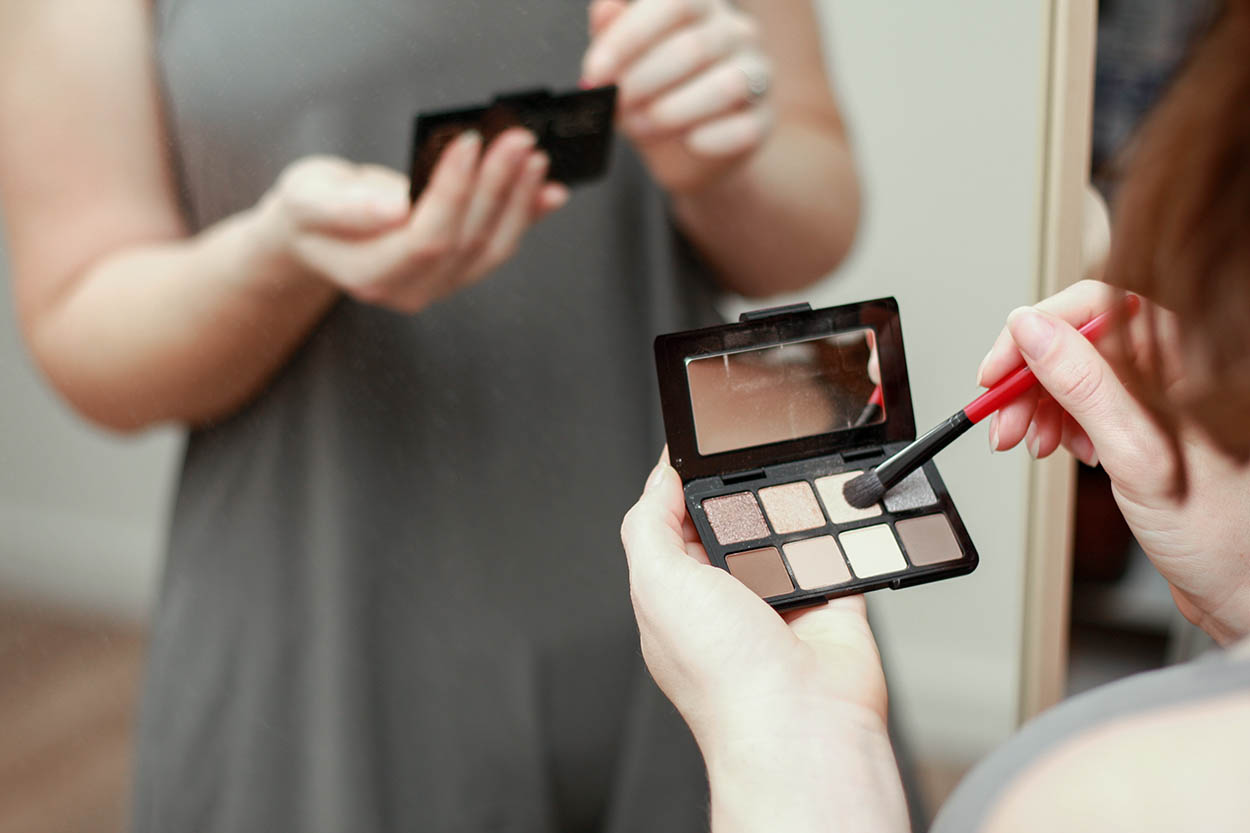
A TALE OF THREE EYESHADOW PALETTES
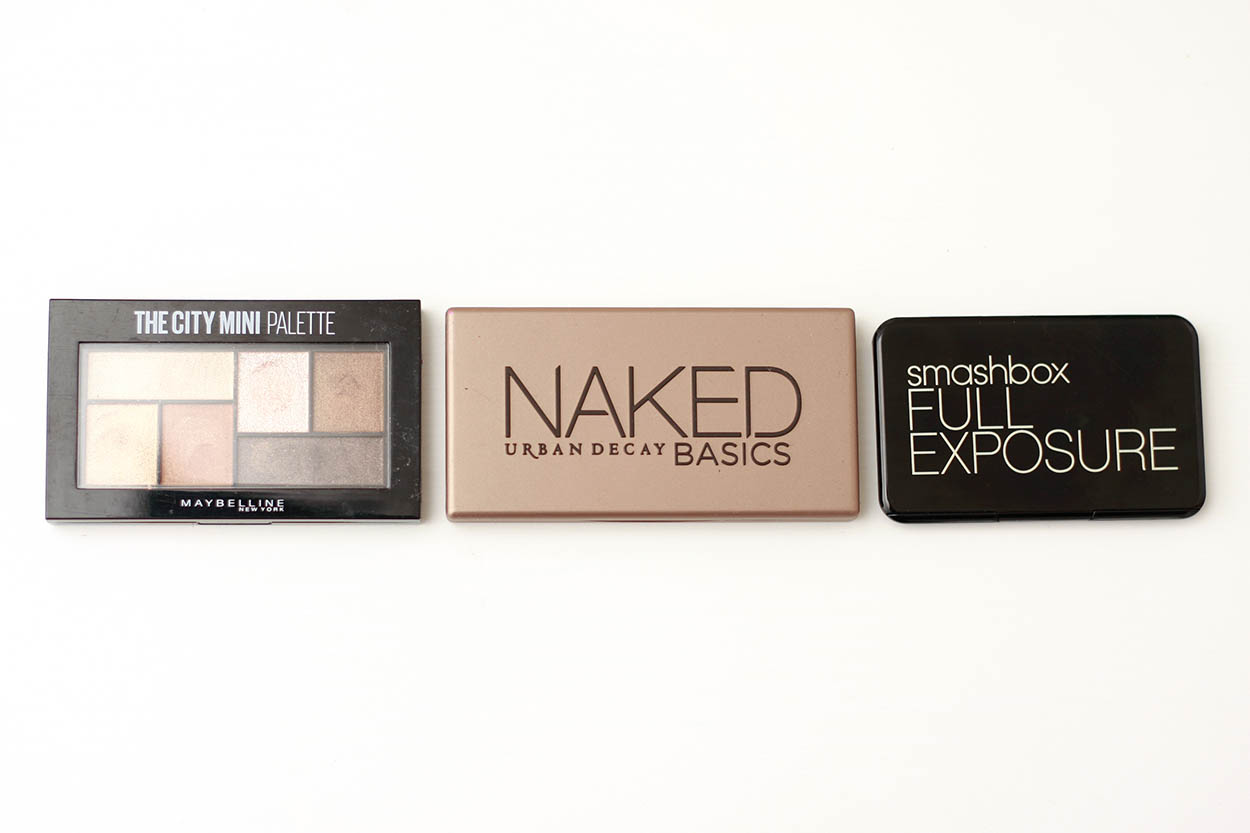
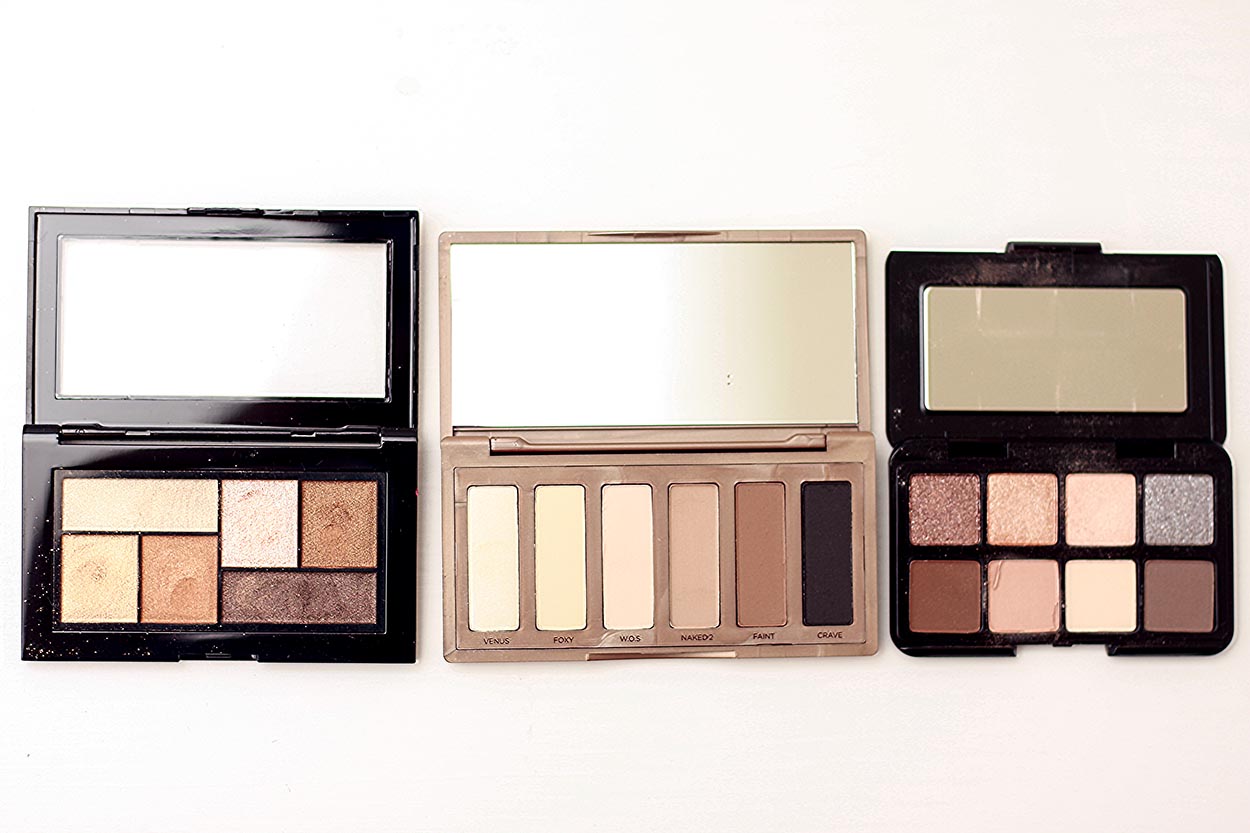
I didn’t mean to purchase three travel-sized eyeshadow palettes. It’s just really tough to get a sense of the way the eyeshadow colors truly look and how they will hold up through the course of a day while you’re standing in a store with a salesperson breathing down your neck. So, in the midst of somewhat of an existential crisis, I purchased three palettes before ending up with my Goldilocks version.
The City Mini Palette in Chill Brunch Neutrals, by Maybelline
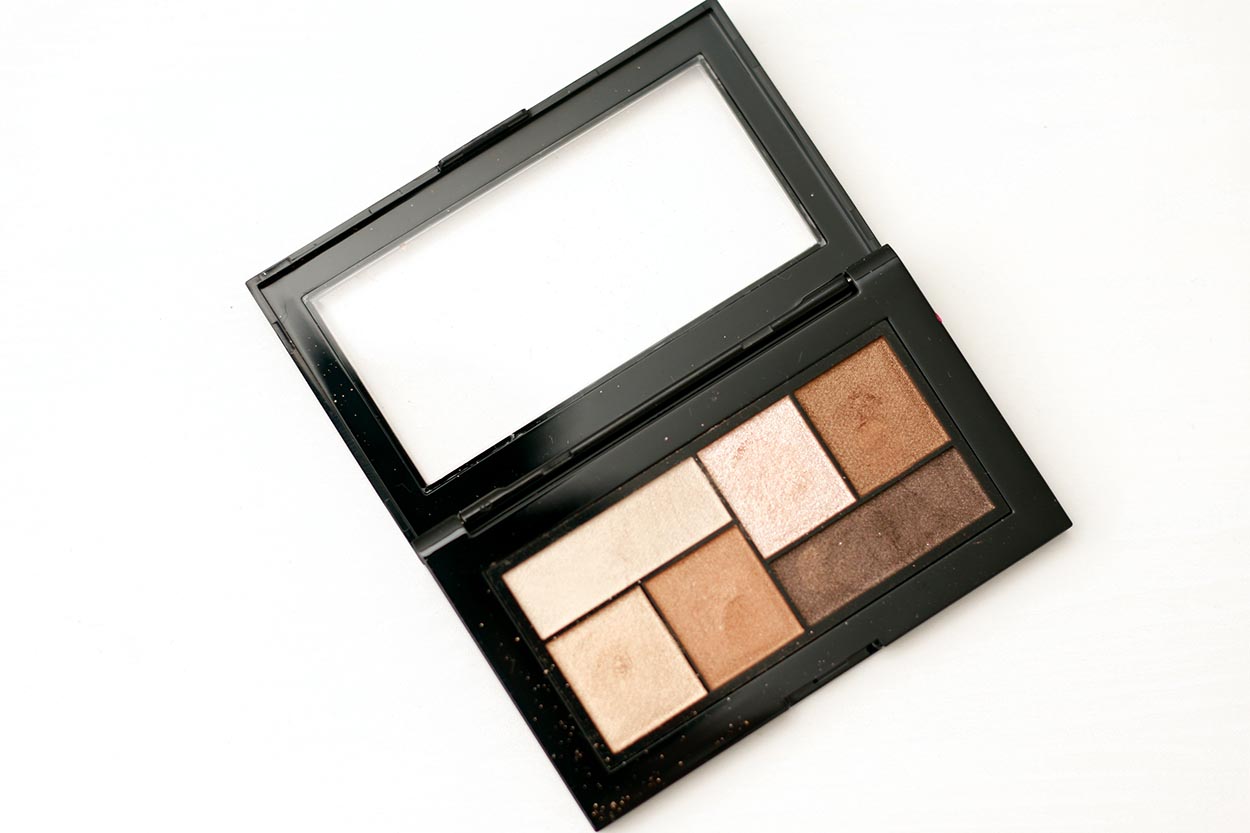
Initially, I purchased The City Mini Palette in Chill Brunch Neutrals, by Maybelline. The price tag was right, the size was right, and they are heavily pigmented – the only thing is that the colors were too shimmery for daytime wear. I used this very lightly over the course of a few weekends away and finally purchased a replacement.
—
Naked Basics, by Urban Decay
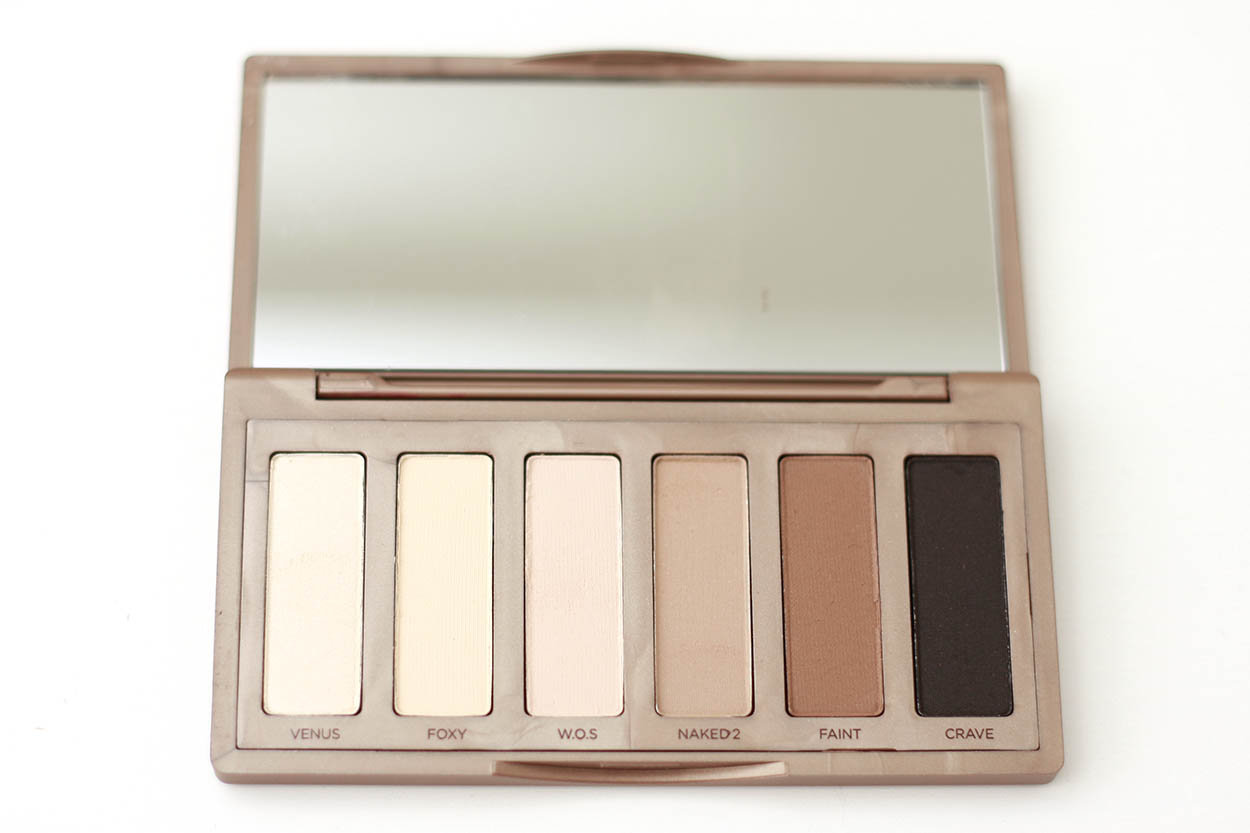
The next kit I ordered was Naked Basics, by Urban Decay. At home, I use the now-defunct Naked Smoky palette (RIP) which I love so very much. Purchasing my favorite four shades and placing them in UD’s custom tin (no longer available) would set me back $90. I figured the Basics palette would be close enough to my favorite shades, but I was wrong. They are beautiful, but even when layered over a shimmery primer, are still very matte. I probably could achieve the look I’m after by combining these two palettes, but why bring two when I really only have space for one?
—
Full Exposure Travel Palette, from Smashbox
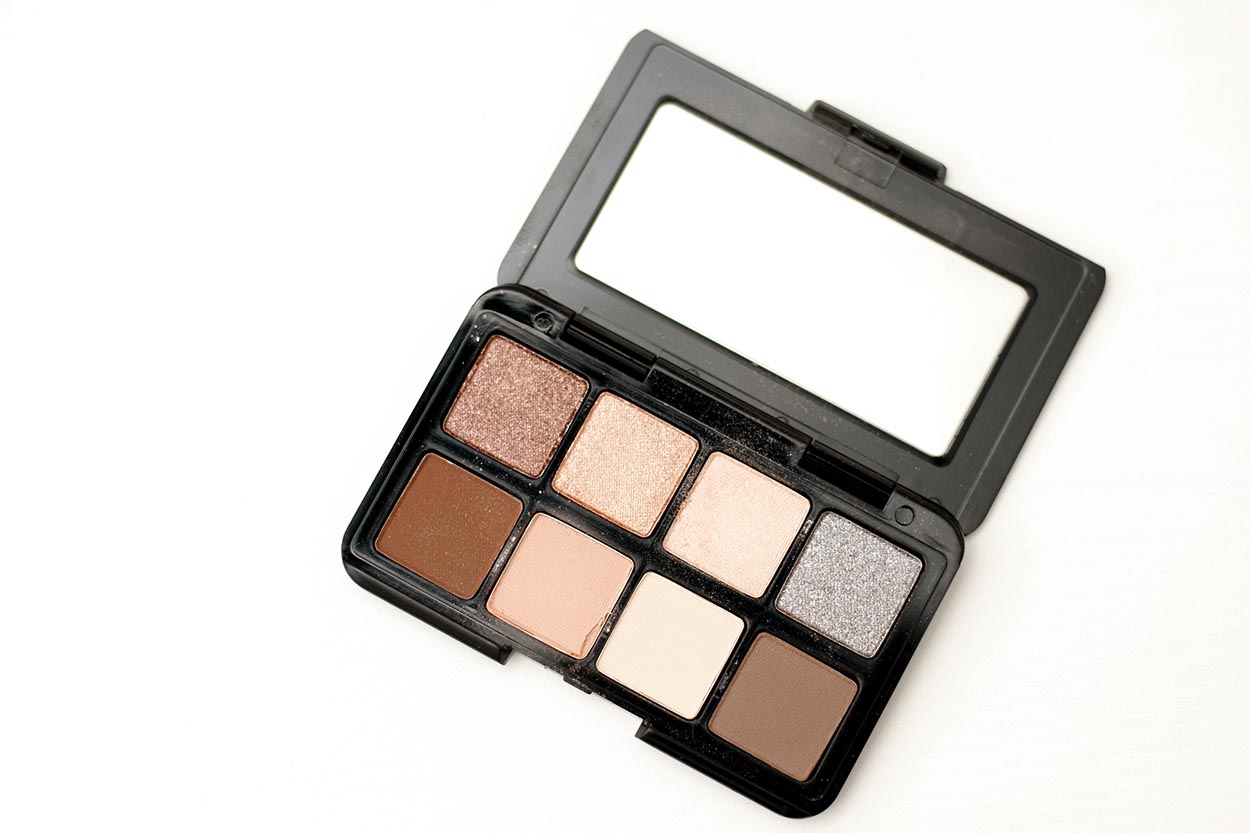
Enter the Full Exposure Travel Palette, from Smashbox*. A combination of four shimmery shadows and four matte shadows in a case slightly larger than a credit card. I wear the lighter colors during the day and add a quick swipe of the darker ones in the crease for the evening (and I’ll probably never wear that shimmery silver shade, which is a bit of a waste). Perhaps by the time I need to replace it, I’ll be able to find a palette where all shadows work for me; for now, I’ll be using this one.
*this item is no longer available and a similar product is linked
Enjoyed this post? You may also like:
- A Flake-Free Pout: Comparing French Girl Rose Lip Polish and Olio E Osso Lip Scrub
- Five Easy Hairstyles for Travel (that aren’t a messy bun or ponytail!)
- A Review of Every Fragrance from Riddle Oil
- Skincare Review: Dr. Jart+ Cicapair Tiger Grass Color Correcting Treatment
- My Favorite French Beauty Finds
- Cuyana Leather Travel Case Set Review – Four Year Update
- Traveling Light: Packing a Liquids Bag for Summer Travel
- Exclusive Discounts + Promo Codes
How much time do you spend on your makeup while traveling? Do you have any time-saving tips? Or is there something you think you could swap or skip moving forward? Be sure to share!
I’ll be taking a few days off to recharge – see you sometime next week!


It’s so fun to see your routine, and I’ve been very curious about Black Honey. I’ve been looking for a lip product that makes me look a little less dead, but still natural, you know?
If I’m travelling in a hot country or doing outdoorsy stuff, I usually don’t wear face makeup, even though I don’t have perfect skin. Doesn’t make sense to me if it’s just going to slide off!
I keep makeup pretty low-key and use just the basics:
-Tinted moisturizer
-Sunscreen
-Mascara
-Dual ended brown eyeliner and highlighter
-Chapstick
-Eyelash curler
Actually my routine isn’t that much different than my everyday one!
Black Honey is the only lipstick I continuously buy replacements for, and the price is quite reasonable (I buy about a tube a year). True – I should have mentioned that I don’t go through my full routine when we’re going on outdoor “adventures.” I typically stick to waterproof mascara and Boy Brow for that! I’m curious about this magical eyeliner/highlighter combo, however…
I used to pack a ton of makeup when I went on vacation, but discovered that I didn’t end up wearing even half of it. I always think I’m going to want to get dolled up, but in reality I just want to enjoy my time without worrying about my face. I don’t wear a ton of makeup everyday ( brow pencil and lip balm is my jam), so I pretty much bring my everyday face stuff with me. This includes: brow pencil, mascara, blush, eyelash curler, and lip balm. I usually throw in a lip pencil and a single shimmer eye shadow for any fancy thing we do. Having only a few products means I can keep stuff in my usual makeup bag and don’t have to worry about it taking up space.
This is so true! Space is at a premium when traveling and I grew so sick of toting products I didn’t use. What kind of eyelash curler do you use? I’ve had such an aversion to them after ripping out several lashes, but am willing to give it another try!